Tag Archive for: tutorial

DIY Vintage Aluminum Foil Wreath

It is officially December. Let the Christmas games begin!
Truth be told, I have been listening to Christmas music since November 8th. That morning it was chilly, Biceps suggested we turn on “the Christmas cheer” and we haven’t looked back.
I love creating new wreaths each year for Christmas. Last year, I made two wreaths for Christmas-“Silver Twig Wreath” and a “Whimsical Silver Wreath” that I dismantled this year and re-used for parts.


Reduce, Re-use and Recycle, right? Here is this year’s DIY Vintage Aluminum Foil Wreath that took just a few minutes and a few pennies to create. It’s so purty.


Here’s what you’ll need to make your very own DIY Vintage Aluminum Wreath:
A large dinner plate, charger or lid to a popcorn tin
Coffee can lid or something similar
Scissors
Cardboard
Aluminum Foil
Leftover ornaments-plastic, glass, fabric-whatever floats your boat
2′ + of Ribbon
Hot glue gun and glue sticks


Using your dinner plate/charger/lid, trace a large circle onto the cardboard.


As Uncle Joey would say, “Cut it out.”
If you don’t know what that reference was, I apologize. It’s a little Gen X humor, I suppose. Or is it Gen Y? If I had my choice, I’d rather be a Gen Z because it rhymes with Ginseng and just sounds so much cooler. But, I digress.


Trace a smaller circle smack dab in the center of your large circle using a coffee can lid. Cut out the smaller circle. The cardboard will now resemble a large donut. Yum.


Wrap the front and back or the cardboard “donut” with aluminum foil.


Tear off 2-3′ sections of aluminum foil, fold in half lengthwise. Place an end of the foil on the aluminum donut and hot glue that sucker down.


Make 3″ loops of the folded foil, hot glueing each loop down to the aluminum donut an inch or so away from the last loop. Continue doing so until you are out of foil. Start over with another 2-3′ piece of folded foil until the entire wreath is covered in looped foil.


Cut a slit in the top of each loop with your scissors (this simultaneously sharpens your scissors and makes a killer wreath, by the way).
“Poof out” each loop randomly. “Poof out” is the technical term for “fluffing”.


Loop the ribbon in half, hot glueing the ends to the backside of the wreath.


Hot glue the chosen ornaments on the front side of the wreath, interspersing them willy nilly between the “poofs”.


One DIY Vintage Aluminum Foil Wreath is now ready for your front door. Hang it up and call it a day. Grab a glass of wine and realize just how awesome you are with your hot glueing skillz.

Read more

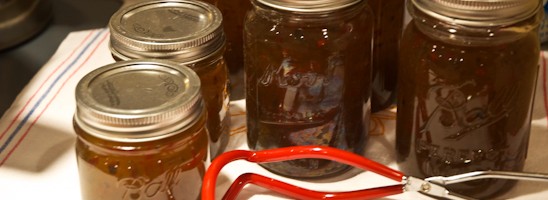
Canning & Making Jalapeno Pepper Jelly

This year, the garden produced more jalapeno’s than I knew what to do with. I dehydrated a large bagful, blanched another bag, and then gave some away. With the rest, I wanted to make as much Jalapeno Pepper Jelly that I could afford and then pickle the rest (I’ll share the pickling tutorial later on, don’t you worry your pretty little head.)

Today, let’s focus on this tasty Jalapeno Pepper Jelly recipe.


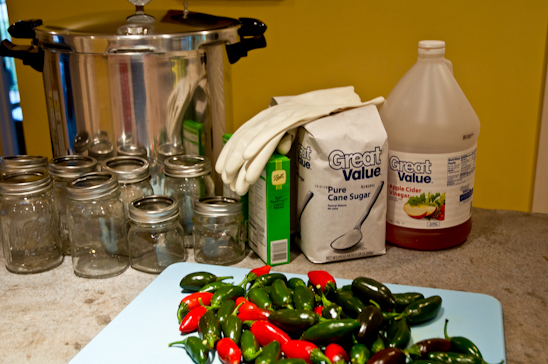
Here’s what you’ll need to make your own Jalapeno Pepper Jelly:
12 Cups of White Sugar
4 Cups of Apple Cider Vinegar
4 packets of Liquid Pectin (I use Ball’s-they come two packets in a box)
24+ medium sized jalapeno peppers
8-9 pint Canning jars, lids and bands
Canner
Blender


You’ll want to invest in a nice set of canning instruments, too. A set usually includes a wide mouth funnel, tongs, magnetic tipped lid retriever, and a jar lifter.


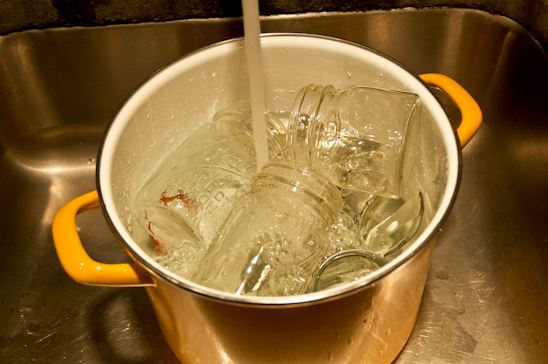
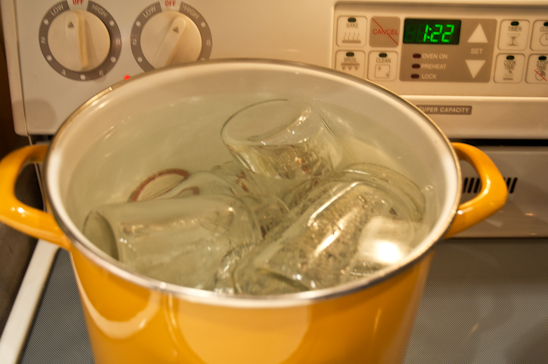
First things first-wash your jars, lids and bands in hot soapy water. Rinse well. Add the jars, lids and bands to a large pot of water.


Bring to water just to boiling, then decrease the temp to allow the pot to be constantly hot (low to medium low) while you are making the jelly.


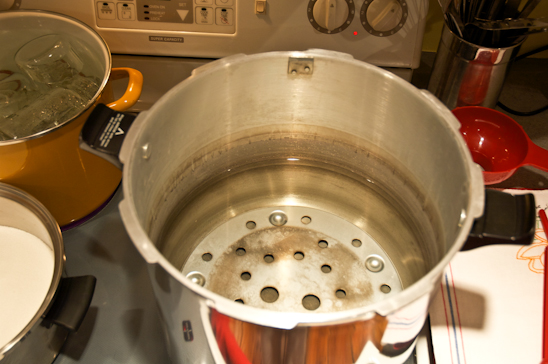
Fill your canner halfway with water, loosely place the lid on top and bring the water to boil. Turn the heat down to medium with the lid still loosely covered.


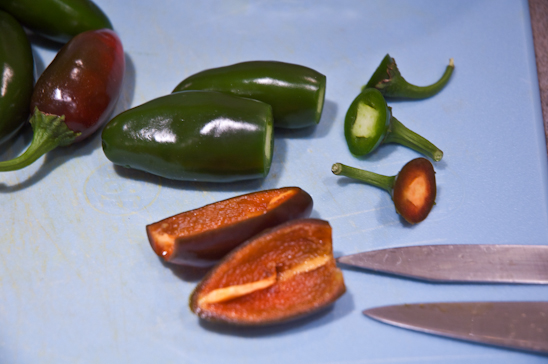
While wearing GLOVES, slice the stems from your peppers. Slice them in half and remove the seeds.


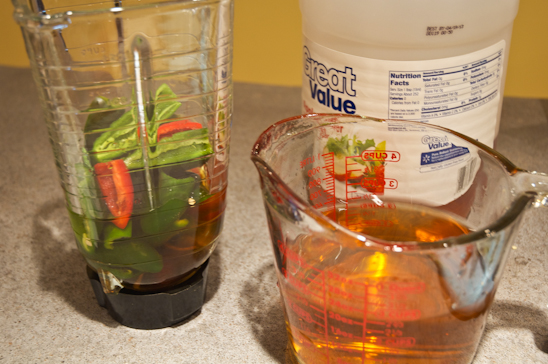
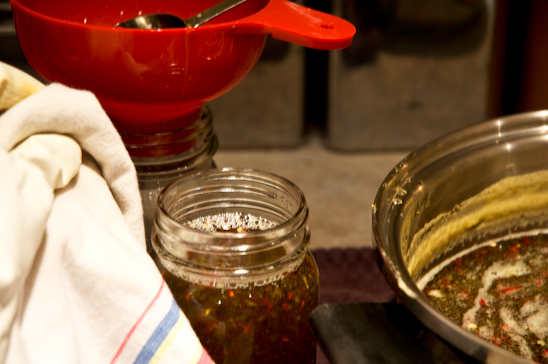
Place the seeded peppers in the blender with half (2 Cups) of the vinegar.


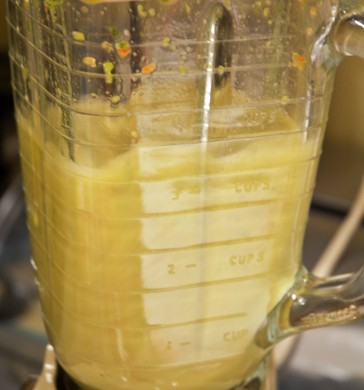
Puree until it’s smooth. You’ll have chunks of peppers floating around still. Don’t worry. That’s normal.


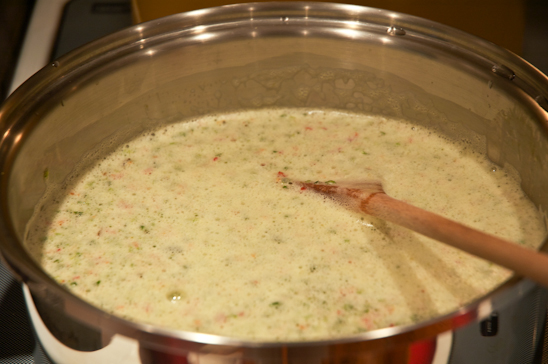
Measure the 12 Cups of Sugar and dump it all into a large pot. Add the remaining 2 Cups of Vinegar, and the pureed peppers.


Turn the heat to high, bringing to a boil. Stir constantly, bringing the sugar up to the top and blending the ingredients together. Boil for 10 minutes, bringing to a rolling boil.


While you are waiting for your jelly to boil, retrieve your lids and jars, placing them on a clean dish towel.


After the mixture has boiled for 10 minutes, pour the four packets of Pectin into the center of the pot.


Stir the pectin into the pepper mixture, returning the mixture to a hard boil for one minute.


Pour the mixture into your hot jars using the wide mouth funnel. Fill the jar until it’s 1/4 inch away from the top. Wipe the top of the jar with a clean cloth, removing any drips.


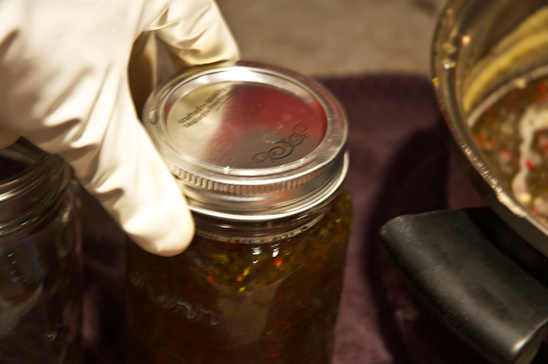
Hand tighten the lids and bands on the jar. Don’t get crazy and over tighten.


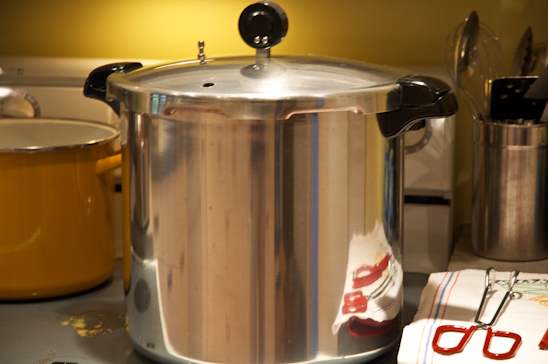
Place your sealed jars into the canner. Put the lid of the canner on tight and bring the water to a boil.


Boil for ten minutes and have a glass of wine.


After ten minutes of boiling, carefully remove the canner lid away from your face and using hot pads over the handles. Turn the heat off and let the jars sit for five minutes or so.


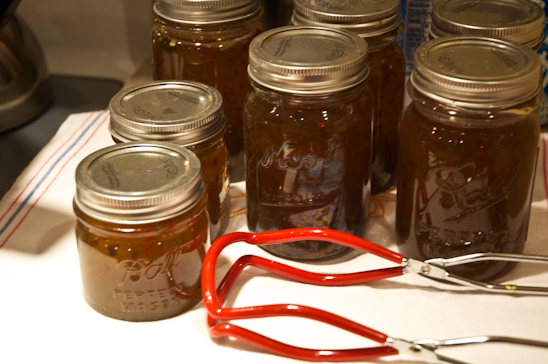
Remove the jars with the jar lifter and place on a tea towel. As the jars cool, the lids will make a popping noise, ensuring your worrisome brain that there is a seal in place.

Add some cream cheese on a plate, dollop the pepper jelly on top and scoop it all into your mouth with a wheat thin. This, my dears, is heaven.

Read more

Vintage Lace Fall Wreath

With the change in weather comes a change in wreaths for most front doors. My front door needed-nay-demanded a fall wreath. Armed with some lace and an old tablecloth, I hot-glued my way to a Vintage Lace Fall Wreath.

I’ve been hanging onto a vintage lace curtain (given to me by my beautiful sister-in-law) and a vintage embroidered tablecloth full of holes and stains. They were perfect for the demands placed before me by my front door.


Here’s what you’ll need if you’d like to create your very own Vintage Lace Fall Wreath:
Lace Curtain or section of material
Embroidered tablecloth, or something similar
Foam Wreath (mine is silver because it’s recycled from my Whimsical Wreath I made last year)
Hot glue gun and glue sticks
Scissors

It’s that simple-let’s get started!


I cut my lace to be about 12″ wide, leaving it as long as the curtain already was-about 8′. Hot glue an end section of the lace to the backside of the foam wreath.
Now, grab your partner and wrap the lace ’round and ’round the foam wreath.


Here’s the wreath all wrapped up in the lace. On to the embellishments (from the vintage tablecloth/fabric) that make it cute!


Cut out your desired embellishment from your tablecloth or fabric.


Wrap the raw ends of the fabric underneath, hot glueing the embellishments around the wreath however you see fit. Leave enough of a section on the side of the wreath for a bow.


With your remaining lace, cut out a 12″ square of fabric.


Gather the raw ends of the lace together, making a bow. Hot glue the bow to the side of the wreath you earlier left blank.


Add another embellishment in the center of the bow, if you so desire. I did-so I did.


Here’s a little up close and personal of my finished product.


My pretty Vintage Lace Fall Wreath is finished and ready to serve its purpose on my front door!

Read more

Using Reflectors with Portraits

My poor Biceps.
He is my guinea pig of choice when it comes to trying out new techniques in photography. I don’t think he really minds, though. In reality, he can be quite the camera hog….but that’s another story for another day.

Using different reflectors (gold, silver and white) along with the sun’s natural light, here is a look at what you can do with your portraits.


Shot with my Nikon at 1/180, F stop 6.7
I sat on the ground with a white reflector propped up on my knees. You can see the light bouncing in his pupils if you look carefully enough.


Shot with my Nikon at 1/200, F stop 8
Same positioning, but using a gold reflector which warms skin tones. I use this quite often with family portraits.


Shot with my Nikon at 1/350, F stop 9.5
Here, I used a Nikon Speedlight SB-800 flash, pointed directly at Biceps, along with the gold reflector. The flash created definite shadowing underneath his chin.


Shot with my Nikon at 1/250, F stop 8
I moved my gold reflector as close to Bicep’s face as I could, without it being seen in the shot. The gold definitely intensifies his skin tones.


Shot with my Nikon at 1/250, F stop 9.5
This is the same shot with silver reflector which cools the skin tones. I’ll use this when wanted a colder look to a portrait.


Shot with my Nikon at 1/350, F stop 9.5
Lastly, I added my Speedlight Flash to the silver reflector, creating a colder, harsher portrait. This is a good technique when shooting fashion.

Biceps was such a good sport. I think I’ll keep him.

Read more