Tag Archive for: sweater

Cozy Sweater Pillows

As you know, I like to re-invent things around my home, offering a fresh look to a room with little to no cost. Sometimes I tackle huge projects-like building a table, destroying a mirror, or making my own spinning composter.

However, some days I like to make a nice hot cup of Cinnamon Apple tea and stay indoors. This is one of those days.
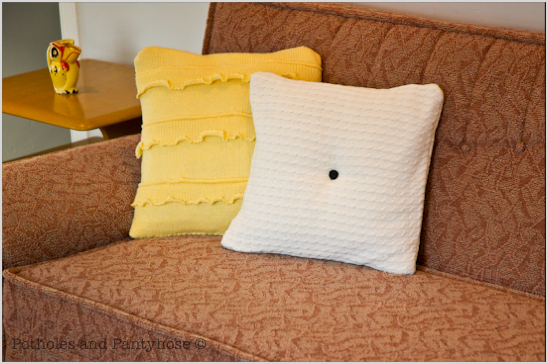

I love pillows on my sofas, but hate paying $20 for something that cats will eventually destroy-or I’ll spill coffee on. What’s a girl to do?

Combine thrift store pillows with my ill-fitting and ugly sweaters. That’s what!
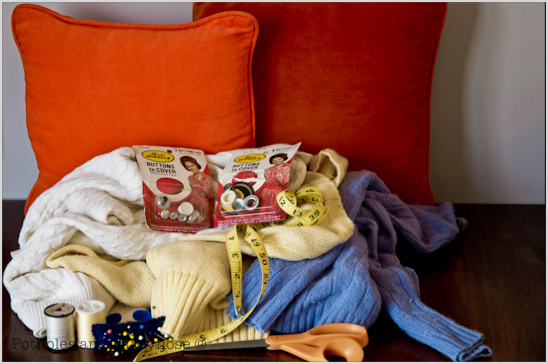


Here’s what you’ll need to make your own Cutesy Sweater Pillows:

Old Pillows or stuffing
Old Sweaters
Backing material-I used an old canvas laundry bag
Tape Measure
Scissors
Straight Pins
Thread and Bobbin to Match
Button covers (if desired)
Invisible Thread (not pictured here, due to its invisibility)
Sewing Machine
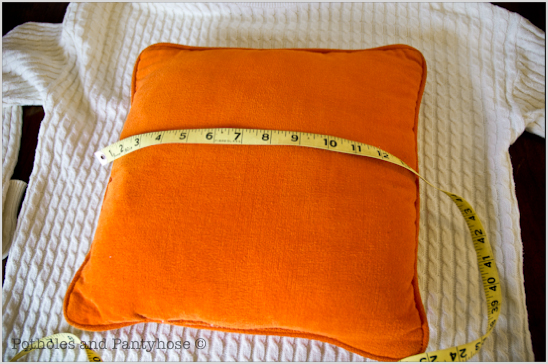


Start by measuring the width & height of the pillow. If you are using stuffing, determine how big you want the pillow.
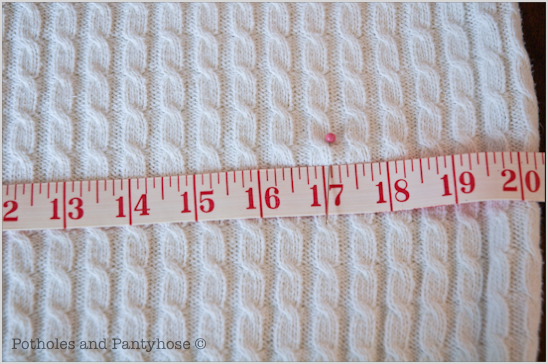


Measure on the sweater the width & height of the pillow and add 3 inches for seam allowance.
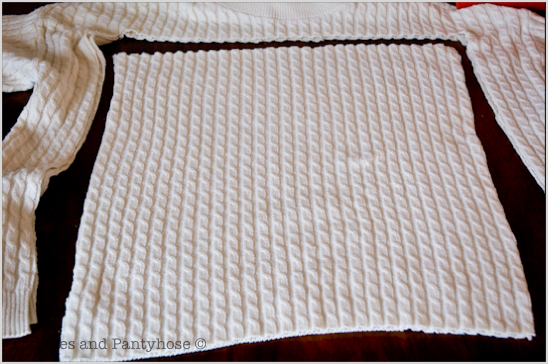


For example, my pillow was 14″ x 14″. I cut out two 17″ squares of sweater material.
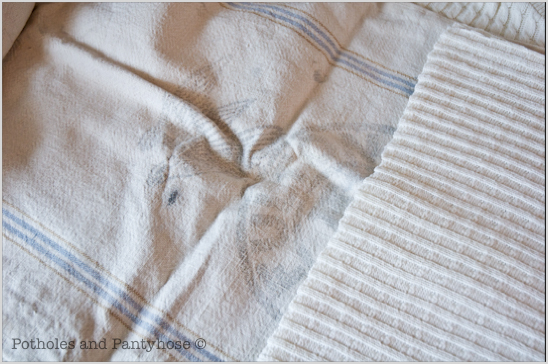


Fold the backing material in half, measure and cut out the same sized square as the sweater.
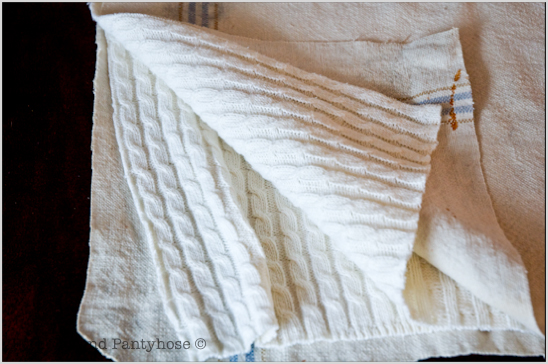
Sandwich the sweater material (right sides facing in) with the backing material. Pin all four layers of material together.
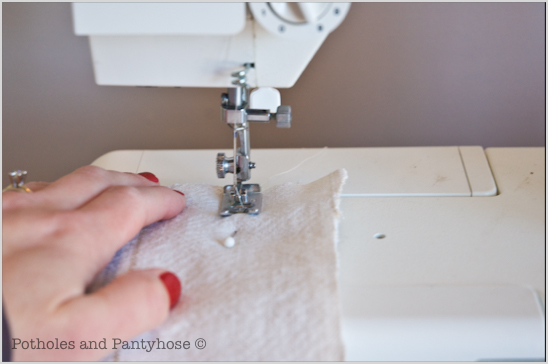


With a 1 1/2 seam, sew the four pieces of material together on 3 sides only-leaving one side open for the pillow (or stuffing).

Cut off the excess seam, snip the four corners and turn the material right side out.
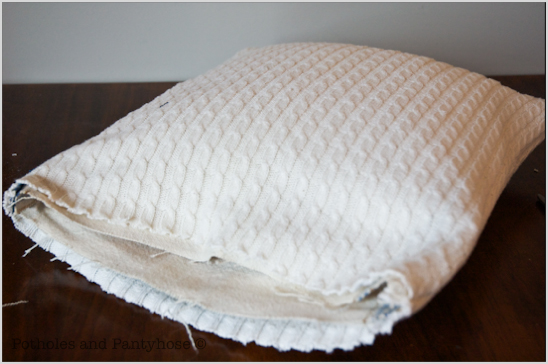


Stuff the pillow inside of its new home-or add stuffing.
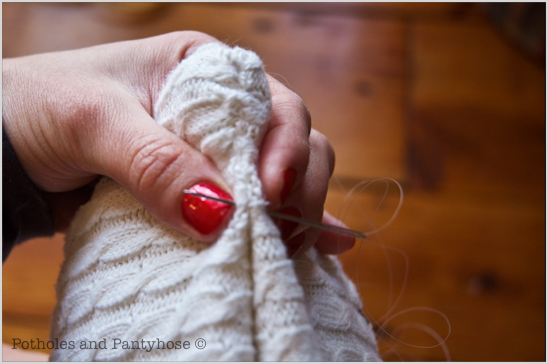


Using invisible thread and a stout needle, sew the opening closed.
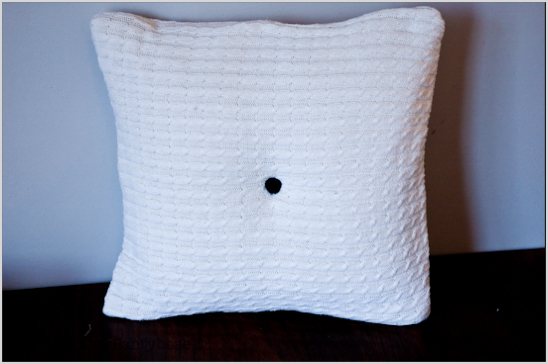


If desired, make a button for the center of the pillow, following the instructions on the button maker box. Sew the button(s) on with more invisible thread, going all the way through the pillow and pulling the thread tight. This will make the button dimple into the pillow.
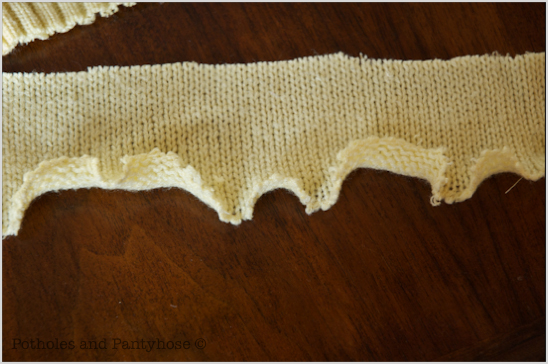


For ruffles on the pillow, cut 3-4″ wide strips from the sweater, making them 2″ longer than the squares of sweater material and backing.

Follow all of the above instructions, except instead of sewing all 4 pieces of material together at once:
Sew one side of the backing to the wrong side of the sweater material-leaving two separate pieces total.
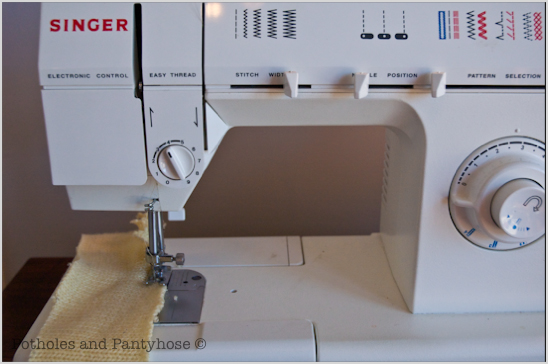


Sew the edges of one side of the potential ruffle using a zig zag stitch.
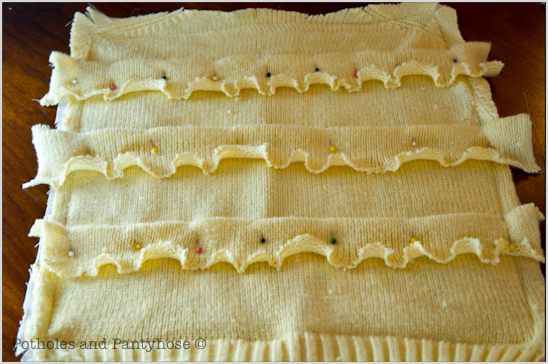


Fold over 1/4″ of the unsewn side of the ruffle, pinning and evenly spacing each ruffle on the right side of the sweater material.
Sew the tops of the ruffles in place.
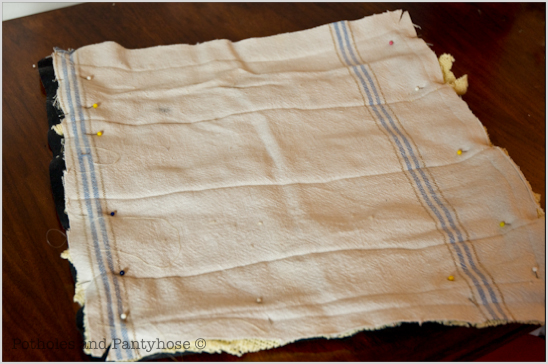


With right sides of the sweater facing in (backing material on the outside), sew the two separate pieces together on all 3 sides with the same 1 1/2 seam, leaving an opening for the pillow or stuffing.

Cut the excess seam off, snip the corners and turn the material right side out.
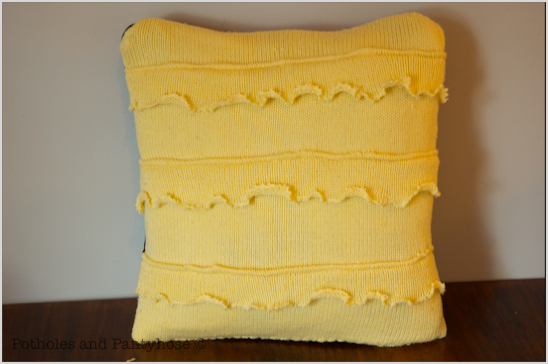


Slide the pillow inside of the material or use the stuffing to fill the pillow out. Use invisible thread once again to sew up the opening.
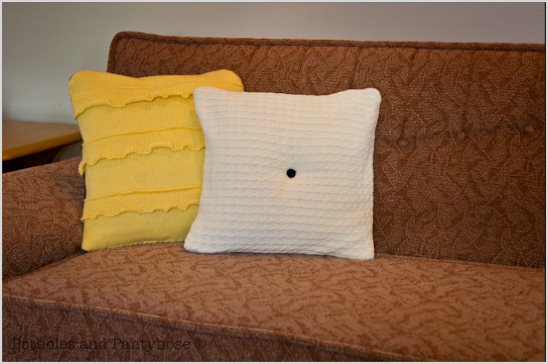
Throw them on your fancy pink couch, brew some more tea and take a nice nap.
 

Read more

Recycled Sweater Mittens

I love wintery mittens and needed a pair to accompany the Sweater Scarf I had recently created.
Using the sweater scraps leftover from the scarf, I was able to make two adorable, matching mittens.

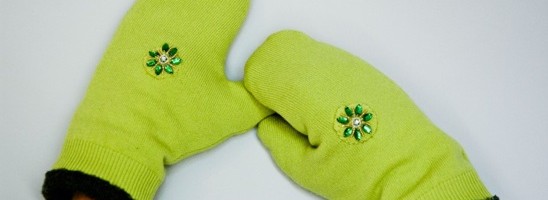
I lined my mittens with a darker sweater material, leaving the vibrant lime green material on the outside for prime cuteness.


Here’s the two pieces together in action. I can’t wait for the weather to turn colder so that I may sport these around town.


This is what you’ll need for you very own pair o’ mittens:
Two old sweaters
Scissors
Seam Ripper (for mistakes…which I typically make)
Straight pins
Tape measure
Thread and Bobbin to match
Sewing Machine


I am sure there is a more technical way to create mittens, but I had a pair of stripy mittens that fit my hands well.
Using the stripy mitten as a template, I lined it up on the body of the sweater. I wanted the ribbing of the bottom of the sweater to be the opening of my mitten (where it would hit my wrists).
With the fabric doubled and with right sides out, I pinned the stripy mitten to the sweater fabric.


I cut around the stripy mitten, leaving a 1/4” seam allowance, creating two pieces of material with the fabric right side out.


Using the recently cut out pieces from the lime green sweater, I pinned one to the wrong side of the lime green sweater, with the fabric doubled.
I cut out two more lime green pieces, creating four pieces altogether.
I then cut out two darker green sweater pieces, with right sides out, but allowing for a 1/4” seam allowance around the entirety of the mitten.
I turned the darker green sweater inside out and cut out two more mittens.


I now had eight total pieces; four darker green and four lime green.
When viewing the pieces going in the same direction, you should now have two of each color with right sides out and two with wrong sides out.


Sew together two matching pieces with the thumbs facing the same direction and with the material wrong side out. You should end up with four total mittens.
Turn the set right side out that will be the outside of your mittens.


Insert the inside of your mitten into the outside of your mitten.


Fold over and sew the extra 1/4” of the inside of your mitten onto the bottom of the outside of your mitten.


I harvested embellishments from the original sweater and hand sewed them to the front of my cutesy little gloves. Which then reminded me of a whale…which then made me take this photograph…which you are now forced to endure.


Here’s a look at the entire ensemble which has made me happier than a hot pig in a cold mud bath.
Weird analogy, I know. But that’s just me-weird.

Read more

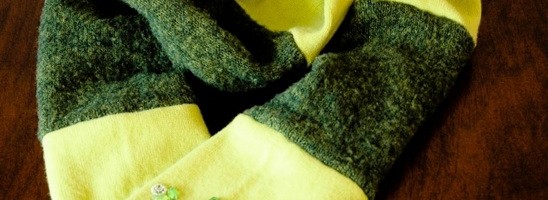
Recycled Sweater Scarf

I own several cute sweaters that have have seen better days.
Pilly, accidentally shrunken and worn out in places, these sweaters were on the verge of being tossed out.
But the fabrics were soft and cozy and they asked me for a second chance.

Armed with my old, pilly sweaters and with the need for wintery accoutrements; I forged into the unknown world of scarves and mittens…with a seam ripper at my side.
(So, as not to overwhelm, this tutorial will focus on the scarf. I’ll add the tutorial for the mittens later.)


Here’s what you’ll need to make your own sweater scarf:
Two old sweaters
Scissors
Seam Ripper (if you sew like me)
Straight pins
Tape measure
Thread and Bobbin to match
Sewing Machine


Cut the sleeves from the body of both of the sweaters. One of my sleeves had pretties on it, which I placed strategically at the end of the scarf.


Measure the overall length of your sleeves and divide by three, cutting the sleeve in thirds. Each of my three pieces measured to be 6 1/2” long. A typical scarf if about 50-55” in length. Mine ended up being about 58”.


Lay the cut pieces out in an alternating pattern. I used the sleeves of my lime green sweater to be the end pieces of the scarf.


Cut along the old seam of each of your pieces, laying them open flat.


Pin each flat piece to the next, right sides together, with a 1/4” seam allowance.


Double check that the right sides are all on one side of the scarf by laying it out flat.
My scarf started resembling a caterpillar at this point.


Sew together each of the pinned pieces on the wrong side of the material.


The seams should all be on the wrong side of the material. If not, pull out your handy dandy seam ripper out and get to work…


Fold the scarf in half, lengthwise. Pin together, leaving a 1/4” seam allowance.


Once the length of the scarf has been sewn a fresh new seam, turn it inside out.


I left the ends of the scarf open, but you can sure as heck sew yours closed. I wanted the option of smuggling candy inside of them if need be.


Try the cuteness factor of your scarf out by wearing it around the house. Add sassy stances and flip the end of the scarf around your neck until your husband notices.
When he asks you why you are wearing a scarf when it is still 94 degrees outside, tell him that you saved him $35 by making your own scarf from old sweaters.
I guarantee you that he will love your new scarf.
(Make sure you stop back by soon. I’ll be putting up the tutorial for the matching mittens for your sewing pleasure!)

Read more