Wooden Christmas Garland
Decorating for Christmas is something I look forward to all year-storing things away that I collect throughout the changing seasons-until I feel that first nippy bite in the air.
One of my neighbor’s had their visiting father-who I have come to adore-knock on my door this past spring. It was no surprise that he came to me with a stack of cedar chunks from a felled tree.
And to quote the father (with a severe southern drawl), “When I saw these, I just knew if anyone could do something with them, it’d be you.”
Apparently, my reputation precedes me….

And I hope I haven’t let him down or failed his expectations of just what I could “do with them”. For next to nothing, I have a unique garland made from reclaimed cedar wood that Anthropologie is probably jealous of…or at least, I’d like to think so.
I’ll be sharing the tutorial on how to make the cute little blue, brown & red trees next week.

Here’s what you’ll need to make your very own Wooden Christmas Garland:
Chunks ‘o Wood (mine were about 9″ in diameter)
Rope (I used 1/2 twisted nylon rope-blue hawk is a pretty good brand from Lowe’s)
Palm Sander and 80+ grit Sandpaper
Your favorite color paint/spray paint
Hammer & nails (not pictured)
Stencils
Blue Tape
Let’s get started!
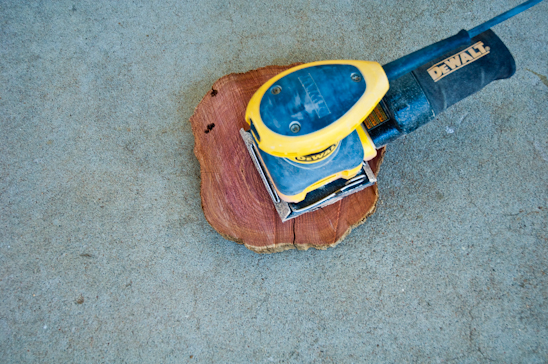
Lightly sand the wood, going with the grain if possible. I sanded mine just enough to not have burrs or splinters. I wanted my garland to be rustic.
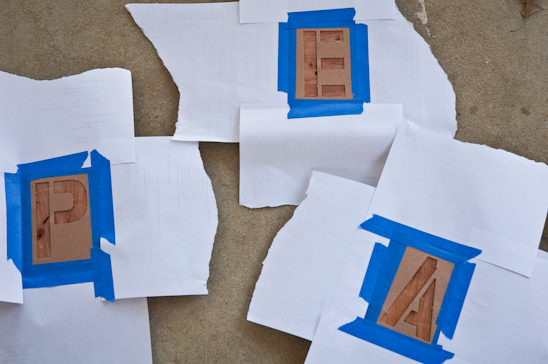
Choose your saying. I went with “Peace”, but considered “Boink”, “Poop”, and “Elephant”. I really didn’t have enough wood to do the latter and was outvoted on the first two by my visiting mother-in-law.
Tape down the stencils with blue tape, adding scrap paper if needed to protect the rest of the wood.

Spray away! I went with two coats, just to be safe.
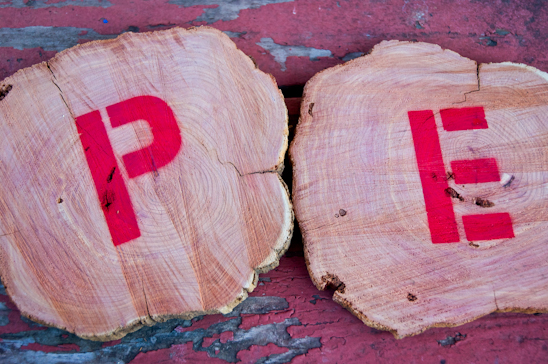
Remove the stencils. Stand back. Ooh and ahh until the neighbor gets curious. Then tell them to quit snooping, this is a top secret project.
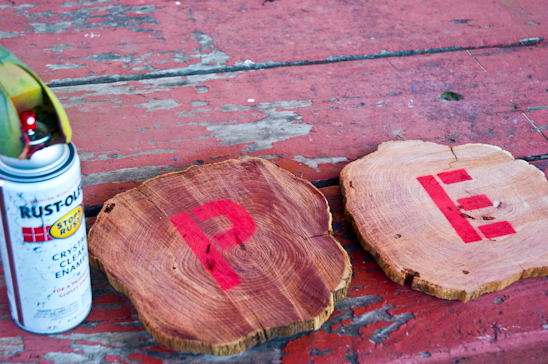
I gave the wood a light coating with a Crystal Clear Enamel, but you don’t have to. You could also add a layer of polyurethane instead. Either acts as a protectant and gives the wood a little sheen.
The “P” has been sprayed with it in this picture, but not the “E”.
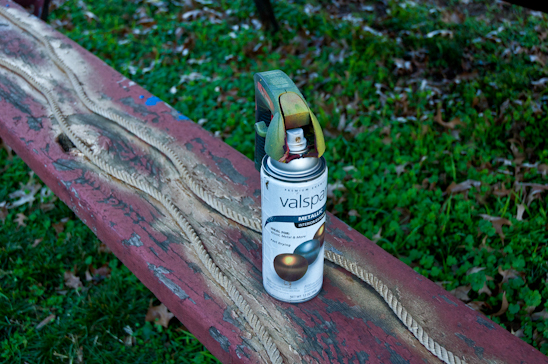
Spray paint your rope, if you so desire. I went with shiny, shiny gold. I like gold things-they’re kingly.

Once everything is dry, use your hammer and small nails to tack in the rope to the back of the wood. I used two nails per chunk of wood.

Hang your Wooden Christmas Garland where your little heart desires and enjoy.
Then call your neighbor to tell them you just finished your top secret project and you also have some warm cookies to share.
I bet they’ll be over in two shakes of a kitty’s tail.
