Tag Archive for: remodeling

Remodeling and Regrets-the Living & Dining Room Debacle

Dear Readers:

I have been dragging my feet for quite some time on an issue I normally attack with my ninja skills. I want to repaint and redecorate two rooms in my house:


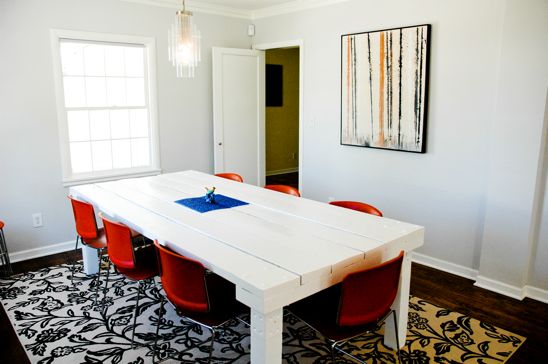
The Dining Room


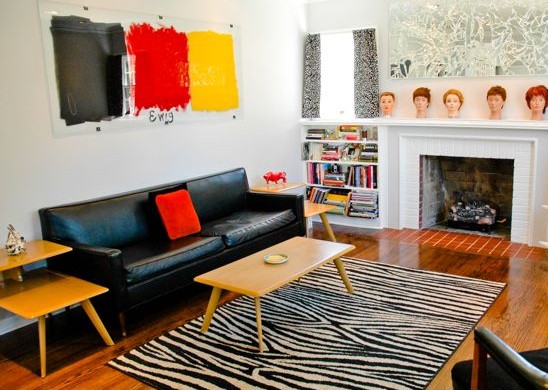
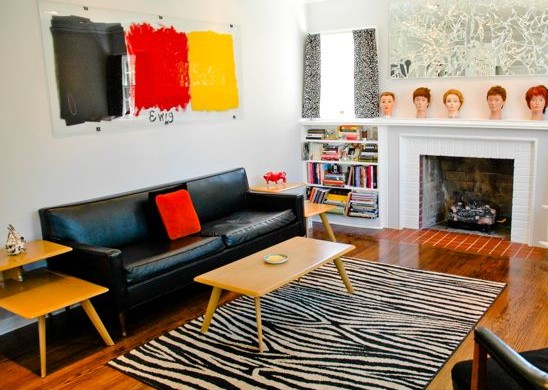
And the Living Room.

Now, there’s nothing wrong with these rooms and I do feel rather American wanting to redo a perfectly good room. The idea when we first chose this light gray paint was to have a very minimalistic, clean look (Bicep’s desire) but with a little color (my desire).

However, it just feels cold and blah.

I am determined to do it with no money out of pocket. This means selling things I own to buy new decor and paint, making deals and waiting for sales. I have been patient, grasshopper.


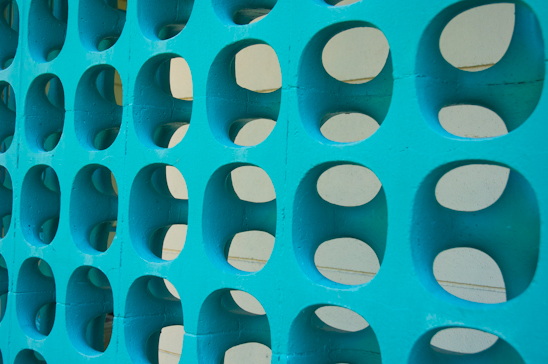
Here’s what inspired my color choice originally. While on tour, I came across this unique cinder block fence. I loved the turquoise color and filed the color in the back of my little creative brain.


Months later, I put together my case for change and presented this color board to Biceps. Lo and behold, the minimalist man liked the idea and enthusiastically supported it.

He has become a big supporter of my decorating prowess after I redid the Master Bathroom and Master Bedroom while he was on tour. I think he became this aforementioned big supporter mainly because he didn’t have to do any of the work. Heh.

So, dear Readers:

Here’s why I am writing to you. I have the inspiration, the go-ahead, the non-budget-budget and the time. It’s getting to the ridiculous point of just needing to pull the trigger and I can’t seem to do it. I think I’m afraid to paint a color so bold and possibly trendy. Should I just jump in, no regrets and slap that paint on the walls?


Read more

Living Room & Dining Room Redo?

Last week, I guest posted a portion of this idea over at The Wafflerwhich is dedicated to helping people make decisions on anything they are ‘waffling’ about. I received some input on a few things I was ‘waffling’ about concerning my living and dining room.

But, here is the full and expanded version of just what is going on in my  silly little brain concerning remodeling our living and dining room. And, I need your help (in more ways than one….)


Here are my inspirations for my living room in a nutshell. But, I married a non-typical man that actually cares how his home is decorated. He has given me the green light to redecorate the joined living and dining room spaces.


This is the dining room at present. When we first moved into this house, we went very basic with the color choice in both of the rooms.


Here in the living room at present. I’m read for something a bit more bold, full of style and warmth.


Here are some more of my inspirations. And since the pictures deserve a bit more justice, I will now expand and explain.


(Courtesy Home and Decor)
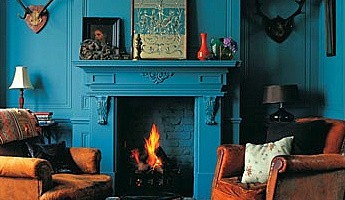
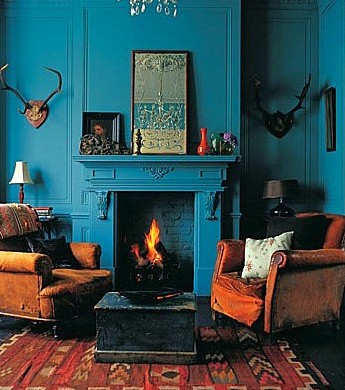
This was the beginning of my inspiration-turquoise painted walls with orange accents. This was also the turning point for Biceps to be ok with adding a little bit of color to our home.


(Courtesy Cococozy)
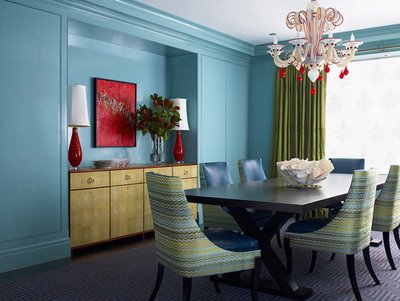
I love these colors together and think I can pull it off in both rooms. The dining room chairs are presently a deeper orange than the above ‘cozy’, but you get the idea.


(Courtesy My Champagne Taste)
I loved the color of this room with the silver, black and fuchsia accents. My accents will be a bit more orange.


(Courtesy the Decorologist)
I am ready to dive in and paint the walls something similar to this color.


(Courtesy Brocade Home)
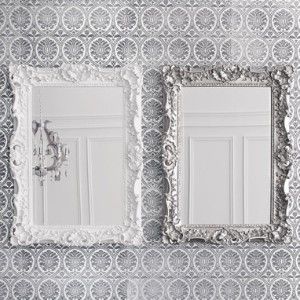
…throw up silver framed mirrors…


(Courtesy IPS Albania)
…and add a chandelier made from my backyard twigs and a brass light fixture spray painted white.


Here is where I need your help:
Do I keep the black couch in the living room (will it match the blue walls?) and the rugs that are currently in both of the rooms?


I think the orange chairs I already have will go with the turquoise walls-do you?

I would like to add window coverings-probably a soft ivory with a geometric border. What do you think?

Let me know what you think. I need you!
I don’t want to let Biceps down-he’s depending on me to make some good decisions. Once I see that turquoise on the wall, I may just loose it…..

Thanks -I can’t wait to hear what you have to say.

Read more

BFF & Remodeling Her Bathroom

My BFF-Cynthia, needed a new bathroom and she had a week of vacation with which to reinvent her commode.
After volunteering to help her far in advance, I then learned that one side of my family would be leaving town just as another would be coming in at this same time. Simultaneously, I contracted bronchitis from an unnamed source.

I didn’t get to help as much as I would have liked to. But, at least I was able to help a bit. We painted, installed hexagon tile-with the help of Biceps and removed excess grout together.

Cynthia hired a plumber install the toilet and a new vanity-I wasn’t about to try and tackle plumbing after my debacle with one of my rent houses. I flooded the second story with my awesome plumbing skillz.
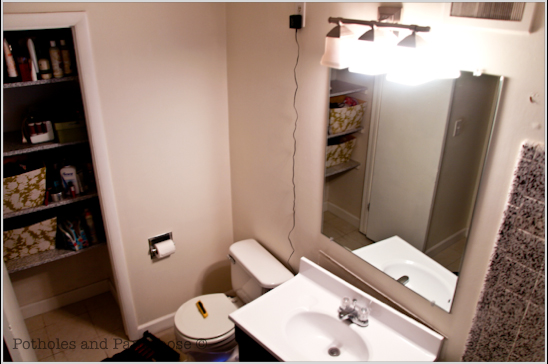


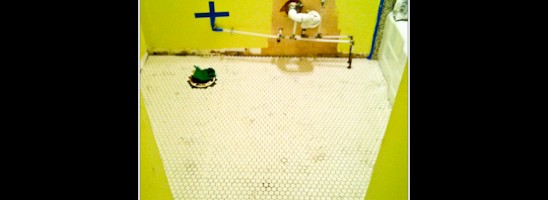
This is what her bathroom looked like before it was torn apart and renewed. Fine, but a bit boring.
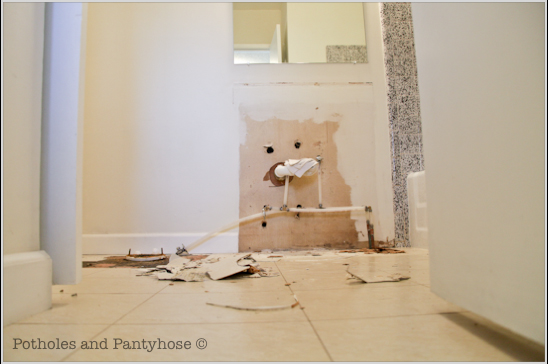


My sweet brother, Pat, donated his time and removed the old toilet and vanity.
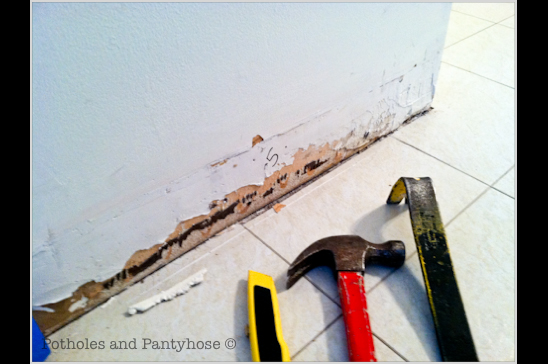


I removed and numbered all of the baseboards and light switch plates. We taped off the tiling and any other surface that needed to be protected with painter’s tape.

We knew we would get messy. Mostly on purpose.
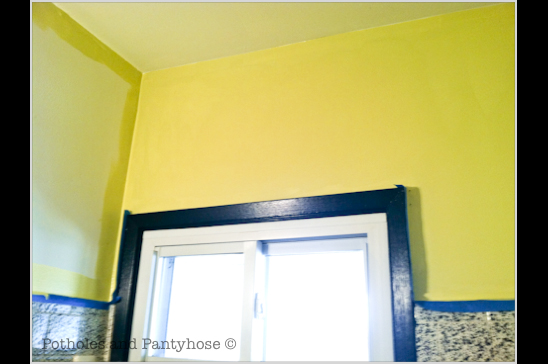


Cynthia chose a beautiful limey green color for the walls, with accents of grays and whites. I tackled the cutting in and she had fun rolling the walls. And my pants.
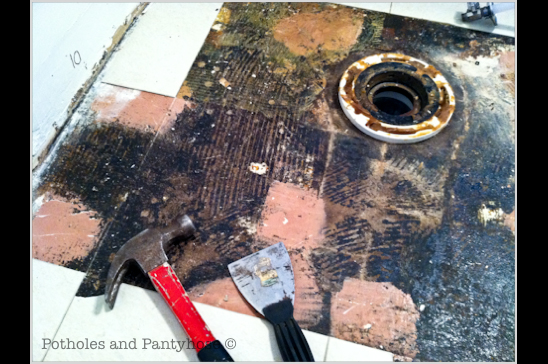


Next, there were some floor leveling issues that needed to be addressed where a few loose tiles had been removed. So, I addressed them and asked, “Why aren’t you level, you stupid floor?”.

There was no response.
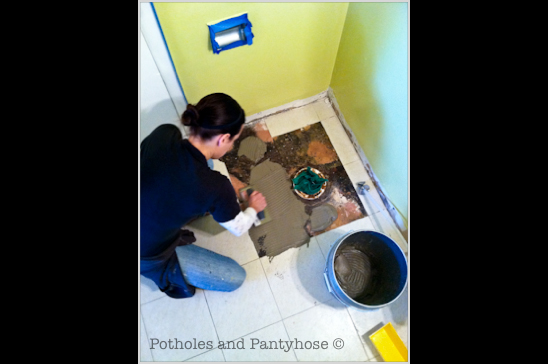


I grabbed my drill, a bag of dry mastic and got to work. Leveling a floor is a lot like icing a cake-except with dusty mastic, a drill, stinky clothes and severely dry hands afterwards.
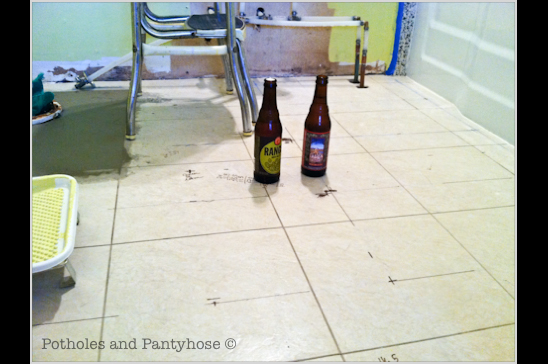


We then paused for a moment and had some refreshments. This is what I live for when remodeling…
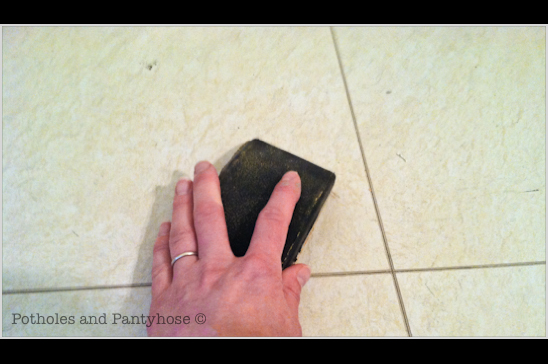


After our refreshments, we got back to work and scuffed up the linoleum floor with a sanding block, which helps the mastic stick to the flooring, holding the tile in place.
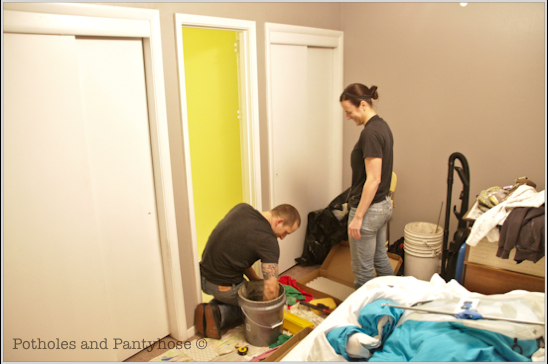


About halfway through the process of laying the tile, a frantic call was made to Biceps-who came right over.

That’s a good man.
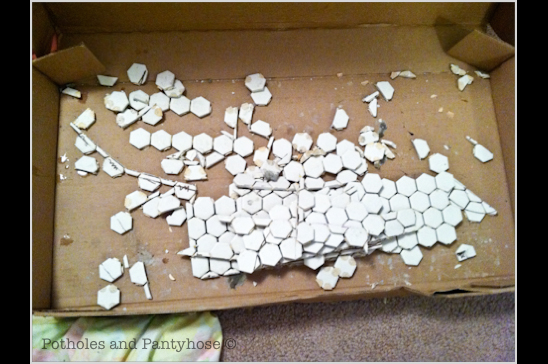


We had little spare tile to work with, the mastic was drying too quickly, the tile saw blade was dulling, the angles needing to be cut were giving me a mathematical headache and…I was getting grouchy.

Pictured here is all that was leftover of the tile. Talk about cutting it close-literally. Hah.
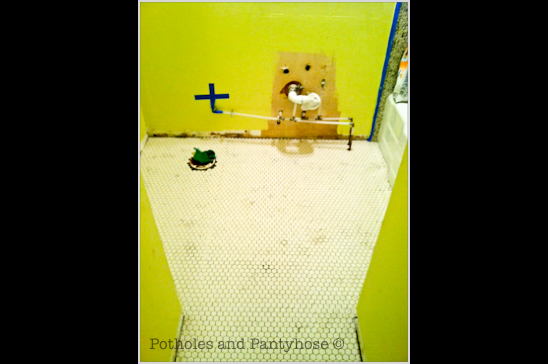


After the tile was laid; my backs, knees and fingers breathed a sigh of relief.
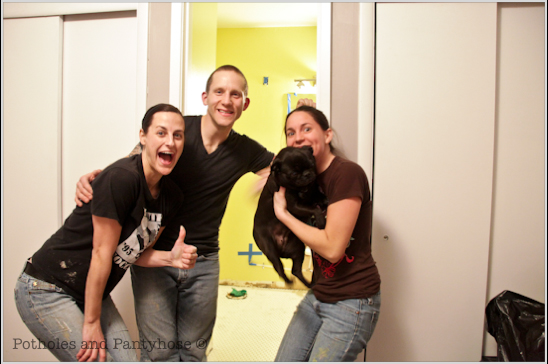


We were a little delirious by the end of the night, as can be seen here. Nothing like photographing stinky remodelers at the end of the work day and then posting it online for the world to see.

I like to keep it real. Real-real.
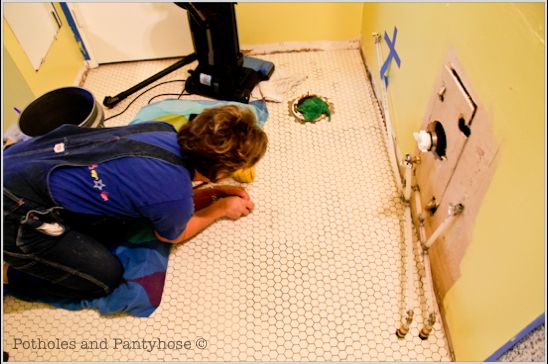


The next day, Cynthia’s sweet mother came to her rescue, cleaning out excess mastic from between the tiles-with a toothpick. This is one devoted momma.

The two of them decided to tackle grouting together.

It did not go as planned.

Bicep’s and I were called and headed over to lend a hand. We found two tuckered out hard working women who desperately needed a break. The grout they had applied was a little too thick and was drying-quickly.


We used everything we had on hand to scrape off the excess grout-sponges, a grill brush, toothbrushes. It was a tense couple of hours until all of the grout was off. Although, Cynthia’s mother was just as happy as if she were picnicking in the park.

I could learn a lot from this woman.
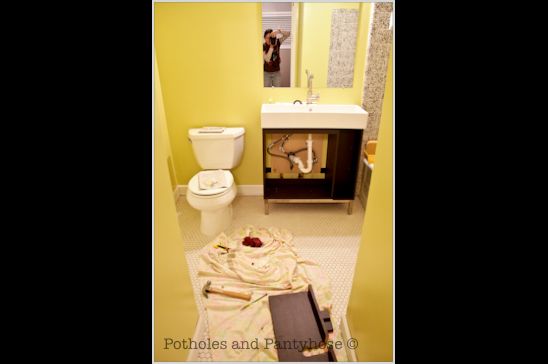


After the grout incident, Cynthia was able to install her brand new toilet and vanity.
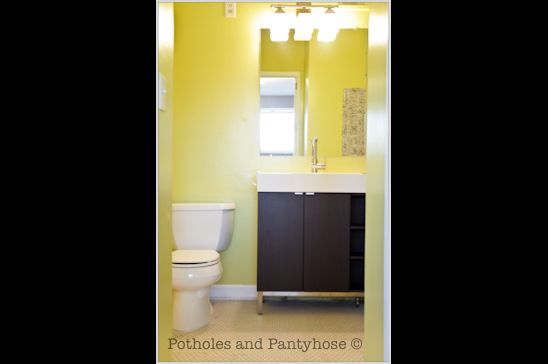


And here she is. So pretty.

I will post some pictures with the accessories Cynthia chose soon. Stay tuned.
Read more

The Master Bathroom Remodel-Part Deux

You’ll want to check out the Master Bathroom-Part Uno before jumping into this. You need to be prepared. And if you really want to be prepared, check out what I did with the adjoining Master Bedroom.
So, go-I’ll wait for you. But please, do come back.


Yeah! You’re back-I am assuming you have done what you were told and aren’t being naughty at this point. However, if you are being naughty, I know the feeling…
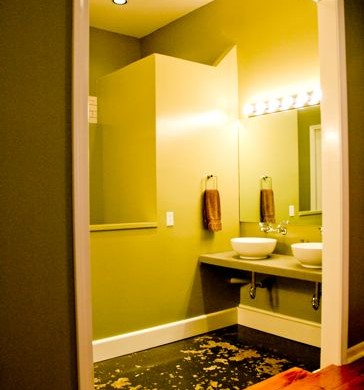
This is what I started with-a green room with absolutely no appeal, nothing, nada. Boring.

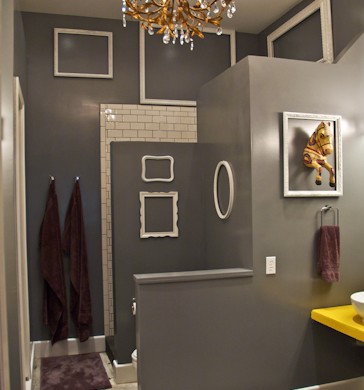
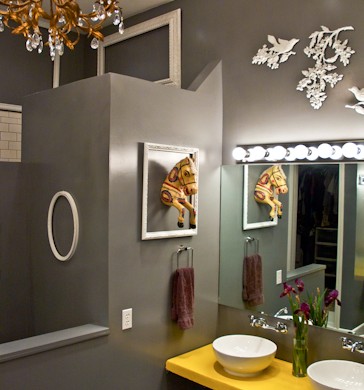
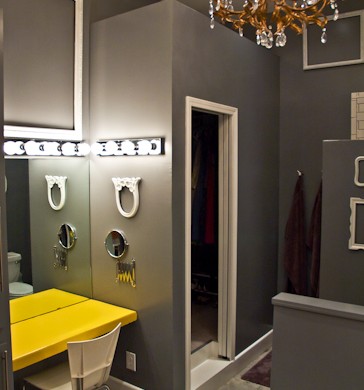
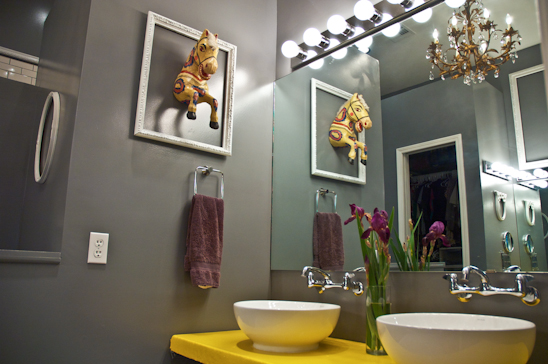
And this is where I left you in the Master Bathroom-Part Uno. Biceps was on tour without me (very sad) and I was being sneaky and remodeling the bathroom. I changed the wall color from green to a deep gray. The concrete floor and both vanities had been stripped of their old concrete stain. I painted the countertops canary yellow using garage floor paint. All the difficult steps are finished-now, it’s time to decorate!

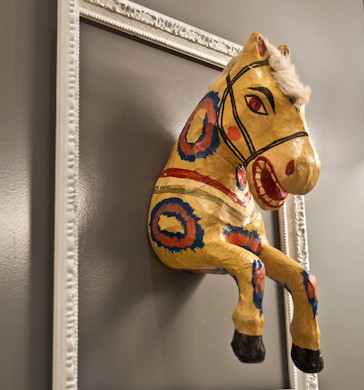
I found Harold (the horse) at an antique store in Jenks, Ok for $10. This was Harold’s first car ride. As you can see, Harold was very happy to come home with me.

Using Harold as inspiration, I began to amass several large and small frames-all of which I spray painted a high gloss white. I hung the empty glossy white frames on the gray bathroom walls, making them pop.

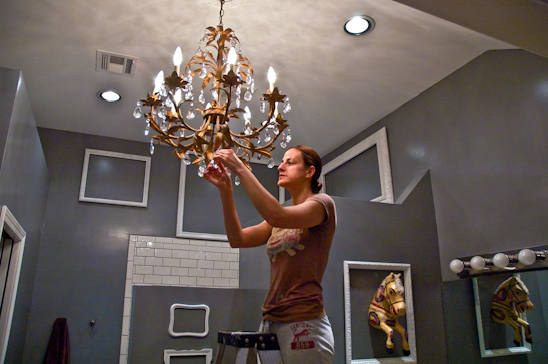
I found a chandelier at an antique shop for $15. For safety’s sake, I rewired it first. Armed with a can of gold spray paint, I repainted it and then antiqued it. I then watered down some leftover high-gloss black paint, and used a rag to rub the watered down black over the gold to antique it.
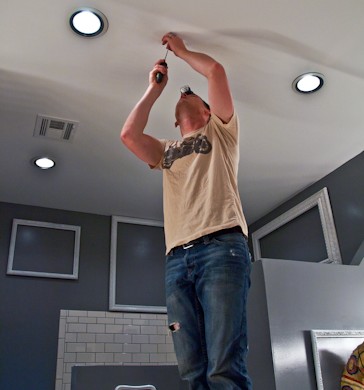
Next, I found a brother-in-law that came free with my marriage to my husband. He aided me in the electrical portion of my bathroom remodel. After determining the spot we wanted to hang the chandelier from, he went to work-cutting, wiring, and hanging.

I got to do the fun stuff associated with chandeliers-hanging sparkly crystals in the appropriate areas. I scavenged discarded chandeliers from other projects to come up with what you see here. Before hanging them, I first cleaned them with vinegar and water to really make them sparkle.

Since I was on my own when it came time to hang the frames, I needed a ladder, some dexterity and a lot of good balancing. And 911 ready on speed dial.

Harold witnessed me almost fall (more than once), but he just sat there and whinnied…jerk.

The three dimensional bird and branch motif that are hanging above the mirror, I snagged at our local flea market for a couple of bucks and spray painted them also high gloss white.

We’ll probably lay tile on the concrete floor at some point in the future, but for now, just the stain being gone is wonderful. If you hadn’t read in my earlier post, the “stain” decided not to stain the concrete and kept coming off in chunks and sticking to our little footsies.

Hope you enjoyed my new changes around my old house.
Harold (the horse) seems to be loving his new home, and so am I. I can hardly wait for Biceps to see it.

Read more