Tag Archive for: recipe

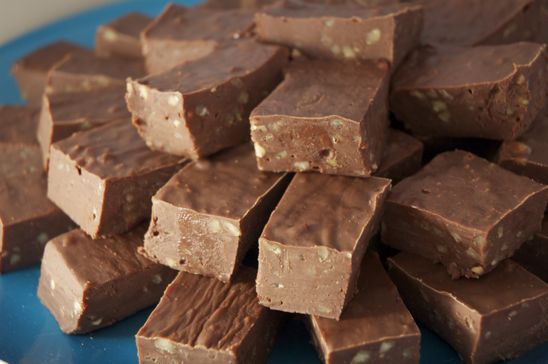
3 Minute Fudge

A good friend of mine stopped by with her husband and this recipe for 3 Minute Fudge one evening. I am not a fudge girl-for the most part. But, she changed my thinking that evening with her deliciously easy fudge recipe-and I haven’t looked back since.


This recipe is so simple, it’s hard to believe. Within 3 minutes, the fudge is made and you can sit back while it cools in the refrigerator.


Here’s what you’ll need to make this quick, yummy dessert:

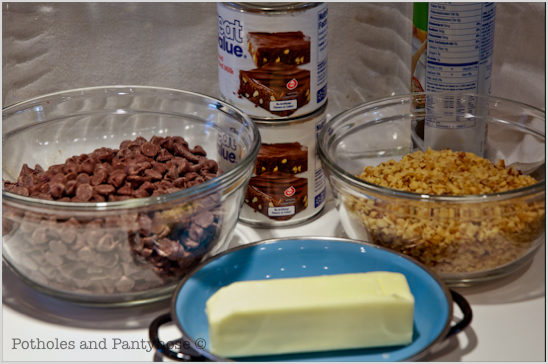
(2) 12 oz Semi sweet Chocolate Chips
(2) 14 oz Sweetened Condensed Milk
(1) Stick Butter-room temperature
(1) C Finely Chopped Walnuts


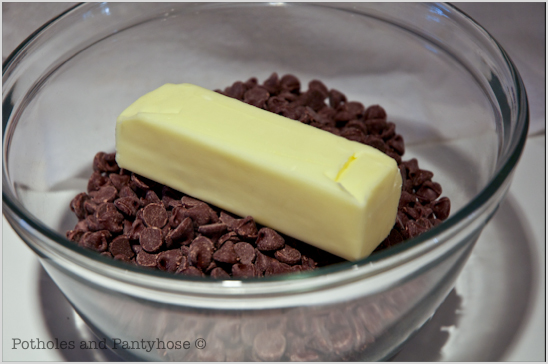
Combine the chocolate chips and the butter in a microwavable safe bowl.


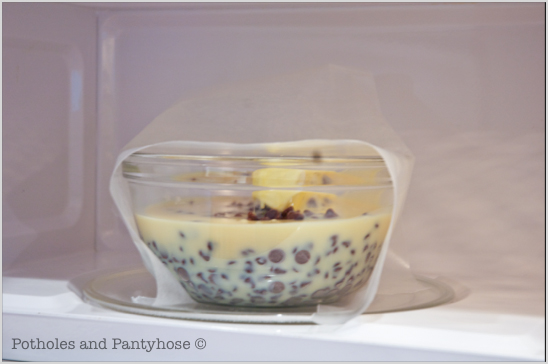
Add the 2 cans of sweetened condensed milk.


Cover the bowl with wax paper. Microwave for about 3 minutes, stirring every minute, until everything is melted and smooth.


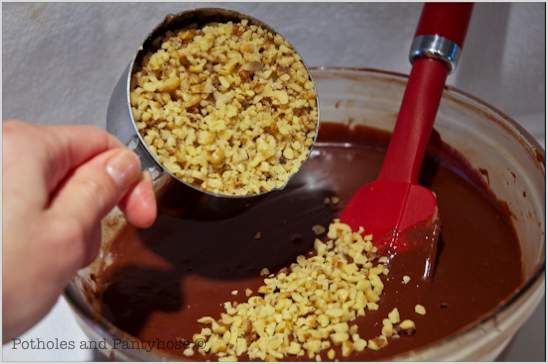
Stir in the cup of walnuts.


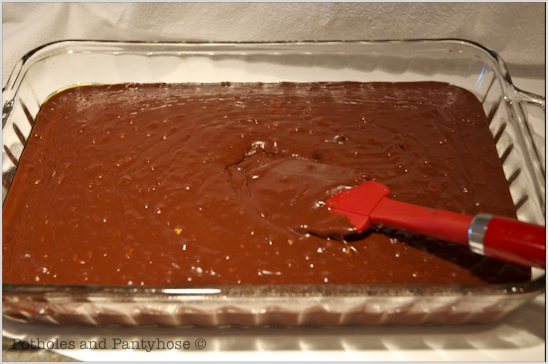
Spread the mixture evenly into a greased 9 x 13 pan. Cover and let the pan sit overnight in the fridge.


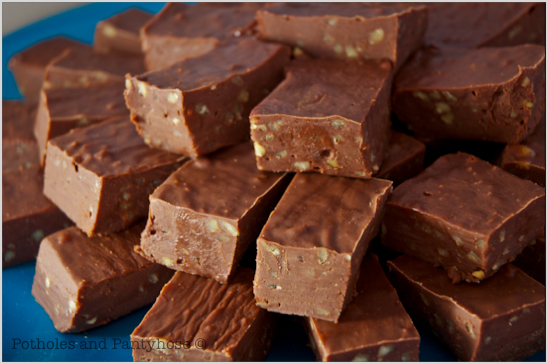
Slice into 1″ squares, pour a glass of wine, call a few friends over and enjoy!

Linking up here, along with other parties:
Today's Creative Blog

http://www.thethriftyhome.com

Read more

Cheap, Organic Face Wash

My month long challenge of slowly ridding our house of nasty chemicals began several weeks ago. Two weeks ago, I shared my Recipe for Facial Moisturizer  and last week-my DIY Organic Dishwasher Detergent.

I am concocting my own household replacements with little more than what I have on hand or what I can find at the organic market.

But the replacements must meet or exceed three important expectations for this frugal gal:
1. It must be easy to replace-no beakers or science lab experiments. Thank you.
2. It must be just as good or better than the current product I’m using and,
3. It must cost the same or less than the current product I’m using.


photo source unknown

If the product I create passes the final test-me using it for over two plus week to make sure it does its job-then I’ll be sharing it with you. I will break down the cost for you, provide you the recipe and give you my honest opinion of the final product.

Without further ado: here is Phase 3 of ridding my house of chemicals-Cheap, Organic Face Wash made from nothing other than oatmeal.


First things first-this ‘recipe’ is simple-so simple in fact, that it shouldn’t be called a ‘recipe’. Oatmeal naturally exfoliates the skin, reduces redness, fades out sun spots and leaves the skin feeling supple.


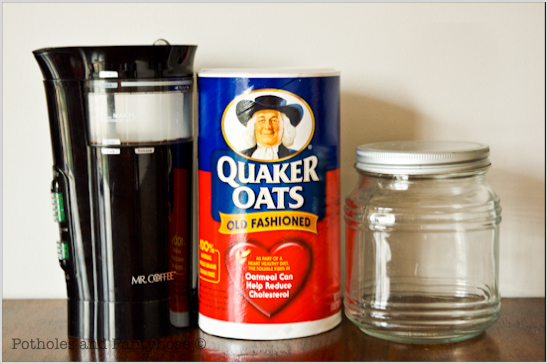
Here’s all that you’ll need for your Cheap, Organic Face Wash:

Coffee grinder or blender
Old Fashioned Oats (not the quick oats)
Jar


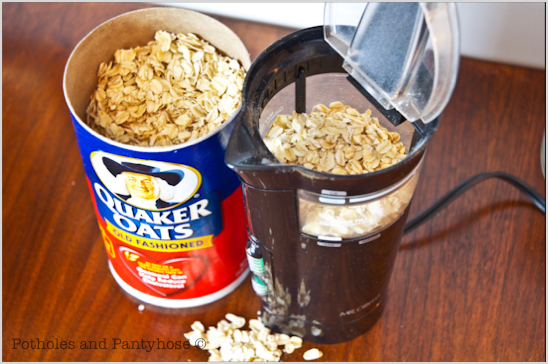
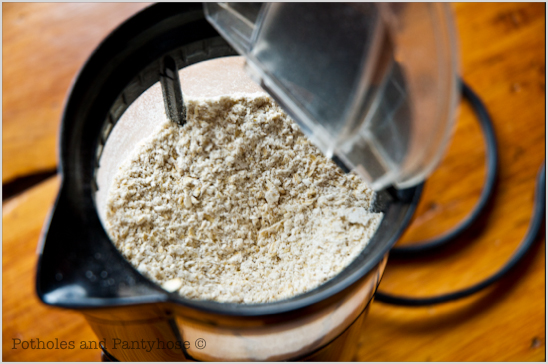
Grind about 1-2 cups of oatmeal in the coffee grinder/blender until it has become very fine.


There will still be a few chunky oats here and there, but for the most part it should be almost flour-like.


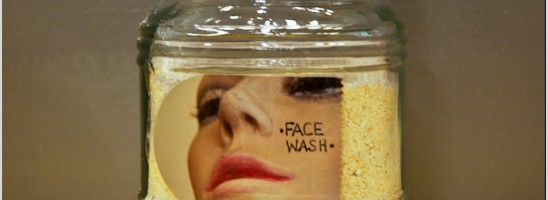
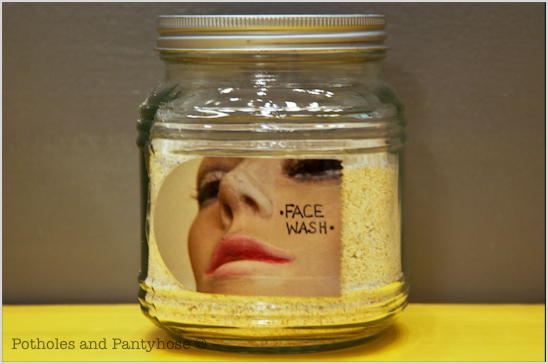
Throw the oats in a jar and label it with a cute label.


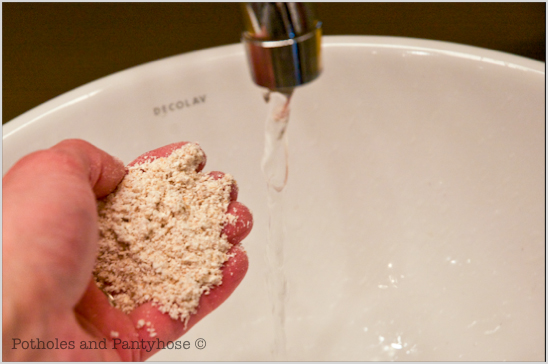
To use the Face Wash, grab a handful of the ground oats while standing over a sink.


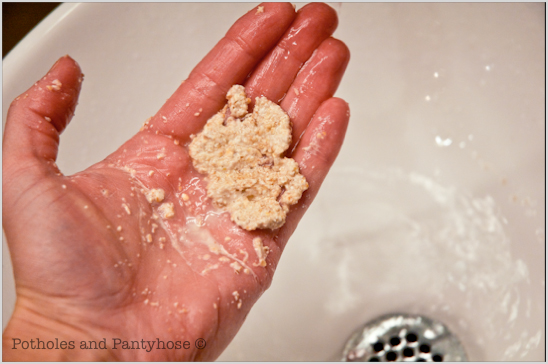
Add a bit of water to the oats, until it feels more like a dry dough.


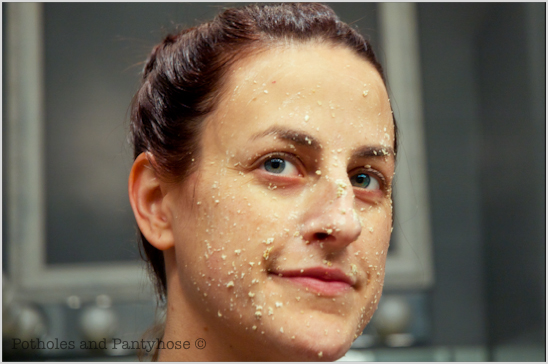
Humble yourself and take pictures as you apply the mixture to a dry face.


Rinse off with warm water. Take more humbling pictures of your crazy hair, sans make-up self that you share with the world.


This face wash costs approximately $.01 or less per usage. And I’ve noticed my sun spots fading. That’s stinking awesome.


Linking to this party, amongst others (here’s my full page of parties I link to): Today’s Creative Blog http://www.thethriftyhome.com


Read more

Pickled Jalapeno Peppers

After making enough Jalapeno Pepper Jelly to feed a small army, I still had more jalapenos than I could handle. I then dehydrated a large freezer bag full and then blanched another freezer bag full.
But, I still had at least six more pounds of jalapeno’s to deal with. Since you can pickle cucumbers, okra and just about anything else, I decided I would try it on my jalapenos. So stinkin’ glad that I did.

(This tutorial may look like a lot of steps, but I am also showing the canning process that is applicable to any type of water bath canning-just in case you aren’t familiar.)
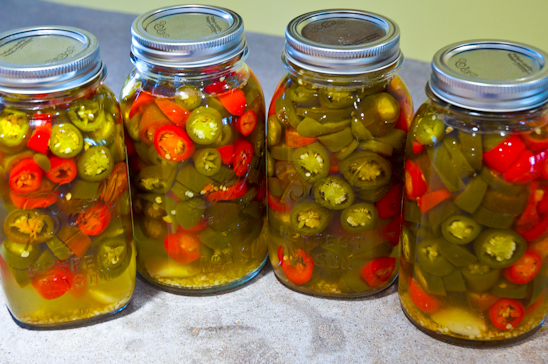
 

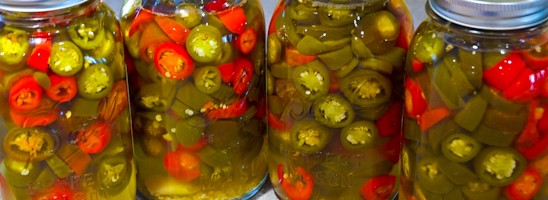
Pickled Jalapeno Peppers are tasty, a little hot and still crunchy. Throw a few in your chili, on top of nachos, hot dogs or even a pizza to add a little pizzaz. (If you don’t want them to be hot, simply remove the seeds and membranes).
The best part? They look fancy inside a mason jar and make inexpensive gifts!


Here’s what you’ll need to make your very own Pickled Jalapeno Peppers (this recipe makes the 4 quarts shown):

3 C Water
9 C Distilled White Vinegar
2 TBS Kosher Salt
1 1/2 tsp ground cumin
8 cloves of Garlic, peeled and left whole
6 Lbs Jalapeno Peppers-green & red (that’s about 180 small peppers or 60 large)

4 Quart Jars with lids and rings
Canner & canning utensils
Gloves


First things first, wash your jars, rings and lids in soapy water.


I am super particular about bacteria, so after I wash my jars, rings and lids-I put them in a large pot of boiling water, turn down the heat and let them simmer while I am making the jars’ contents.
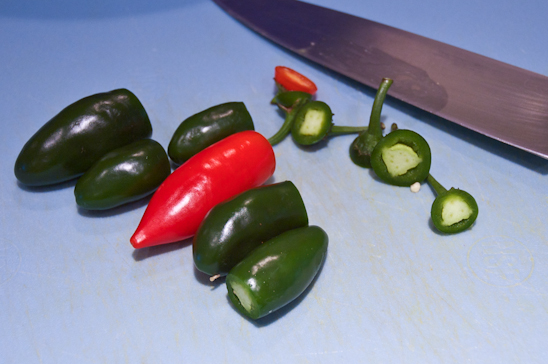
 

Slap on your rubber gloves and de-stem the jalapenos. At this point, if you want less hot jalapeno’s, cut out the membrane and the seeds.


Slice the jalapeno’s to be about 1/4-1/2″ thick.
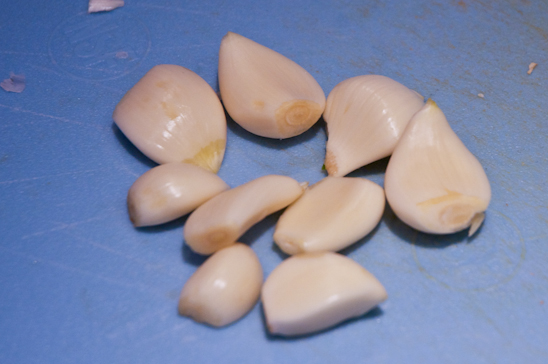
 

Peel the garlic gloves and apply slight pressure to each clove with your thumb. Don’t smash them to smithereenes-this is just to release a bit of flavor.


Now for the brine: Pour the 3 cups of water into a large stainless steel pot. Place the pot on a large burner on the stove.
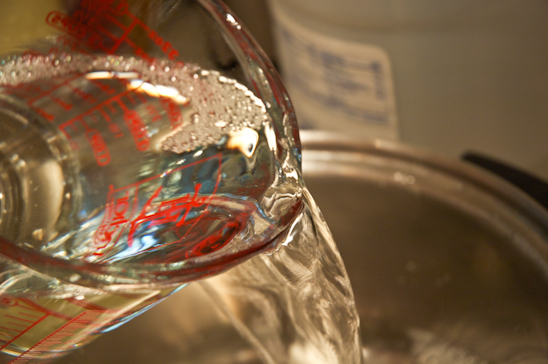
 

Add the 9 cups of vinegar to the pot.
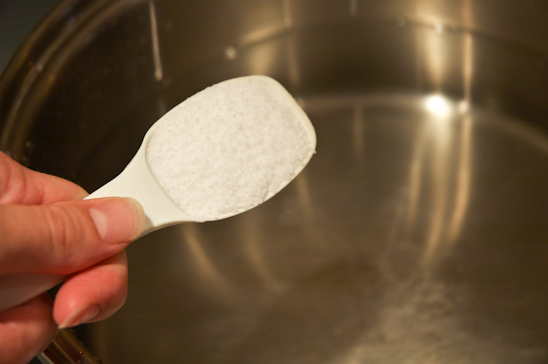
 

Add the 2 TBS of Kosher salt.
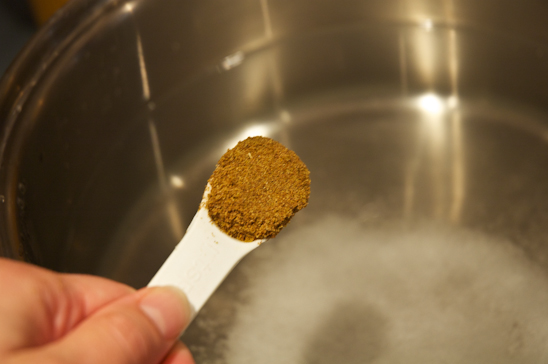
 

Finally, add the 1 1/2 tsp of ground Cumin.

Whisk all of these ingredients together and bring to a boil. Stir until the Kosher salt dissolves completely.
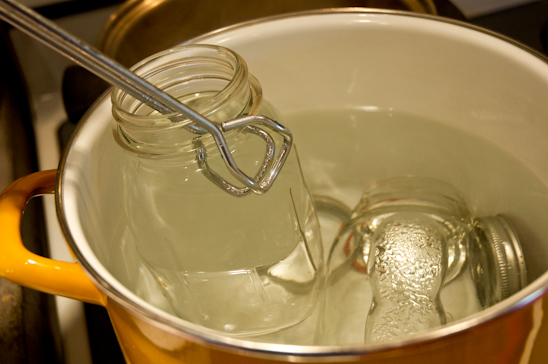
 

While you are waiting on the brine to boil, remove the hot jars, lids and rings with tongs.
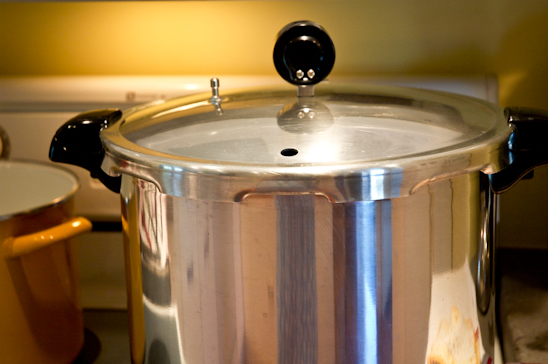
 

Also, while you are waiting on the brine to boil, fill the canner up with water, about 3/4 of the way up. Turn the burner on high, set the canner lid loosely on top-don’t screw the lid on as pictured here!.


Put a clove of garlic (or two if the clove is small) in the bottom of the sterilized jars.
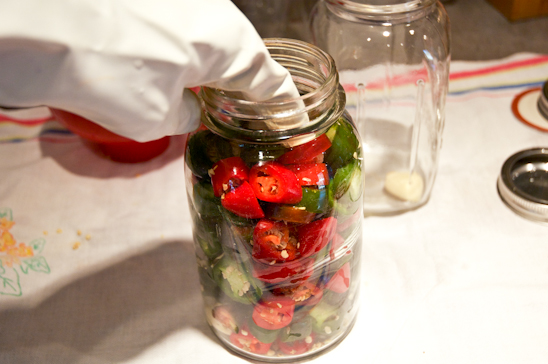
 

While wearing gloves, pack each jar completely full of jalapeno pepper slices.
 

Place the canning funnel over each jar. Fill the jar full of the hot brine, leaving a 1/4″ at the top of the jar.
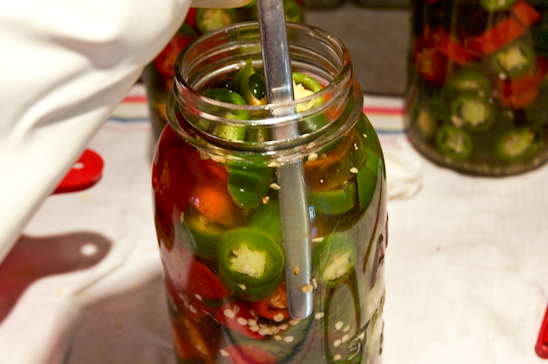
 

Use a knife to remove any air bubbles.


Remove any excess liquid from the mouth of the jar with a clean cloth.


Place the lids on the jars and hand tighten the rings.
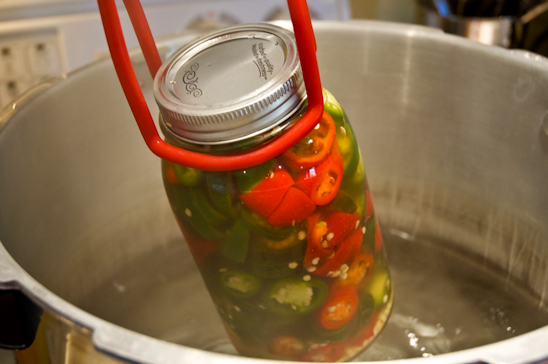
 

Using tongs, place the jars inside of your water bath canner.


Place the canner lid and process the jars for 10 to 15 minutes.


Remove the jars with the tongs, and set on clean dish towels on the counter. As the jars cool, you can hear a ‘ping’ which tells you the jars were processed correctly.


Store for 3+ weeks in a dark area. This allows all the flavors to get to know each other, mingle around, have some alone time and in turn-makes your jalapenos super yummy.

Keep opened jars for 6 months in the fridge-use only clean utensils to remove peppers. No fingers, please.
Keep unopened jars for a year.

This means you can make Pickled Jalapeno Peppers this summer after the jalapeno harvest and give to that special someone as Christmas gifts months later.

Easy, peasy, cheap and pleasy.
Read more

Cook-fest & bein’ real

For those of you that have been with me since the beginning when I started blogging in March of 2010, you may already know that I like to keep a clean house. If you are new around here, let me give you a couple of examples that highlight my ridiculousness. I color coordinate my closet, face the labels on all of my canned goods to the outside and have a system for almost everything.
We don’t have any kids, so it’s easy to do.
And thankfully, I married a man that is just as anal retentive as I am.
But, every once in awhile, I get a wild hair and get “my dirty” on.


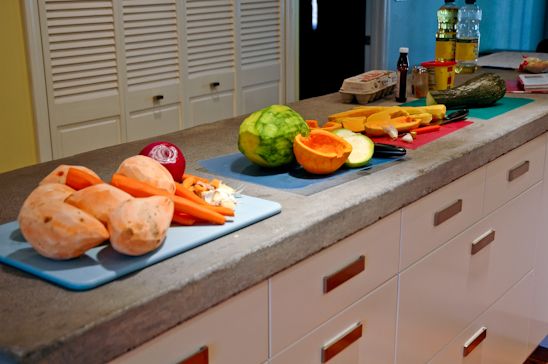
This is how Cookfest began. I decided today would be the day to experiment, use up my garden’s harvest from the past couple of days, try out new recipes, and freeze a bunch of goodies for upcoming visitors.


The peels multiplied as I came up with more and more ideas to concoct.


I lined up my projects, pulling out ingredients to make sure I had everything on hand. I didn’t. But that’s never stopped me before. I decided to avoid the grocery store and improvise per usual.


For dinner, I wanted to try out a recipe for roasted sweet potato, carrots, onions and garbanzo beans.


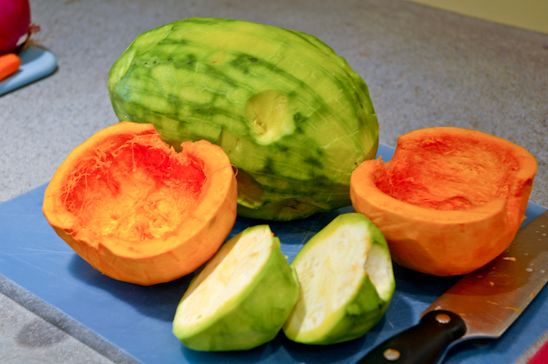
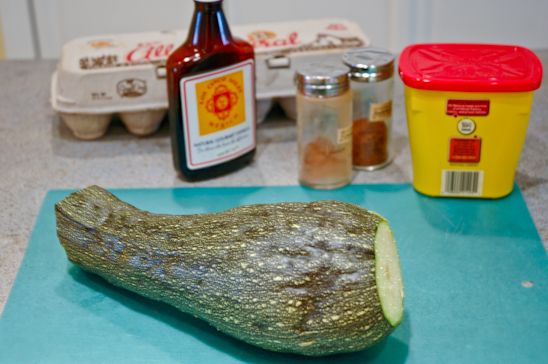
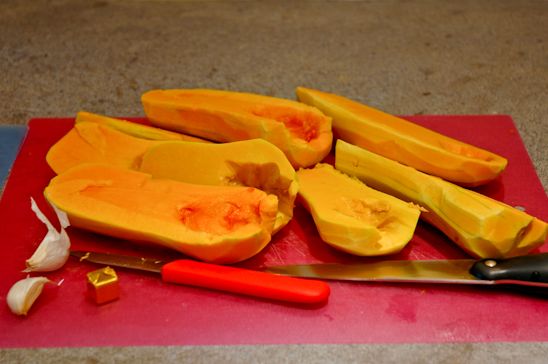
There was some naughty cross-breeding going on in my garden which produced 2 mystery squash. Add those to a small pumpkin and I decided they would be the basis for my “Pumpkin-ish Pies”.


Zucchini Chocolate muffins were next on the list.


And my craving for Butternut Squash Soup was satisfied with the few small butternut found in the garden.


Pureed Squash was everywhere, pots were boiling over on the stove, dishes were piling up…


…every mixing bowl, spatula, measuring cup and appliance was being utilized, covered in some mixture of squash, vegie peel, cinnamon and flour concoction.


And my normal sidekick-Biceps-was rehearsing for a show. What’s a girl to do but keep cooking, keep piling up the dishes and wipe down the cabinets covered in bubbly squash juice from time to time.


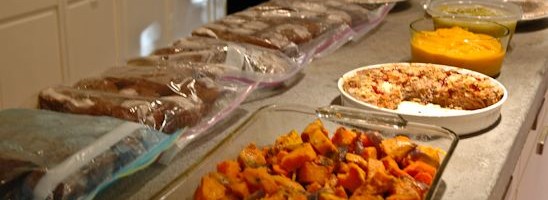
Cookfest started at approximately 2pm and lasted until 8pm. It produced 2 pounds of meatloaf, two casserole dishes of roasted vegies, two pumpkin-ish pies, 4 dozen zucchini muffins, butternut squash soup, mystery squash puree for future soups or lasagna, one extremely dirty kitchen and one tuckered out but delighted Rebekah.
Cookfest was a messy success.

Read more