Tag Archive for: rain barrel

Planning and Planting a Spring Garden

It’s that time of year again. Can you feel it?
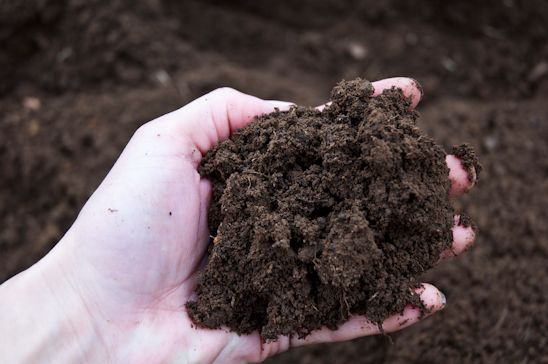
The soil is calling, the bunnies are ready to nibble on seedlings, and the compost is ripe. Ah…springtime. Time to plant the garden and reap the harvest.
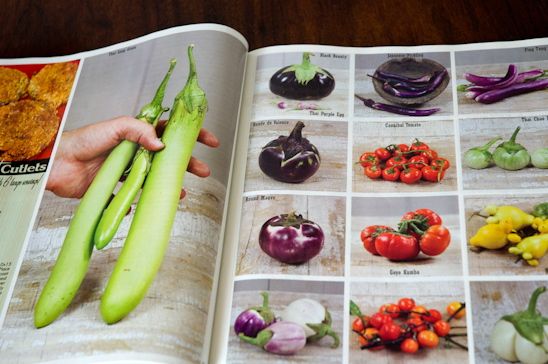


I start off by drooling over seed magazines-literally. Then, I move on to my mental “wants” vs “needs”. I’m partial to Baker’s Creek Heirloom Seeds, (thanks to the introduction by a lovely reader, Janice). The variety of heirloom plants and seeds that can be found in this magazine is utterly amazing.

Do you want purple cauliflower? Striped tiger carrots? Marbled tomatoes? Done.


Gurney’s Seeds also has a great variety of seeds and plants offered-they’re just a bit more mainline and most are not heirloom seeds.
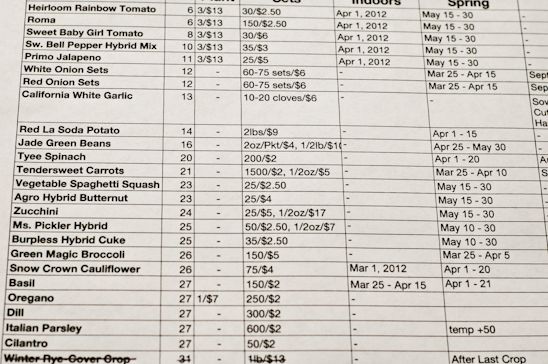


Next, I make an in-depth spreadsheet (because I’m a nerd) with what I absolutely need for the garden, price it all out and keep it all under $100 utilizing coupons and online discounts.
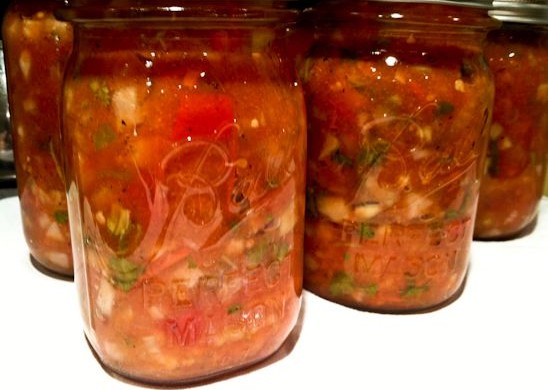


Spending less than $100 for an entire summer of produce-plus canning, dehydrating and freezing options-just makes sense.

Take that Whole Foods.
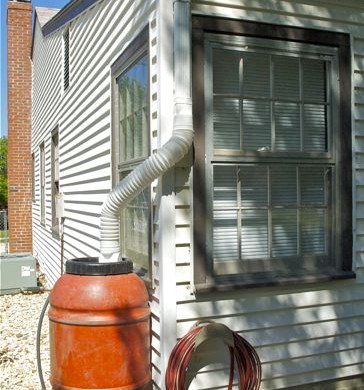


I save money on water by using Rain Barrels, making my own garden critter deterrents and utilizing my kitchen scraps to create compost.


I also save money by growing as many seedlings as my naughty cats will allow. Let’s just say we’ve had two instances already this morning. Wet paws, dirt and fur were flying.


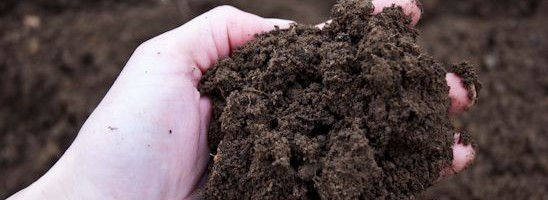
Next comes the soil test (which can be bought at Lowes & reused multiple times for about $5). I’ll usually need to add cow poop, ground up shells or bones-along with my winter compost. I also save money each spring by renting a tiller for about $15, instead of a hefty purchase price and then storing the dang thing.


Once the ground is warm enough (the “zone board” is fighting about whether we are a zone 6 or a 7, so I just go with my gut), I’ll either transfer the seedlings or plant directly into the soil.

Using soaker hoses conserves water and slowly offers the plant a dribbly drink rather than a monstrous monsoon. Dribbly drinks creates deeper and more established roots for the plant. I also like to cover my soaker hoses with weed-free, grass clippings, which helps to conserve water and keeps the soil moist.

Moist. Moist. What a weird word.
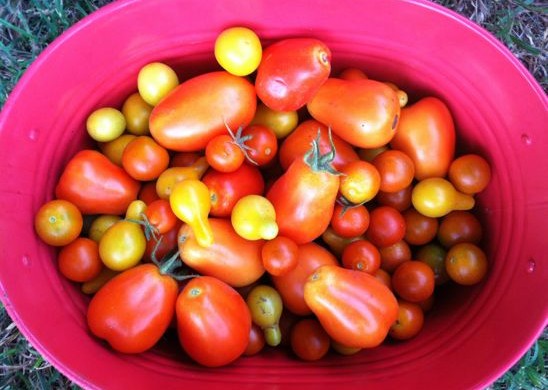


And wouldn’t you know…these little stinking seeds do what they’re supposed to do! It’s like there’s a God or something.

Before long I have more tomatoes than I know what to do with, zucchini coming out of my ears and a steady diet of fresh, pesticide-free produce and herbs.
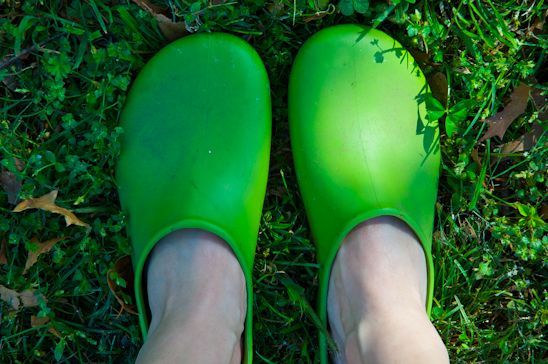


Typically, with the first harvest, I do a little green clog jig in the garden while the neighbors watch on with bewilderment.

Ah…springtime. I love this time of year.
Read more

It’s a Rainy Day-Garden Prep

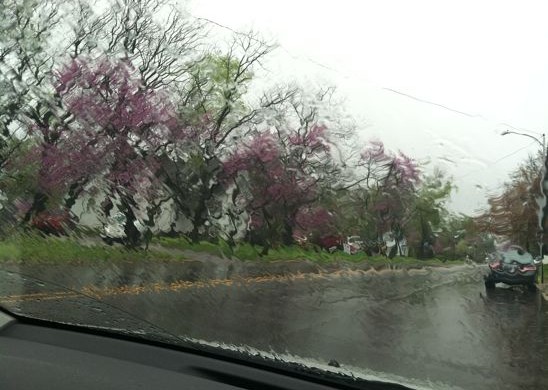
Today was the day for planting my garden. But, mother nature has been in a bad mood-crying all over the place. It has rained for the last three days-with tiny spurts of dryness in between monsoons.


So instead of donning mud boots yesterday, the best friend and I had a day trip planned for Arkansas. But, I’ll tell you more about that soon.


In the meantime, I know that my two DIY Rain Barrels are filling to capacity.


And my empty DIY Composter is getting a good cleansing.

But, I am ready to attack my garden with shovels, seeds and stakes. So mother nature-you’d better dry those tears up soon. No one likes a cry baby.

Read more

Happy New Year! (Favorite Posts and Stuff.)

Dear Readers-
It’s a brand new year. 2011 is gone. 2012 is here. To celebrate moving forward, I thought I would peer back into my archives and share with maybe the newbies what was most popular here at Potholes and Pantyhose.
Here are a few favorites from 2011-those with the most comments, or the most hits.
 

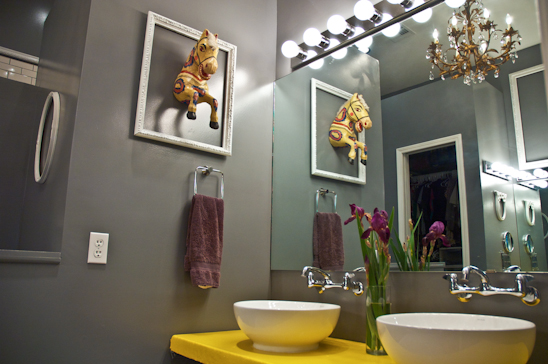
Remodeling my Master Bathroom was a pleasure and a success.
Biceps was out of town and I got to work recreating our boring bathroom. I loved the end result-as did Biceps. I think he mostly loved not having to do it himself….


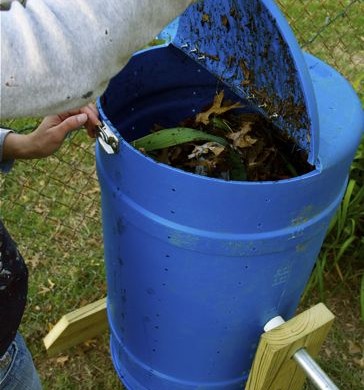
Secondly topping the list was my DIY Spinning Composter:
This horrible picture of me has been repinned on Pinterest over 2K times. I wish I would have had the foresight to change out of my work clothes. I suppose it’s good for you to see me grubby and gross from time to time…


My Broken Mirror Art still gets a lot of action.
Biceps and I created this mirror from sections we no longer needed after our remodel. It still sits above our fireplace and still gets the oohs and aahs from newcomers.


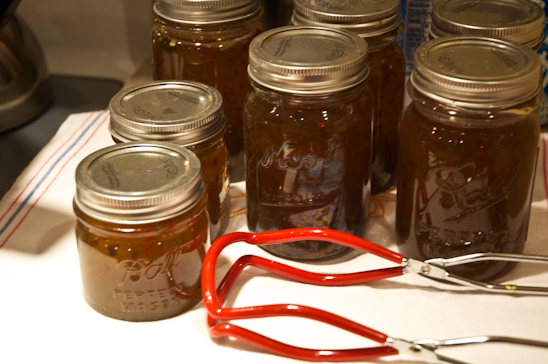
My tutorial on Canning Jalapeno Pepper Jelly received more responses than I had anticipated.
The recipe is very simple-and if you don’t burn yourself on the hot steam from the canner-it’s also pretty painless.


I have no idea why, but this silly little post seemed to spark some conversation. My frizzy hair needed help, and I asked you for your input.
You have never failed, me dear readers and gave me tons of insight into the world of hair care.


My Pretty Paper Christmas trees not only got a lot of ooh’s and aah’s around the internet world, they received praise from family members and friends alike.
Turquoise and red have become a favorite of mine. Free and cheap are also favorites.


For fear of boring you, I’m ending with this post. My DIY Recycled and Cheap Rain Barrel.
This is a simple solution to gathering your roof water. The tutorial is rather simple, the process takes a few hours and you can go to bed at night knowing your water bill won’t be astronomical during the dry season.
 
I hope you’ve enjoyed a walk with me down memory lane. I know that I have enjoyed my time with you!
Have a great New Year-be safe, drink lots of water and don’t eat too much cake.
Happy New Year!

Linking up to: http://diyshowoff.com/2012/01/diy-2011-recap-party.html

Read more

DiY Recycled and Cheap Rain Barrel

Taking on the responsibility of gardening this year brought about several financial questions that Biceps and I had to discuss.

One-How can I garden with my cost being minimal while also yielding the best produce?

Two-What kind of cute garden accoutrements can a girl justify buying in order to really enjoy the gardening experience, i.e. pea green garden clogs, flowery leather gloves, etc.?

Our first experiment was making our very own and very cheap “DIY Spinning Composter”.

It took a couple of hours and a couple of bucks, and voila-rich, lovely compost. Mmmm….


Our next experiment was making our very own DiY Rain Barrel.
Did you know that with only ONE INCH of rain, a 1,000 sq. ft. roof will produce 600 gallons of water? What the heck! We decided to make two rain barrels for the back of our house. If I had my way, they’d be surrounding the house….
(Of course, there are many stores that sell rain barrels-but that seemed too easy. Plus the price tag of $80-$300+, made most of them outside of our “cheap” budget.)
We started off by buying a recycled pepper barrel from Atwoods for $35.


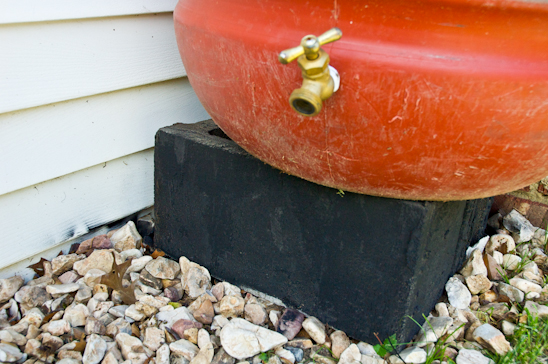
It came complete with a spigot…


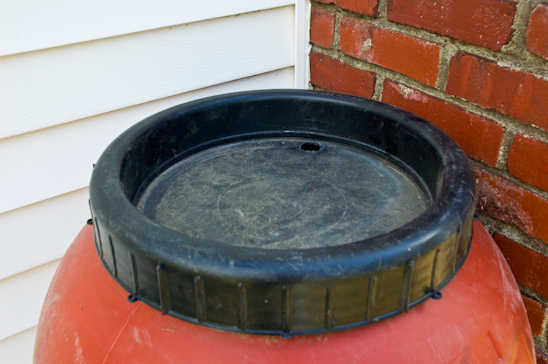
…a lid that screwed on and a bonus-it’s very own peppery smell.


And the rest of the necessary items needed we purchased for less than $10.
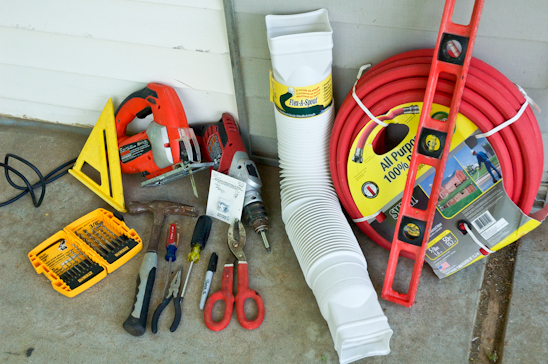
Here’s what you’ll need to make your very own rain barrel:
Drill and drill bits
Hammer
Metal Cutting Shears
Jig Saw with wood blade
Phillips & Flathead Screwdrivers
2′ or 4′ Level
Old window screen
Hose (Buy a new one, recycle an old one)
Flex-A-Spout (Lowe’s, Atwoods, Home Depot)
(4 ish) White sheet metal screws for gutters (Lowe’s, Atwoods, Home Depot)


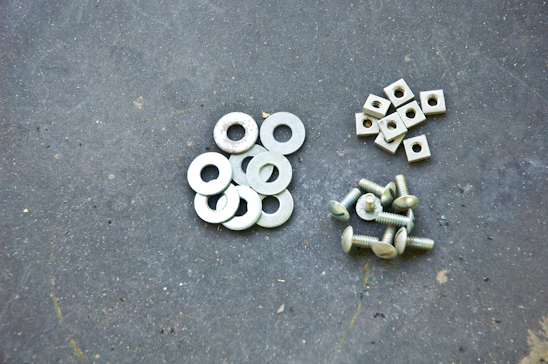
…1″ Bolts with washers and nuts (we have a coffee can full of these, but if you must purchase them, you might spend $1-2)


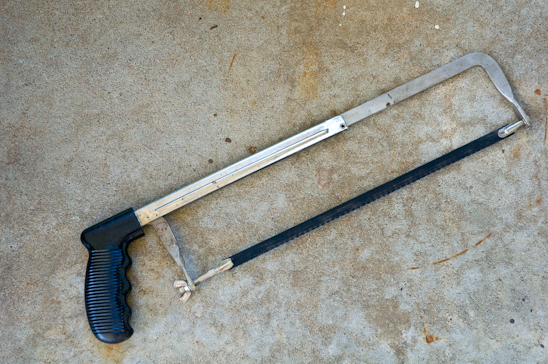
…and a Hand Saw with metal blade


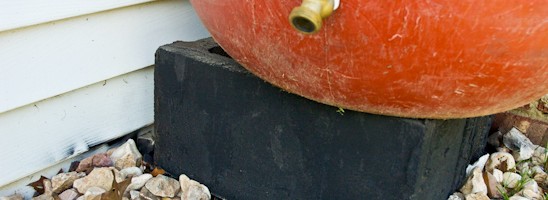
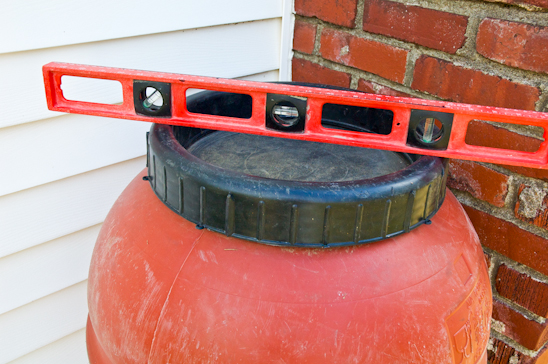
We raised our rain barrel up 6″ in order to have gravity take control of the water flow. If you are placing your rain barrel on a slope and watering below, you can skip this step. I would recommend raising it as high as you can safely-(NOTE:1 gallon of water weighs about 8.35 lbs, so a 55 gallon barrel full of water weighs approximately 460 lbs.).


Level the barrel to avoid any topsy-turvy action.


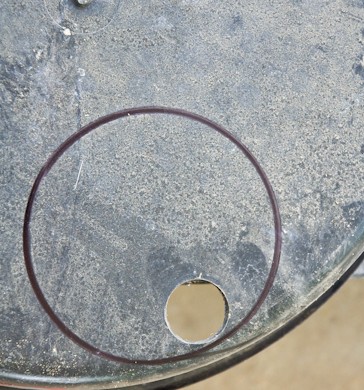
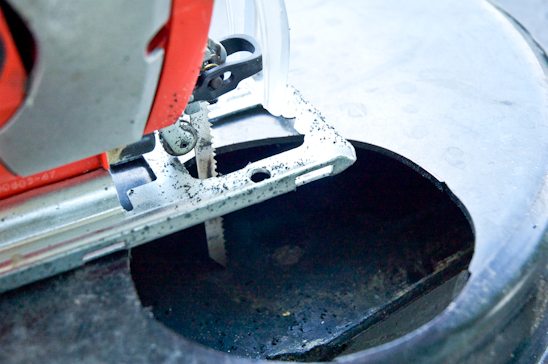
The first step was to trace where I would cut a hole (I used my coffee can) in the lid to allow the water to flow from the downspout and into the barrel.


Using my jig saw, I cut out the traced circle.


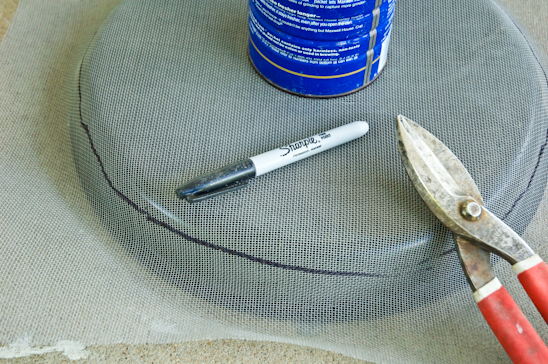
Next, I cut out a circle of screen with my metal cutting sheers to cover the entire top of the lid. The screen will catch tree limbs, nuts, and roof debris before it enters the barrel.


I pre-drilled five holes around the top of the lid. This is where the bolts will go to hold down the screen.


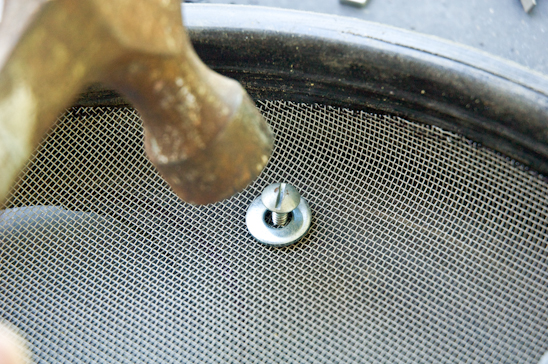
I laid the cut screen on the top of the lid and pierced through the screen with a hammer and a nail, into the pre-drilled holes. This will allow the bolts to go through easily.


The bolts and washers came next. I pounded the bolts through the pierced and pre-drilled holes in the screen. On the underside of the lid, I tightened the bolts by adding nuts.


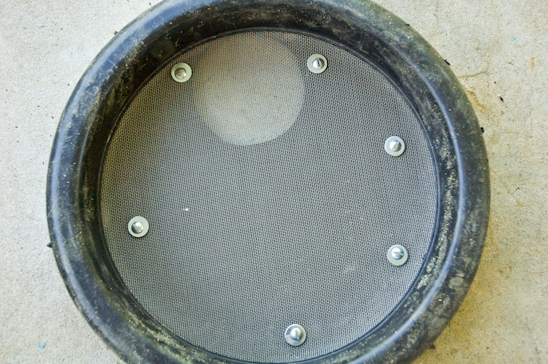
Here’s what my finished lid looked like.


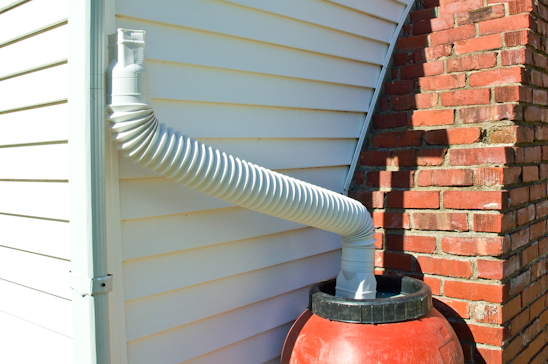
Next, I determined where my Flex-A-Spout would need to attach to my gutters while still reaching my barrel.


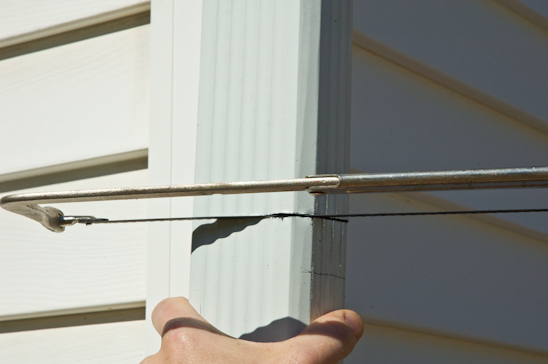
After marking on my existing downspout where the cut would be made, I got to work with the hand saw.
To be honest, Biceps is cutting so that I can take the picture.


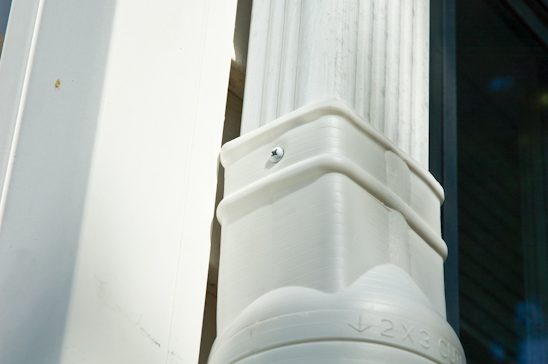
I pre-drilled through my Flex-A-Spout and into the existing downspout before adding the white sheet metal screws on all four sides, cinching the two spouts together in perfect harmony.


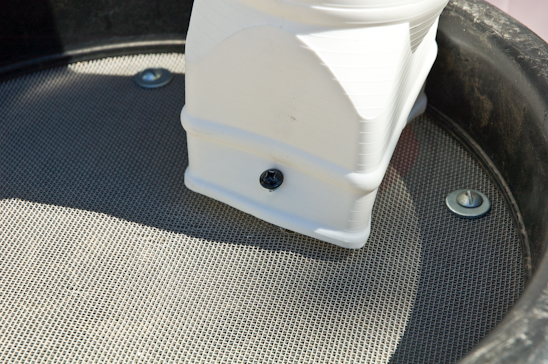
For good measure, I screwed the end of the downspout into the rain barrel lid with a 3″ exterior screw. I didn’t want it to be flopping around during a high wind and embarrassing itself.


I would recommend drilling out a large hole at the top of the barrel for overflow. I even attached a hose to this in order to feed the overflowing water into another barrel or trashcan during an intense rain.
Attach the hose to the spigot, and voila-you are done!

Now you don’t have to freak out each time you want to water your garden or fill up your bird bath. Or maybe you weren’t freaking out, but still would like to have a rain barrel.

Either way, it’s win-win.

Read more