Tag Archive for: hardwood flooring

Recycled Wood Art

A bag of hardwood flooring bits have been sitting in my shed.
For awhile.
The last time they fell from the shelf and hit me in the head, I decided it was time to show those bits who’s boss.

I love making ironic pieces. And I really love it when they cost me absolutely nothing.


Here’s what you’ll need to make your own variation of Recycled Mod Art:
Hardwood scraps-ask a flooring man to save a bag full for you
Plywood scrap (mine was about a 2’x3’)
Stain
Polyurethane
Foamy Brush
Sand Paper-forget the palm sander–not needed
Oops Paint & roller
Nail gun w/ appropriate nails or gorilla glue
Table Saw & Chop Saw
Level
Hammer
Sharpie


Paint your plywood scrap with a bold color. I chose red because we had it on hand. But I really would have preferred orange.
Oh well. That’s the way the paint chips crumble…


Set up your table saw and create a ‘push stick’ for yourself if you don’t already have one.
Cut the tongues off of your wood bits.
Sounds gruesome, I know.


Using your chop saw, cut the lips off of your wood pieces.


Your little wood bits should look like this when you are finished hacking them to pieces.


Hand sand any little burrs from your wood bits using a very masculine and furry hand model for the occasion.


Stain your wood bits with your choice o’ color and let dry.
I would suggest wearing gloves, unless you like the street urchin look.


After deciding what pattern you like, you can either use your brad nailer to shoot your wood bits to your plywood scrap or attach them with gorilla glue.
I was tempted to go with a box that became smaller and smaller, or a random flowing line of wood bits…but ‘The City’ called to me and I wouldn’t deny it.


If you do opt for gorilla glue, I would recommend doing this ghetto method, or getting fancy and using real wood clamps to hold your bits into place overnight.


I drew my title for the piece freehand using a sharpie.


Use your foamy brush to apply a thin coat of polyurethane on the entire piece and let dry according to the manufacturers directions.
Or in my case, until it no longer sticks to your fingers.


Behold….


…your masterpiece beckons to be hung on the wall.

Read more

My Home Tour

I love being on the road with Biceps.
But the smelly bars, graffitied bathrooms and late nights
can take a toll on a woman.
I love my safe oasis, my clean house.
I need my nest. Tweet, tweet.

And as they say in Oklahoma:
“Ya’ll Come On In and Throw Your Feet Up!”


Our kitchen is the hub of any and all activity. I spend 99.99% of my
time here. Maybe a little more. Either I am cooking, cleaning up my mess from cooking , or I am merely entertaining guests that drop by. The countertops are trowel finished concrete and the floors are the recycled haymow flooring from Bicep’s family’s century barn.
The cabinets? Well…Ikea, of course.


This is a little sitting room off of our kitchen. I picture our children (not that we have any) playing intelligently with blocks and reasoning out conflicts amongst themselves while listening to Mozart.
But for now, this is our workout area every morning. We just scoot everything out of the way and get crazy.


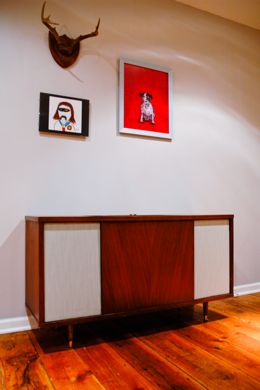
In the same room sits this little disguised piece of furniture. I gutted this stereo cabinet to house all of our workout equipment and our weights.
Aren’t I a sneaky little devil?


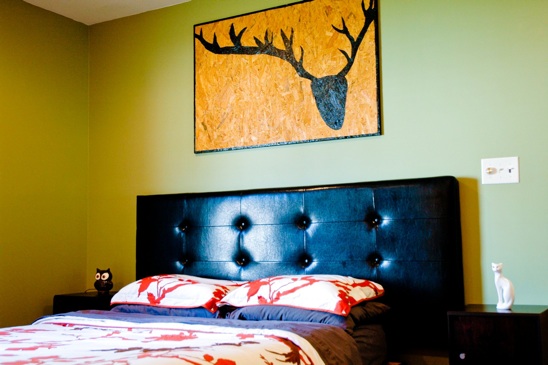
Ah…my bed. Nothing is better than coming off the road, leaving behind hotel rooms and not-so-sure-if-they’re-clean sheets…to this room. It may be plain, but it is complete serenity for me.
Learn how to make the Scrappy Art hanging over our bed.


We reconfigured a huge ‘bonus room’ to be our master bedroom. And wouldn’t you know it, we got a fireplace out of the deal? I love lighting this sucker in the winter, drinking tea and eating my homemade ginger snap cookies. I just might have to share my secret ginger snap cookie recipe. Those cookies make me salivate just thinking about them. Yum…I think I need a moment.


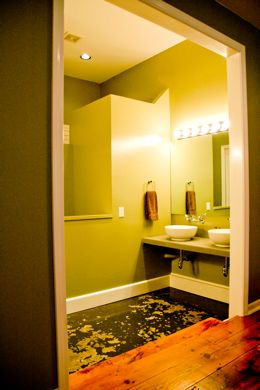
We made a dream bathroom out of a weird stinky moth-ball hallway and some wasted space in a ‘sauna’ room.
I love our bathroom-concrete floors and countertops, two sinks, a huge walk-in shower with two shower heads…


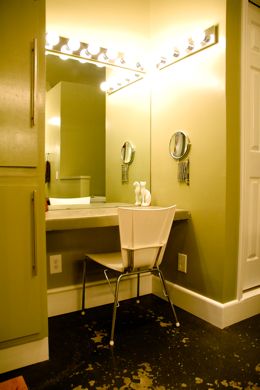
…and my own make-up area that Biceps has no reign over.


Little known fact: I like to throw parties, I like to entertain, I like to feed people until they can’t eat anymore.
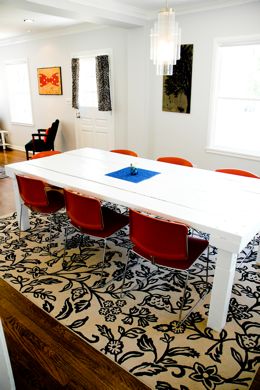
The size of our dining room table was therefore very important to me. I wanted something to seat twelve while the entirety of the menu sat in the middle of the table for those second-helping kind of people.
We made the table from more barn wood salvaged from the in-laws
family barn.


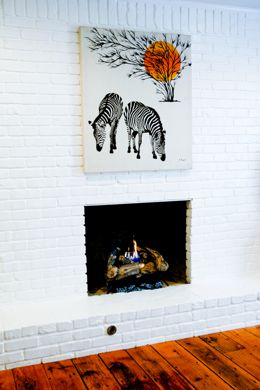
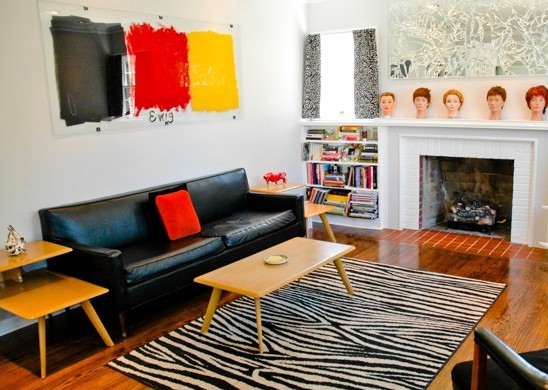
Our living room is perfect for us. There’s a great amount of space to expand into, the fireplace is perfect for those cold Tulsa winters….

(Learn how to make the Mirror Art hanging above the fireplace.)


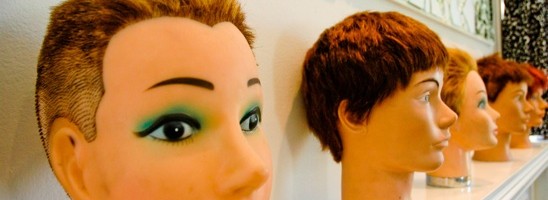
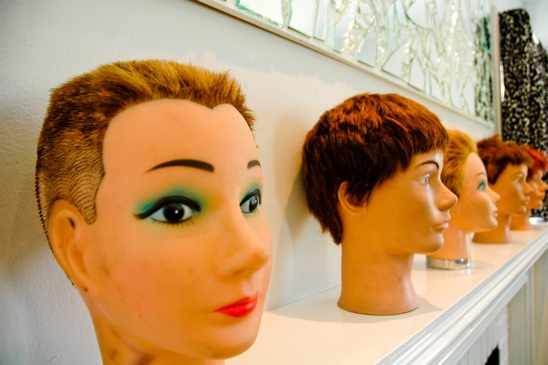
And the mannequin heads on the mantle watch over us all. And they tend to creep out our more delicate guests that aren’t used to this sort of thing.


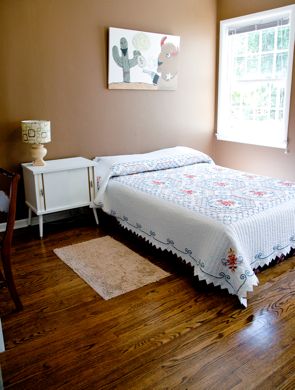
Our guests stay in our ‘Cowboy Room’. There is no relationship to this name and our weirdo cat. Cowboy the Cat is not allowed in this room. It is a fur-free zone.
I like retro cowboy-esque type stuff and Biceps let me pretty much do what I wanted to in this room.
Very unusual…..


Three vintage finds-the lamp, the shade and the nightstand. I repainted the nightstand and added the stripes. Total invested in this picture-$14. Boo-yeah.


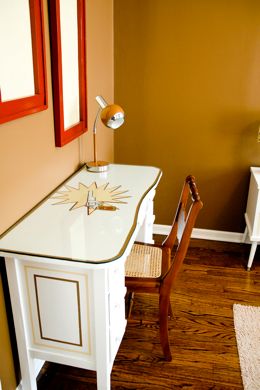
The desk was left behind in the shed when we purchased the house. I sanded and then spent hours painting this thing. I don’t think I have ever painted a gun on anything before.


Well, thanks for stopping by.
There’s more, but no need to bore you.
Come back anytime. I like guests.

Read more

‘How to do it like a Woman’-Finishing Your Hardwood Floors-Part Deux

I bet you’re a little sore today after Part Uno.
Don’t fret, today is an easy day. A fun day. You are going to make those dusty floors look brand spanking shiny and new!
HURRAH!

From our list in ‘Part Uno’, this is what you will need today:
Shop Vac
Rubber Gloves
Polyurethane
Stain (if desired, I did not desire)
Paint Tray & liners
Foamy Brush
Lambs Wool Applicator
Pole Sander & 220 Grit Pole Sander Pads
Mineral Spirits/Paint Thinner and rags
A good attitude


First things first; using your shop vac, suck up all of the dust particles from every square inch of your newly sanded floors.
This step sucks! heh heh.
I recommend dust mopping the walls and vacuuming off ledges and shelves, as well.


Spread a generous amount of the paint thinner/mineral spirits onto your rag and take a big wiff of it. Now that you are dizzy, wipe the entire floor with your smelly rag. This removes the fine particles left behind by the vacuum.


Guess what?! If you want to apply a stain, this is the time to do it. Use a lintless rag to apply your stain evenly to the floor.
If you are like me and aren’t applying a stain, it’s time for Round 1 of polyurethane! Grab your rubber gloves, make a bird out of them (shown above) and get pumped.
You can skip the ‘bird’ step if you like.


Gently stir your poly in a clockwise rotation with a clean stir stick.
Don’t pull up from the bottom or stir quickly. This will create air pockets in your poly. And that is not good…
You will want to stir your poly (both in the can and in the paint tray) from time to time throughout the application process.


Pour your poly very gently into your paint tray. I recommend using a liner in your paint tray or you will have a sticky mess on your hands and everywhere else.
Dip the Lamb’s Wool Applicator gently into the poly, pulling back until the applicator is full.


Start in the furthest corner of the room and plan how you are going to get out of the room. (Don’t poly yourself into the corner. That’s just embarrassing.)
Using even strokes, gently pull the lamb’s wool applicator towards you, following the direction of the wood. Repeat this until the floor is coated with polyurethane.
It’s easy to miss spots or leave puddles. Review your work as you go, using different viewing angles.


Let the first coat of poly dry. Follow the amount of time recommended by the manufacturer.
Every poly is a little different. I’ve always said that.


After the floor has had enough time to dry, use your pole sander and your 220 grit sand paper to smooth out any bubbles or high spots from pooling poly (can you say that 10 times fast?) following the direction of the wood.
You can also rent a buffing machine, but I like to get a shoulder workout. And, I’m cheap.
Vacuum the floor thoroughly after you are done sanding.


Now, it’s time for Round 2 of polyurethane!
(Follow the same instructions from Round 1 for applying the poly).


Let ‘er dry. YEAH!!!!
You are finished. Look at that floor! And you did it all by yourself. Follow your manufacturer’s instructions on dry time. Usually you can walk on the floors 2 days or so afterwards.
You did a great job.
And THAT’S how a woman does it.

Read more