Tag Archive for: DIY

Cheap, Organic Facial Moisturizer-Phase 1 of My Month Long Challenge

I’ve been challenging myself to slowly rid our house of anything with nasty chemicals and large price tags. As I begin to use the final drop of something off the shelf, I am concocting a replacement with little more than what I have on hand or what I can find at the organic market.

But the replacements must meet or exceed three important expectations for this frugal gal:
1. It must be easy to replace-no beakers or science lab experiments. Thank you.
2. It must be just as good or better than the current product I’m using and,
3. It must cost the same or less than the current product I’m using.


photo source unknown

If the product I create passes the final test-me using it for over two plus week to make sure it doesn’t stink-then I’ll be sharing it with you. I will break down the cost for you, provide you the recipe and give you my honest opinion of the final product.

Up on the docket for replacement over the next month or so is: mascara, dishwasher detergent, washing machine detergent, eye makeup remover and tortilla chips (I know-they don’t quite fit in but they are my weakness and I need to replace the hydrogenated and fried naughtiness with something healthier), along with anything else I can get rid of.

Fasten your seatbelt. Here’s Phase 1 of ridding my house of chemicals-Cheap, Organic Facial Moisturizer.
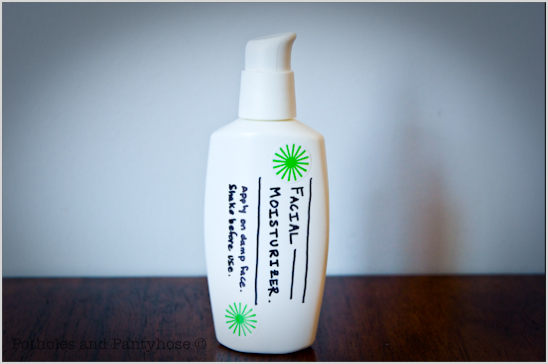
I am quite picky when it comes to my face. I have always had very sensitive skin that dries out if I even look at it wrong.
After several tries, I came up with a recipe that works wonderfully-without greasiness or smelliness.
And it costs $.75 per 2.5 oz. Yep. That’s right-seventy five freakin’ cents.
I’ve been spending $12-14 for 2.5 oz!
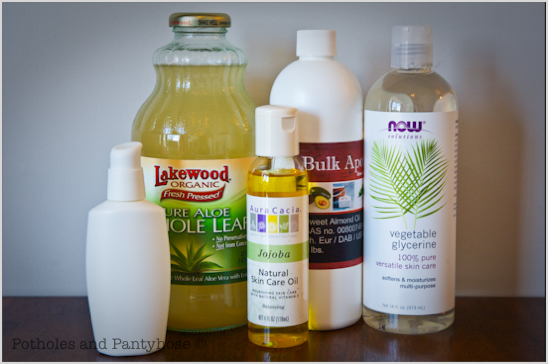


Here’s what you’ll need to make your very own Cheap, Organic Facial Moisturizer:

4 TBS Pure Aloe Vera (drinkable kind)
1 tsp Vegetable Glycerin
6 Drops Jojoba Oil
1/4 tsp Sweet Almond Oil

Container to keep the moisturizer in (I re-used my pricey lotion container).
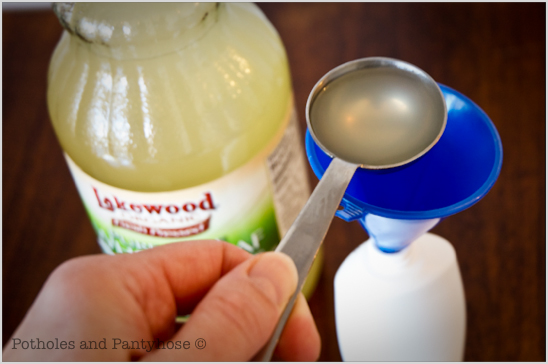


If necessary, use the funnel to add the 4 TBS of Aloe Vera.
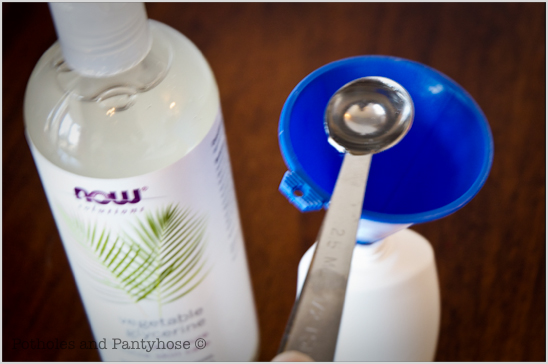


Next, add the 1 tsp Vegetable Glycerin.
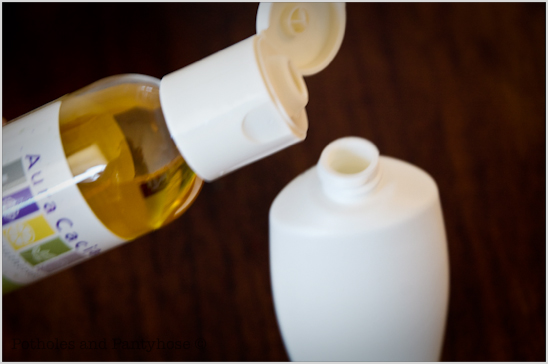


Add 6 drops of the Jojoba Oil.
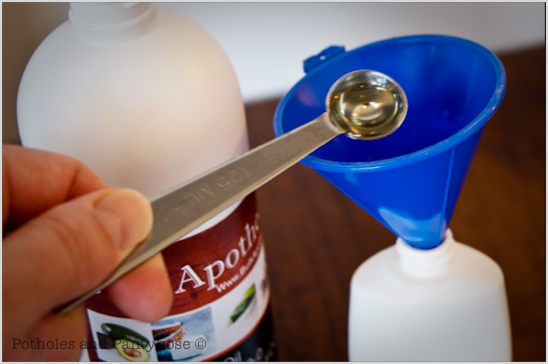


And the 1/4 tsp of Sweet Almond Oil.


Shake everything up in the container and before every use. The moisturizer will be watery-either apply by squirting into a cotton pad or into a cleansed hand and applying with clean fingertips. As it dries, it will be absorbed and leaves you with soft, silky skin.

That’s it. Simple as pie.

Here’s the financial breakdown:

$8.50 for 32 oz of Pure Aloe Vera (drinkable kind)
$9 for 16 oz of Vegetable Glycerin
$13.50 for 4 oz of Jojoba Oil
$5.75 for 16 oz of Sweet Almond Oil

Needed per 2.5 oz moisturizer:

4 TBS (2 oz ) Pure Aloe Vera= $.52
1 tsp (.16 oz) Vegetable Glycerin= $.09
6 Drops (.04 oz) Jojoba Oil= $.13
1/4 tsp (.04 oz) Sweet Almond Oil= $.01
TOTAL = $.75 per 2.5 oz

Click on the following to see more of my projects:
I’ve posted a Recipe for Facial MoisturizerDIY Organic Dishwasher DetergentCheap, Organic Face WashDIY Household Green Cleaner and last week was my DIY Organic Eye Makeup Remover.

Linking up: The Thrifty Home

Read more

DIY Children’s Book with Audio

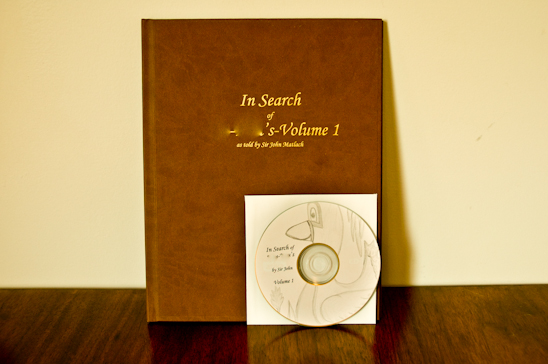
I am always on the creative hunt for gift ideas that will be meaningful and most importantly-useful. The idea to make a book based on the stories my father told me as a little girl-came upon me as if in a mystical dream.

Not really, I bounced the idea off of Biceps, who added the notion of creating a CD to be listened to, along with the book. And thus, a great gift idea was birthed.


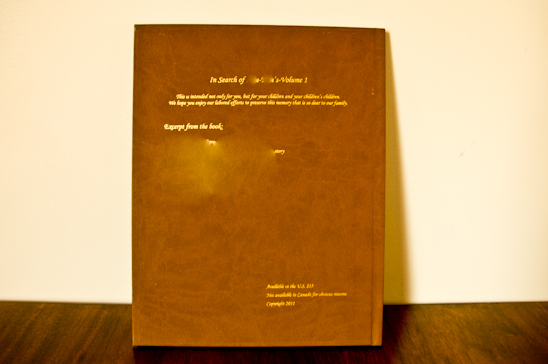
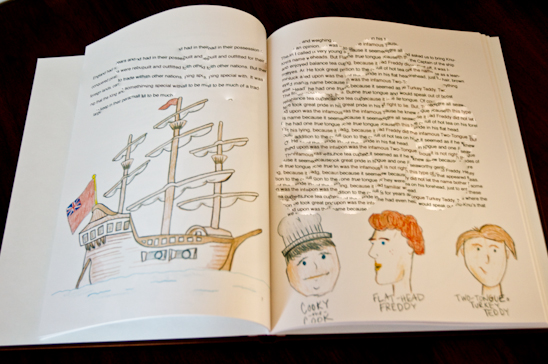
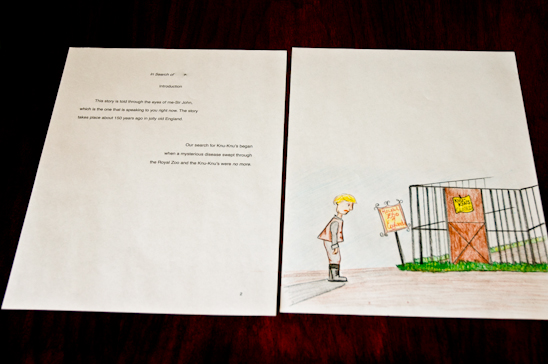
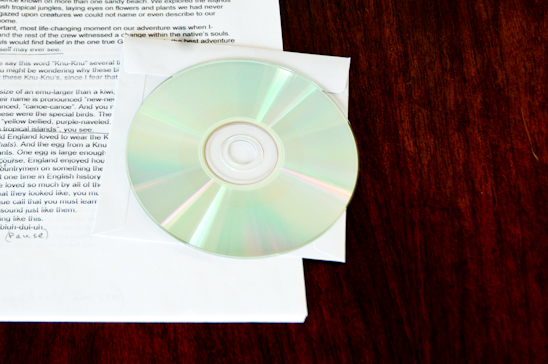
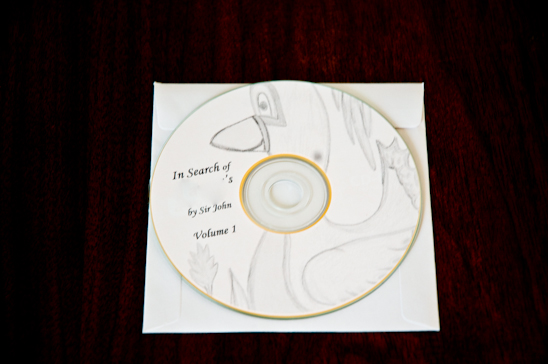
I have blurred the name of the story and much of the text to keep our story private.
It was such a simple idea, I can’t believe we hadn’t thought of it sooner. With the help of my father, we created this book to give to each sibling in my family.

There have even been rumors that a few cousins and several childhood girlfriends privy to my father’s stories wanted a piece of the action.


To make this book for your children is not just a form of entertainment–it preserves valuable memories that can be carried on into the next generation.


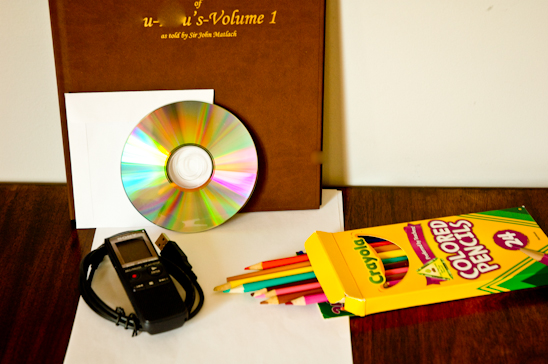
Here’s what you’ll need to make your own DIY Children’s Book with Audio:

A story-that’s where you come in. It doesn’t have to be fancy, just something from you
Colored Pencils
Paper
Blank CD’s, CD Envelopes & CD Lables (if desired)
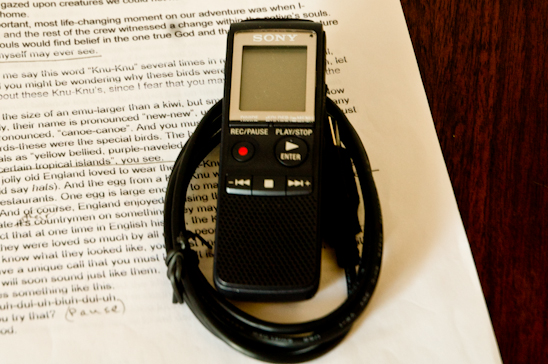
A recording device-you can even use your Iphone!
A Book Bindery (I found mine locally that bound the books for $15 each)


Start off by recording the story. Don’t worry about rambling, backtracking or not telling it correctly. Just talk as if you are talking to your kids.

After you have told the story, type out what you’ve said, making necessary edits and additions. Once you are satisfied with your finished story, print it off and read it aloud, ensuring everything flows smoothly.

With your finalized story, choose within the text where you would like your pages to end and mark them on your typed paper.


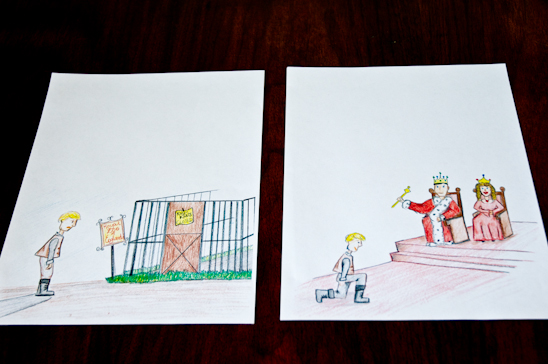
If you are the artist, start drawing the art for each page-or every other page-or the beginning of a chapter-whatever you have the time for.
I love to draw, so each page of the book got a little something.


Now that your story is perfected, begin typing out your book-page by page. Remember, this is a children’s story, so it doesn’t have to be a lot of words per page.

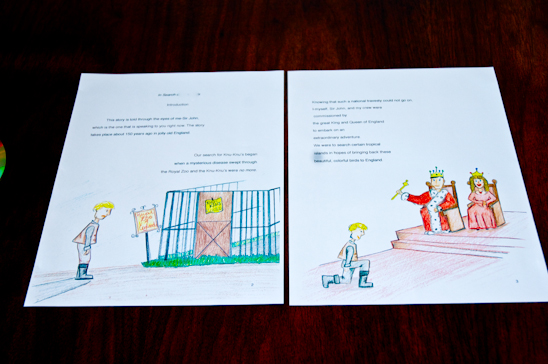
Ensure that your text aligns with what you’ve drawn and make necessary adjustments.


Make colored copies of all the artwork on thick, glossy paper at a copy store. Make enough colored copies of each page for the books you will be making, plus a few additional copies in case there’s a mess up.

(Keep your originals and don’t print on them).

Print off the text of the story that has been formatted onto your colored copies.


Once the final product of the text and the artwork are combined, re-read the story exactly as it appears in the book on your recording device. I recommend using a quiet closet or basement for this. My father re-recorded the story in our van while it was parked in their garage. It was pretty cute.

Next, burn a CD of your recording. (We also added sound affects, page turn noises, and an intro/outro song because Bicep’s is just that awesome).


Print off a label for your CD if desired.


Have the book bound at a professional book bindery (mine cost $15 per book), or you can bind your own if you feel sporty. To do this, go here.
I considered binding my own, but I made so many and it was crazy Christmas season, I had to go with a pro.


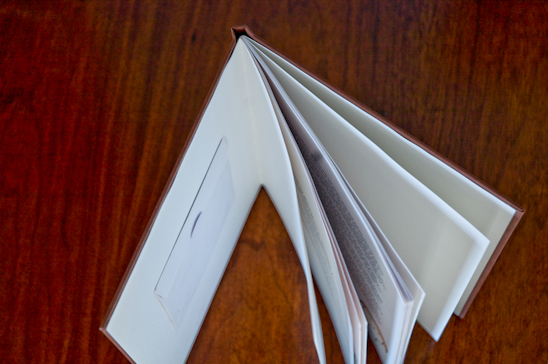
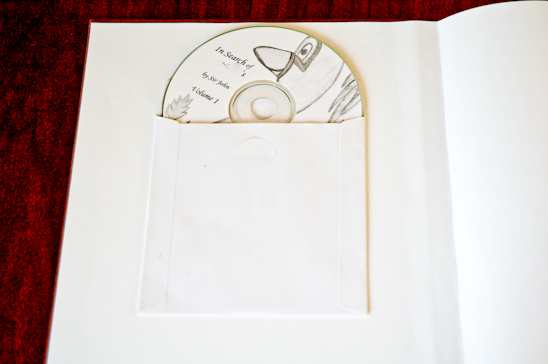
After the book is bound, attach a CD sleeve (or any form of enclosure you have on hand) using double sided tape to the inside cover of the book.


You now have your very own story, read by you, drawn by you and given by you. I can’t think of a more meaningful gift to give to your kids or your grandkids.

Our family was elated to receive the books and if you will notice, I titled it “Volume 1”. Meaning, I have every intention of continuing to add to the story every couple of years or so. It was such a fun project for me to work on with my father and husband, I am looking forward to doing it again.

Do you have a story that’s been told to you or that you tell your children? I encourage you to preserve that memory and make one of these suckers. You won’t be disappointed.

Read more

Easy Lace Cape-Shirt

My lovely sis-in-law gave to me a set of lace curtains that she could no longer use. What’s a girl to do but make a shirt from them? (This idea works fine with a lace tablecloth, too.)


Within an hour or so, I had a sweet new shirt that goes with just about anything. This may seem like a lot of steps, but it’s just that I’m a little overboard on details, sometimes.


Here’s what you’ll need to make your very own Lace Cape-Shirt:

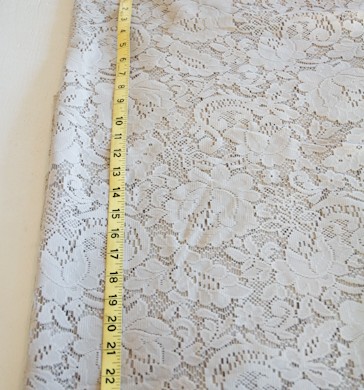
Fabric Lace-at least 40″ in width, 25″ in length
Thread to match
Scissors
Tape Measure
Straight Pins
Sewing Machine
Heat ‘n Bond Tape
Iron
Lace Edging


First, fold the material in half from top to bottom.
Then fold the material in half from the left side to the right side.
To make the circle that will be your cape, begin by measuring 20″ from the corner fold across the top fold. Place a straight pin at the 20″ mark.


Measure 24 1/2″ from the corner fold down the side fold. Place a straight pin at the 24 1/2″ mark.


At a 45 degree angle from the corner fold, measure out 23″. Place a straight pin at the 23″ mark.
Alternately on either side of the 45 degree angle, measure 20 1/2″ at a 22 1/2 degree angle, and 24″ at a 67 1/2 degree angle.


Following your pin marks, cut out the quarter circle shape.


At the corner fold, measure down 2″ and across 2″. Cut out the tiny quarter circle shape. This will be the start of the neck hole.


Unfold the quarter circle to the left, leaving the top folded. This should now be the bottom half of a circle.
Measure and pin 6 1/2″ across the top fold of the lace, centered over the 2″ mark already cut for the neck hole. Increase the neck hole by cutting along these guides making the hole now 6 1/2″ wide.


Measure 2″ down from the already snipped portion of the fabric on only ONE side of the shirt. To increase the neck hole on only the FRONT side of the shirt, deepen the plunge the additional 2″.
Leave the back side of the shirt as is.


With the front of the shirt folded to once again create the quarter circle, measure down from center 4″.


Cut the 4″ slit on ONLY the front side of the shirt.


I used a hem stitch to finish off all of the edges of my lace. You can do whatever you want, but this seemed to work the best for me. So there.


Sew all of the edges on the shirt, including the neck hole.


Once all of your edges are sewn, fold the shirt once more with the neck hole in the front, a fold across the top, creating the bottom of a circle.
On each side, measure 10″ in across the top fold and pin (yellow pin in picture). Then measure from that pin 13″ down and pin (white pin). From that pin, measure back towards the edge 7 1/2″ (pink pin).
(This shouldn’t change the location of the 13″ pin, it’s just a double check that you measured correctly).
Sew two 1/4″ “stays” at the 13″ mark with a quick zig-zag stitch through both pieces of material. This will keep the cape in the right place on the body.


I decided to trim out the neck hole with lace edging. I followed the package directions on the Heat ‘n Bond to apply the edging to the shirt.


I liked using a darker color to offset the gray lace. But, the same color of lace would be just as pretty to make a plainer shirt.


Tah-dah! That’s all there is to it. Slip the Lace Cape-Shirt on over a bold colored cami and call it a day. Below is the back of the shirt.


Simple. Cute. Cheap. Fun.
That’s the way I like my crafts (or crap, whatever…).

Read more

Wooden Christmas Garland

Decorating for Christmas is something I look forward to all year-storing things away that I collect throughout the changing seasons-until I feel that first nippy bite in the air.
One of my neighbor’s had their visiting father-who I have come to adore-knock on my door this past spring. It was no surprise that he came to me with a stack of cedar chunks from a felled tree.
And to quote the father (with a severe southern drawl), “When I saw these, I just knew if anyone could do something with them, it’d be you.”
Apparently, my reputation precedes me….

And I hope I haven’t let him down or failed his expectations of just what I could “do with them”. For next to nothing, I have a unique garland made from reclaimed cedar wood that Anthropologie is probably jealous of…or at least, I’d like to think so.
I’ll be sharing the tutorial on how to make the cute little blue, brown & red trees next week.


Here’s what you’ll need to make your very own Wooden Christmas Garland:
Chunks ‘o Wood (mine were about 9″ in diameter)
Rope (I used 1/2 twisted nylon rope-blue hawk is a pretty good brand from Lowe’s)
Palm Sander and 80+ grit Sandpaper
Your favorite color paint/spray paint
Hammer & nails (not pictured)
Stencils
Blue Tape

Let’s get started!


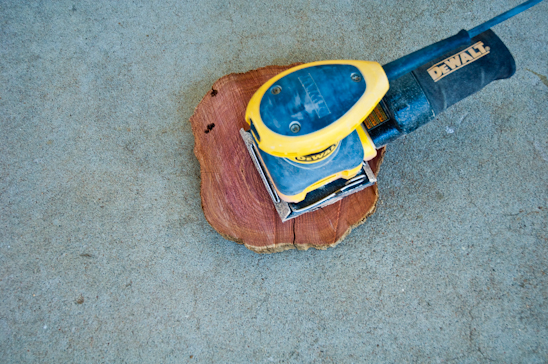
Lightly sand the wood, going with the grain if possible. I sanded mine just enough to not have burrs or splinters. I wanted my garland to be rustic.


Choose your saying. I went with “Peace”, but considered “Boink”, “Poop”, and “Elephant”. I really didn’t have enough wood to do the latter and was outvoted on the first two by my visiting mother-in-law.

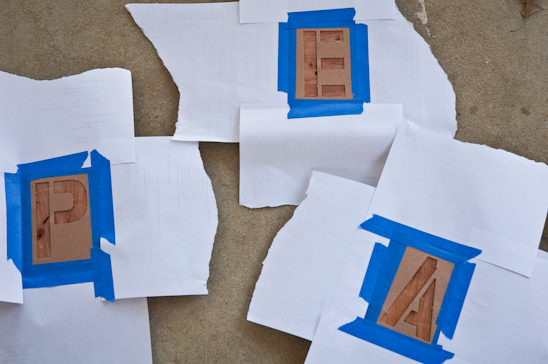
Tape down the stencils with blue tape, adding scrap paper if needed to protect the rest of the wood.


Spray away! I went with two coats, just to be safe.


Remove the stencils. Stand back. Ooh and ahh until the neighbor gets curious. Then tell them to quit snooping, this is a top secret project.


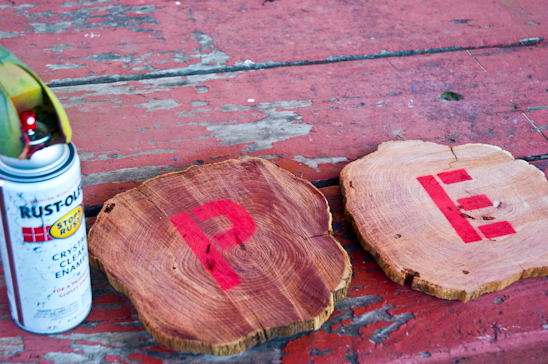
I gave the wood a light coating with a Crystal Clear Enamel, but you don’t have to. You could also add a layer of polyurethane instead. Either acts as a protectant and gives the wood a little sheen.
The “P” has been sprayed with it in this picture, but not the “E”.


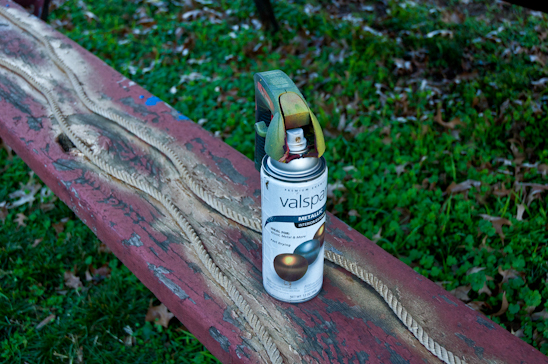
Spray paint your rope, if you so desire. I went with shiny, shiny gold. I like gold things-they’re kingly.


Once everything is dry, use your hammer and small nails to tack in the rope to the back of the wood. I used two nails per chunk of wood.


Hang your Wooden Christmas Garland where your little heart desires and enjoy.
Then call your neighbor to tell them you just finished your top secret project and you also have some warm cookies to share.
I bet they’ll be over in two shakes of a kitty’s tail.

Read more