Tag Archive for: DIY

I’m on Fox23 News Tomorrow!

Dear Readers,

My body temperature has been on the rise for the past few days. Here are three reasons why I have been sweating profusely:


1. I am naturally a hot body, unlike most chicks.


2. And it’s over 100 degrees outside today and I refuse to wear toxic antiperspirants.


3. Oh, and also because I have been asked to be on a live, televised morning show called, “Great Day Green Country” on Fox 23 News.


I’ll be sharing live on the show four of my Non-Toxic Homemade Household Cleaning Recipes, which I will highlight for you tomorrow here on my blog.

Oh-and the show is live (did I mention that?)…which means no mistakes, no accidental pirate talk, and no blunders will be tolerated.

Pray that I will not embarras my mother and father, would you?


Read more

Simple Homemade Butter

In March, I gave myself a month long challenge of ridding my house of nasty chemicals and high priced products that I can make myself. Here are a few of the things that I was able to replace around the house that you’d find at your supermarket in the beauty and cleaning aisles:
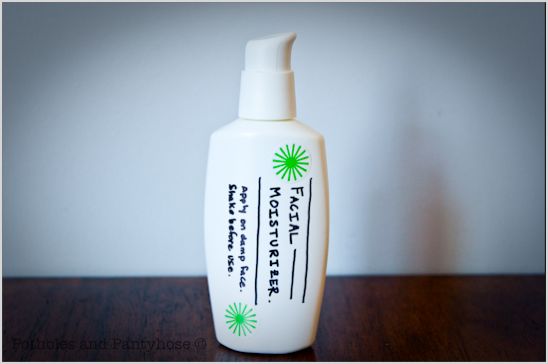
Recipe for Facial Moisturizer
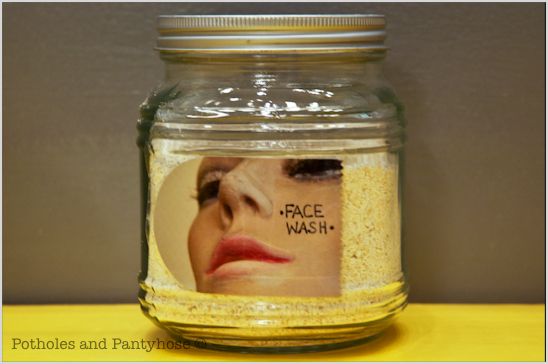
Cheap, Organic Face Wash
DIY Household Green Cleaners
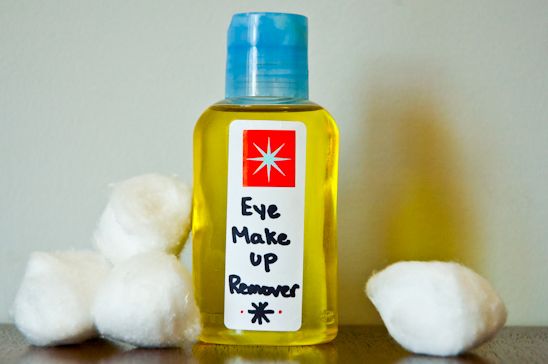
DIY Organic Eye Makeup Remover
Simple, Organic Lip Balm


Then, I got crazy in May and June replacing anything in the kitchen that comes in a package. Here are a few things that I’ve replaced that you’d find at your supermarket in the food aisles:
Simple, Healthy Salad Dressing
How to Freeze Beans and Avoid BPA
Homemade Crockpot Yogurt
Simple, Tasty Granola
Skinny Orange Julius
Sweet Iced Coffee-No Calorie


Today, I wanted to share with you a simple recipe to replace the store bought margarine or butter you have in the fridge. Here’s all that you’ll need to make your very own Simple, Homemade Butter:

2 Cups Heavy Cream
1/4 Cup Sour Cream
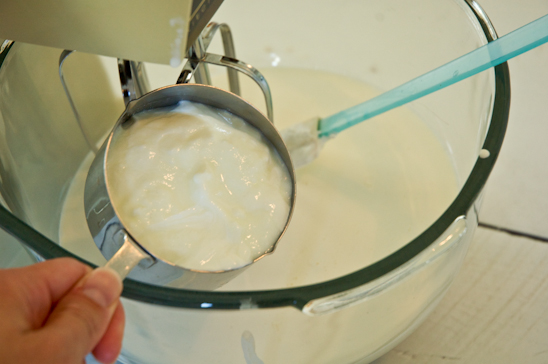
1/2 Cup Plain Yogurt (see recipe above)


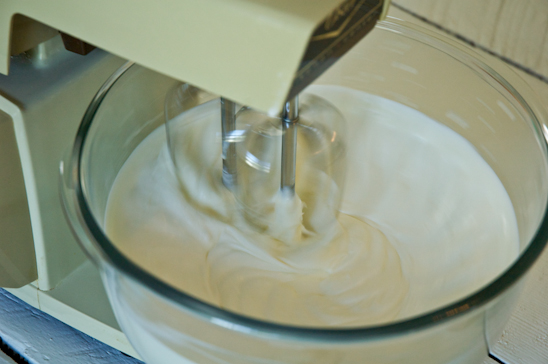
First, prepare a water bath by filling a large bowl with water and ice cubes. Pour 2 Cups of Heavy Cream into the bowl of a standing mixer. Turn the mixer speed to medium.


Gradually add the sour cream and the plain yogurt.


After a few minutes, the mixture will begin to look frothy.


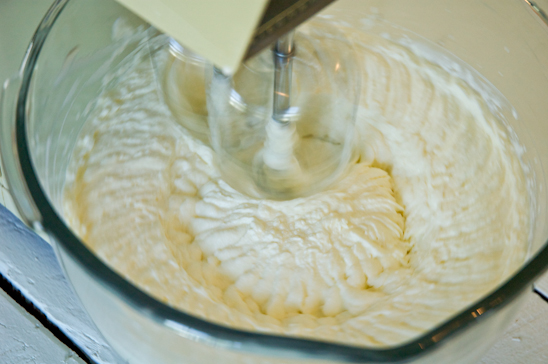
After 5-10 more minutes, the mixture will begin to resemble butter.


During this process, I usually cover the mixer with a towel to avoid splattering my entire kitchen.


The butter will start to form a clump in the center of the bowl and will give off the byproduct of buttermilk.


Once the clump is the right consistency, remove from the bowl and place on a clean, lint-free tea towel.


Dip the butter several times into the ice bath, removing all the excess buttermilk.


Save the buttermilk that was left in your mixing bowl for other recipes. It’s great for pancakes, let me tell you!


For later use, form the butter into a block and wrap tightly in saran wrap and place it in the freezer.

I usually cut the butter in half, placing half in the freezer and half in the fridge. If you are going to use the butter immediately, don’t worry about saran wrapping it. Store the butter preferably in a glass dish and leave in the fridge for up to 2 weeks.


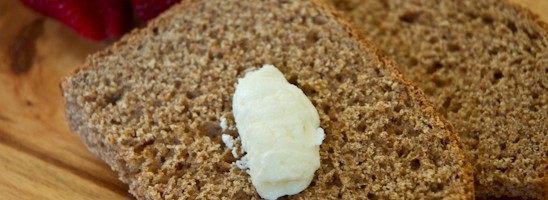
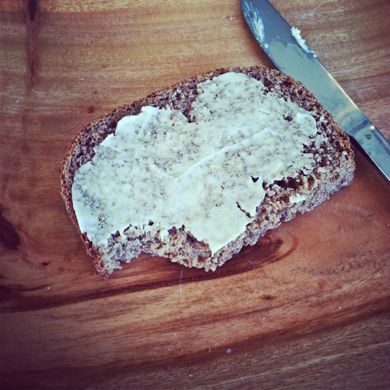
Slather your Simple, Homemade Butter on your favorite piece of toast and enjoy your buttery awesomeness.


Read more

Dear Readers-I need your input

Dearest Readers:

I am a little hesitant to ask this question. But I need to know the reality of the situation. Biceps and I are wanting to “owe no man anything”; thus the frugal lifestyle, the re-invention of home products, the biking to and fro, and the hope of making extra income on the side.


We want to be debt free and we live below our means. However, the pay cut we took for Biceps to become a firefighter is making the goal of owing no man anything difficult.

So, I have a question that I’m almost scared to ask you–because then it requires me to take a leap of faith.


I know I have posted these recipes on my site and shown you how to make all of these things. But, I also know many of you don’t have the time or energy to make this on your own-however, you still like the idea of organic products without unnecessary chemicals and additives.

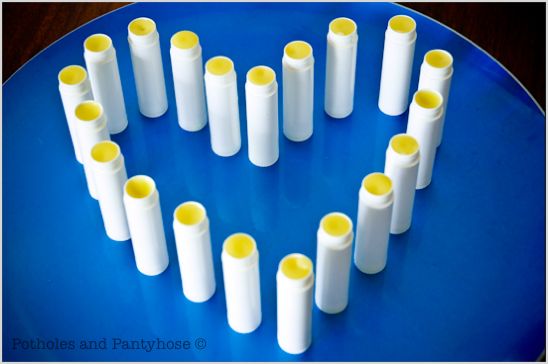
So, if I offered to sell things like my Homemade Organic Lip Balm


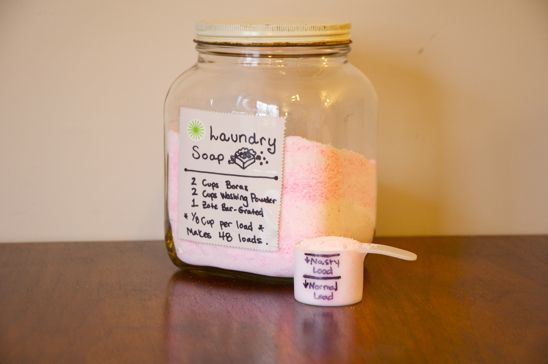
…my Homemade Laundry Detergent


…my Organic Face Wash


…my Organic Facial Moisturizer


…and my Organic Eye Make-up Remover

…is there a market out there for them? If I came up with much cuter packaging and the right price points to be competitive with what’s on the market today, do you think this is something worth pursuing?

My heart’s on my sleeve here, readers. But, please-tell me what you think.

Read more

Homemade Crockpot Yogurt

This past month, I have made it my goal to rid my kitchen of as many store bought products as possible. I know I can’t get rid of everything, but a girl can sure try.

I wanted to find options for condiments, such as ketchup and bar-b-cue sauce (something Biceps consumes by the truckload), butter, yogurt, granola (to replace our cereal), summer drinks and canned anything.



Photo Source
The process of making it myself had to be simple, cost effective and better tasting to warrant the move.

Last week, I shared with all of you my recipe for Tasty Granola sweetened by Agave Nectar. And what goes better with granola than yummy, creamy, sweet yogurt? I dare say nothing does.


Today, we are going to focus just on the yogurt. The granola will just have to get along on its own, crying by itself in the cabinet. It’s yogurt’s time to shine.
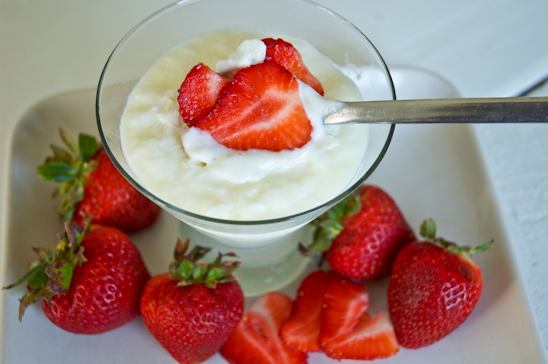


I was on the hunt for an easy, cheap recipe to make my own yogurt-free from things found in the ingredient’s list that I cannot pronounce. After a few tries, I came up with the perfect recipe-and it’s all done in the crockpot and with very little effort.

I start my yogurt in the evening, knowing that the cool down can happen overnight and I can enjoy fresh yogurt in the morning!
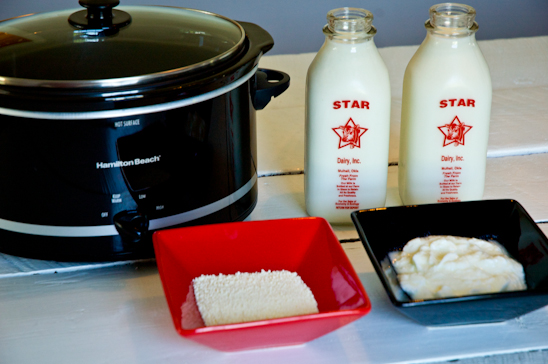


Here’s all that you’ll need to make your very own yogurt (makes 1/2 gallon of yogurt):
-1/2 Gallon of Milk* (I used 2%, because that’s what we drink.)
-1 Cup Plain Yogurt with active cultures (after you make your first batch, you save a cup and use on the next batch. No more store bought yogurt!)
-*1/2 Cup Powdered Milk (if using 2% or lower milk, or ultra pasteurized milk)
-Crockpot
-Cooking Thermometer
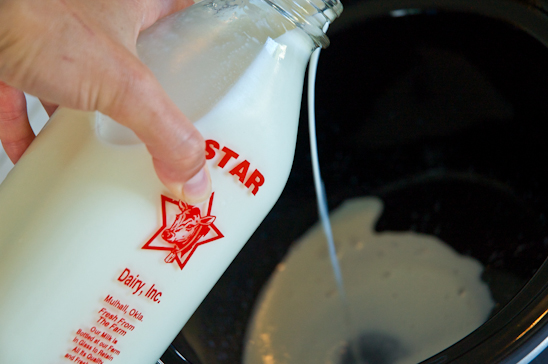


Pour the 1/2 gallon of milk into the crockpot, cover with the lid and set to high.


Let the milk heat until it’s almost to the boiling stage with the desired temperature of 180. This took my crockpot about 1 1/2-2 hours to do.


Once the milk has reached 180, turn the crockpot off and let it cool down to 115. I would recommend stirring it from time to time to distribute the heat and help it cool down more quickly.


Once the milk has cooled to 115, stir in the 1/2 Cup of Powdered milk if you are using it.


Next, stir in the 1 Cup of Plain Yogurt.


Put the lid back on the crockpot and cover it with a large towel.


Set the crockpot in the oven and let it cool down for 8-12 hours (or overnight).


Write yourself a note so that you won’t accidentally turn the oven on and burn your house down if you are forgetful like me.
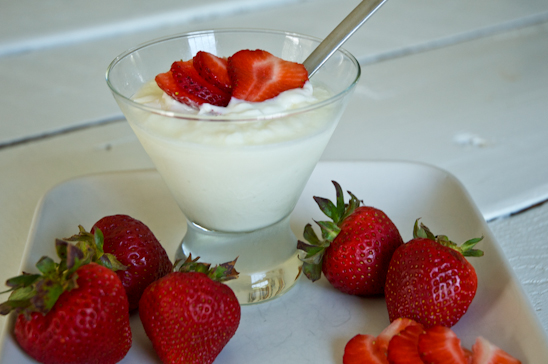


In the morning, open the oven, remove the beach towel and see what happened overnight! .

Remember to save back a cup of this yogurt, sticking it in a ziploc bag and placing it in the freezer for your next batch.


Sweeten the yogurt with liquid Stevia (I prefer the Vanilla Creme), add some strawberries and Tasty Homemade Granola and voila-enjoy a delicious breakfast all made by you!


Read more