Tag Archive for: DIY

The Beginning of Change-Budget Living & Dining Room

For years, I have been toiling over what to do with our living and dining room. I’ve gone to you all, my dear readers, in months gone by with my initial thoughts and asked for your opinions. I’ve badgered friends and cats with this subject over and over.

 

Living Room
Because frankly, this room was boring. Clean? Yes. Minimalistic? Yes. But, B-O-R-I-N-G? Double yes.

And although I felt ready to pull the trigger, there were many objections for change:
1. Financially I can’t in good conscience spend money redoing something we just did 5 years ago.
2. If Biceps had his way, this room would have had center seating (black), gray walls and little else. He wanted to go for the art museum feeling.
3. I hate taping and caulking.
4. I hate cutting in trim.
5. I hate cleaning out brushes and roller.
6. I’m pregnant and flat out didn’t want to.


Living Room
I decided to finally quit talking about changing the living room and the dining room and just get this thing done. Using many of these items above as inspiration, the trigger was pulled–while Biceps was at the station and couldn’t stop me. Heh heh.
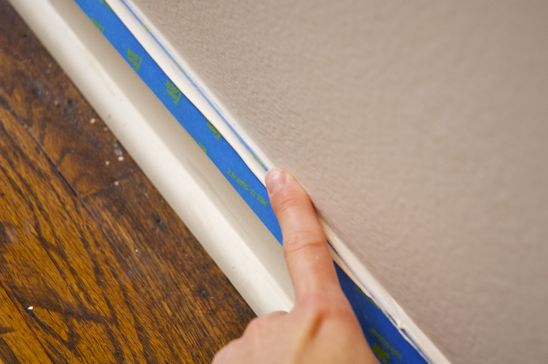
 

Taping:Caulking
I started by assessing the initial costs:
1. Paint $60
2. Blue Painters Tape, Painters Caulk, tray liners $25
3. Trim for picture frame molding $36

After buying my necessities, I rolled up my sleeves and got to work. First, I pulled everything into the center of the room and started taping and caulking like a son of a gun. (I will share the reason behind this process in detail this week).
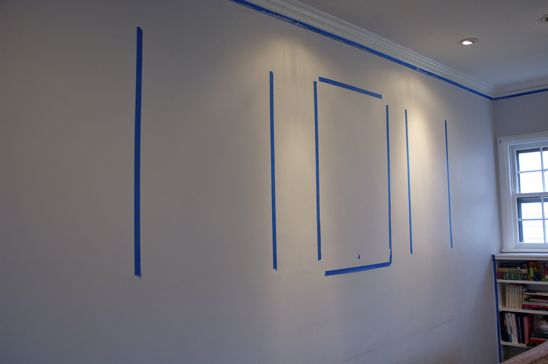
 

PicFrameTaped
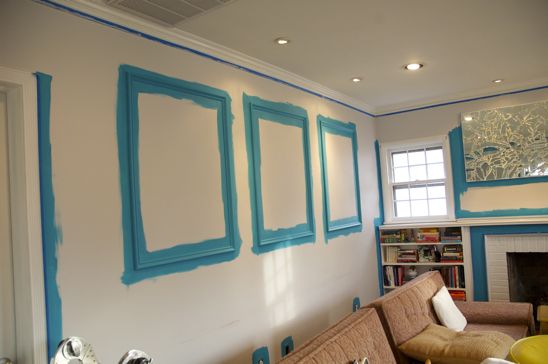
I waited for Biceps to determine the size of  the picture frame moldings. It was a long process, which enriched our marriage. (I will also show you in detail how to install your own picture frame molding this week).
 

TrimCut in
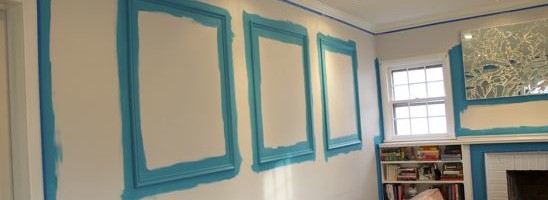
While Biceps was back at the station, I opened my can of paint and panicked a little. Was it really that blue? After a short stint of talking myself off the ledge, I grabbed my favorite Purdy brush and got to work cutting in the trim.

And didn’t stop for 2 days. The living and dining room is now a lovely shade of “exotic sea” blue, which Biceps and I both love (thankfully).

Don’t worry, I will show you the finished product after hanging all my lovely art work. That is another process that is enriching our marriage.

But–I’m dying to know–what do you think so far?
 

Read more

This was/is my house.

Welcome to my home.


Office
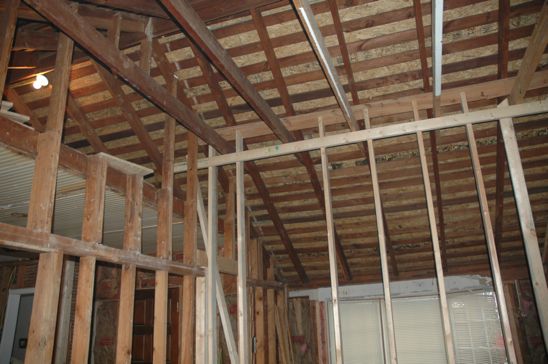
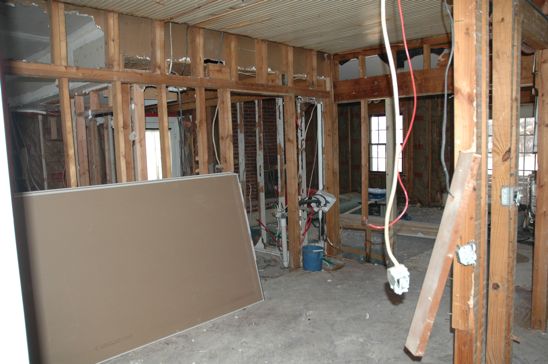
We bought a perfectly livable house and then–tore it apart. Sure, we could have moved in and not changed a thing. Sure, there was a functioning kitchen and two usable bathrooms. And yes, the electrical and air were working and the heater kicked on appropriately.


Bathroom
Instead, Biceps and I dusted off our sledgehammers, slapped on our tool belts and got to work ripping most our house down to the studs.
Our realtor thought we were crazy and told us “good luck”. Our neighbors helped themselves to our necessitated open door policy and gave us their opinions. Some scoffed. Some offered condolences. Some told us we should have left well enough alone.


Kitchen
We knew our vision and the plans that we had for the home. And that’s what powered us through dust-filled nights, cut fingers and aching backs.
It was a poorly laid out home with adjoining bedrooms, a room devoted to a sauna, awkward transitions and unusable spaces. To make things right in this house, we had to get rid of all the junky craftsmanship and all of the poor decisions made before we ever owned the home. We had to fix what appeared to be somewhat working but indeed was not working.


Laundry, Master
I was thinking about our home remodeling escapades and of course, being the über deep person that I am…related it to my own spiritual walk in life.
For example, my “house” looked fine to outsiders while in college. I was a decent person, maintaining good grades, keeping my arrest record clean and going to church regularly.


Master
However, on the inside, I was a total mess. I was full of unforgiveness, envy, pride and a bunch of other horrible behaviors I’m sure you can imagine. My selfish decisions in life led me to a humiliating low point; one where I was unsure of who I was and unsure if God could ever love someone like me.

I realized there was no way I could ever be good enough to deserve forgiveness. But yet, He gave it to me freely. I accepted His forgiveness and the fact that I was a desperate sinner in need of a Holy Savior.

That’s when He went to work on my heart. He tore off all my facades and ripped apart my poor craftsmanship and took me back down to the “studs”. I was a shell of a person, ready and willing to be rebuilt by the master renovator.


Kitchen2

My “house”, both physical and spiritual, have been rebuilt with a distinct purpose in mind. Both “houses” took years to become livable. Both were a terrible mess and needed an expert to make sense of it all. I am so thankful He replaced my disorder with His perfect design for me–and continues to do so.

“This is what the Sovereign Lord says: On the day I cleanse you from all your sins, I will resettle your towns, and the ruins will be rebuilt.” Ezekiel 36:33

Amen and amen.


Read more

Cozy Sweater Pillows

As you know, I like to re-invent things around my home, offering a fresh look to a room with little to no cost. Sometimes I tackle huge projects-like building a table, destroying a mirror, or making my own spinning composter.

However, some days I like to make a nice hot cup of Cinnamon Apple tea and stay indoors. This is one of those days.


I love pillows on my sofas, but hate paying $20 for something that cats will eventually destroy-or I’ll spill coffee on. What’s a girl to do?

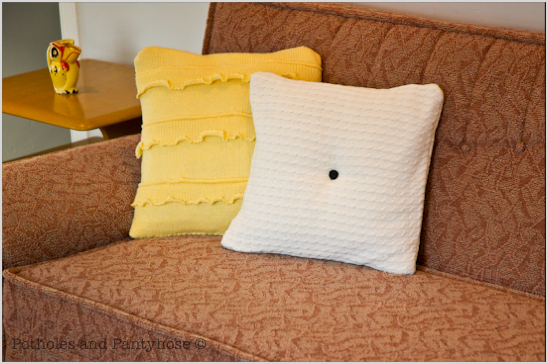
Combine thrift store pillows with my ill-fitting and ugly sweaters. That’s what!


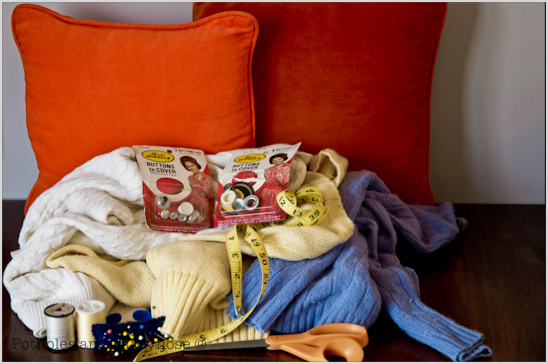
Here’s what you’ll need to make your own Cutesy Sweater Pillows:

Old Pillows or stuffing
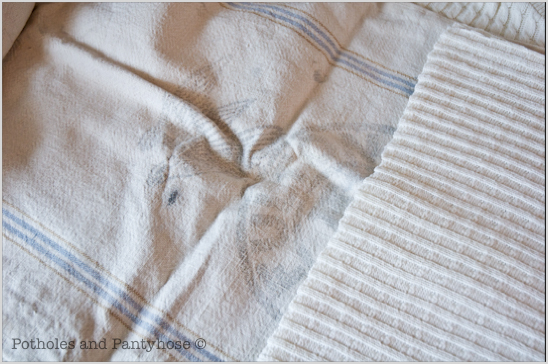
Old Sweaters
Backing material-I used an old canvas laundry bag
Tape Measure
Scissors
Straight Pins
Thread and Bobbin to Match
Button covers (if desired)
Invisible Thread (not pictured here, due to its invisibility)
Sewing Machine


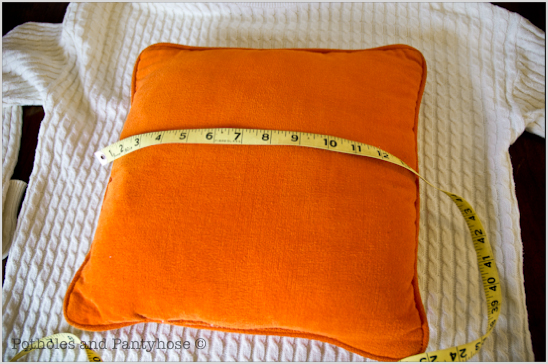
Start by measuring the width & height of the pillow. If you are using stuffing, determine how big you want the pillow.


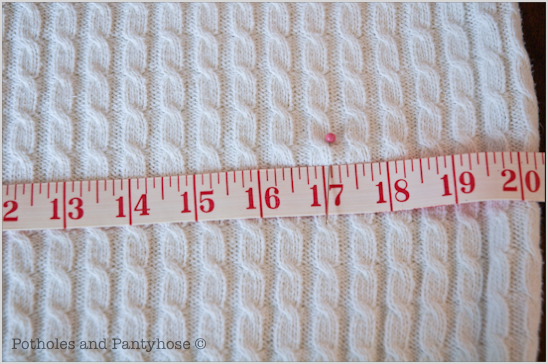
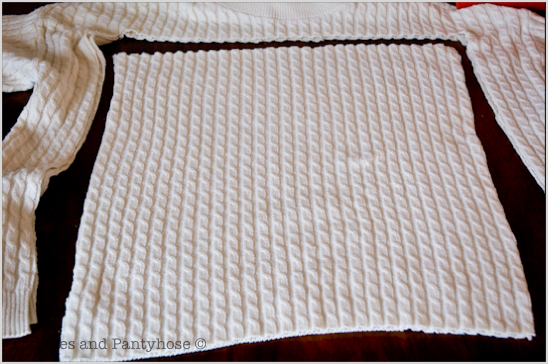
Measure on the sweater the width & height of the pillow and add 3 inches for seam allowance.


For example, my pillow was 14″ x 14″. I cut out two 17″ squares of sweater material.


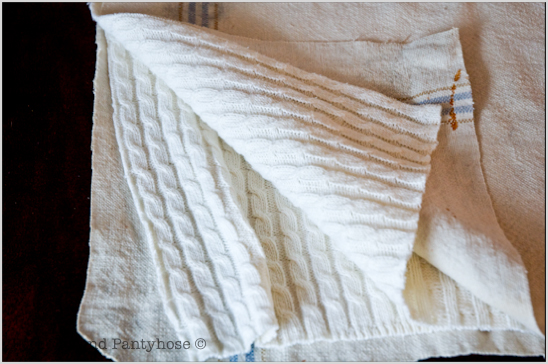
Fold the backing material in half, measure and cut out the same sized square as the sweater.

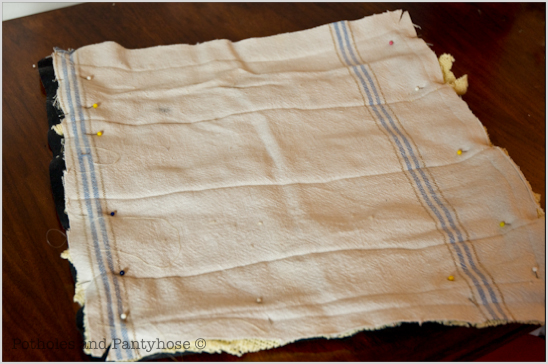
Sandwich the sweater material (right sides facing in) with the backing material. Pin all four layers of material together.


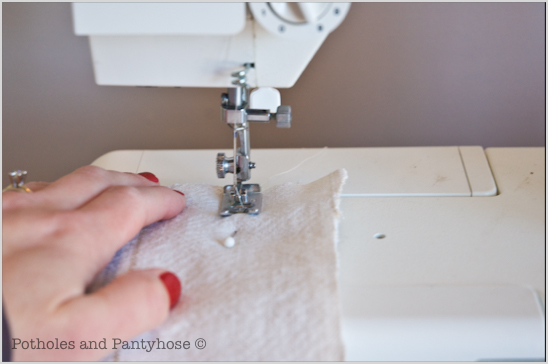
With a 1 1/2 seam, sew the four pieces of material together on 3 sides only-leaving one side open for the pillow (or stuffing).

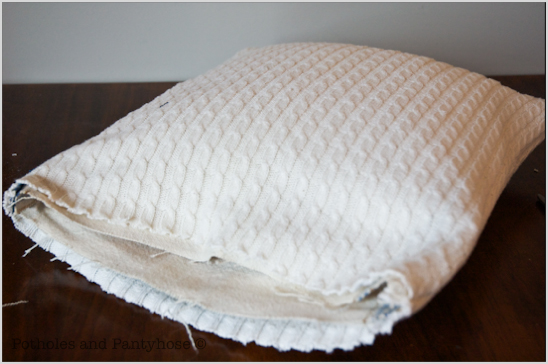
Cut off the excess seam, snip the four corners and turn the material right side out.


Stuff the pillow inside of its new home-or add stuffing.


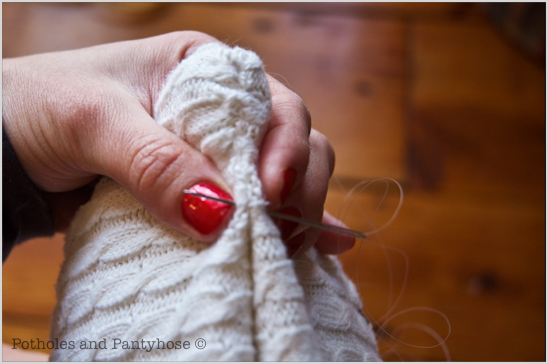
Using invisible thread and a stout needle, sew the opening closed.


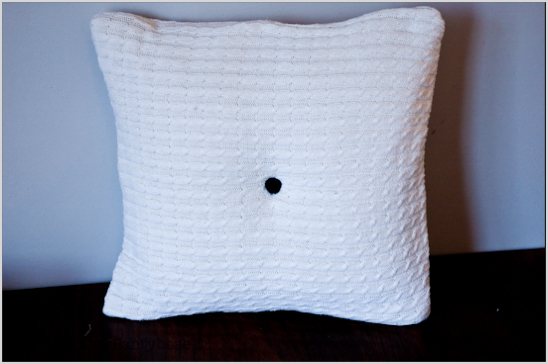
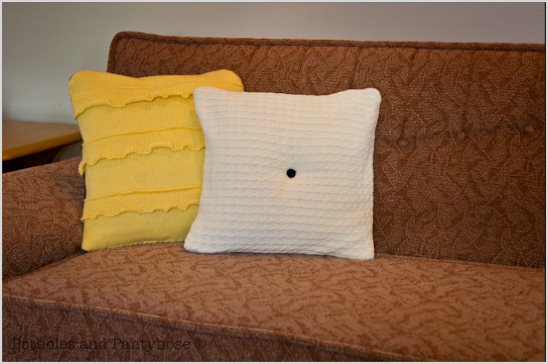
If desired, make a button for the center of the pillow, following the instructions on the button maker box. Sew the button(s) on with more invisible thread, going all the way through the pillow and pulling the thread tight. This will make the button dimple into the pillow.


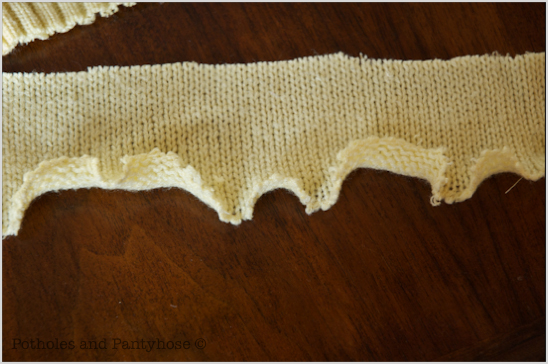
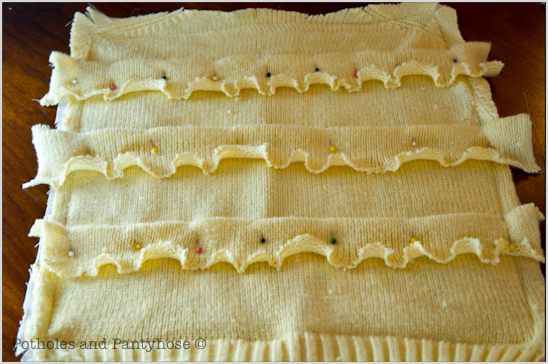
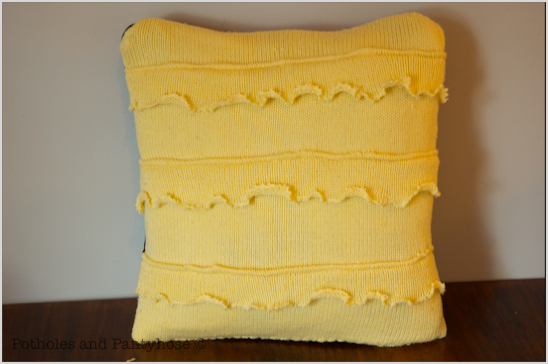
For ruffles on the pillow, cut 3-4″ wide strips from the sweater, making them 2″ longer than the squares of sweater material and backing.

Follow all of the above instructions, except instead of sewing all 4 pieces of material together at once:
Sew one side of the backing to the wrong side of the sweater material-leaving two separate pieces total.


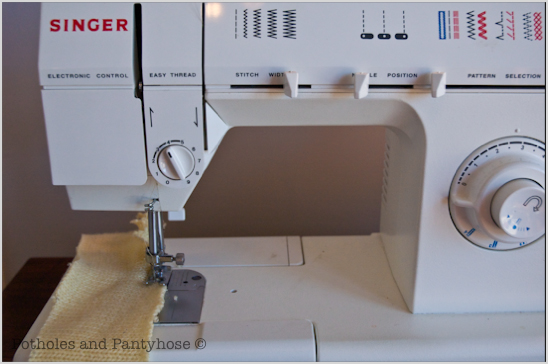
Sew the edges of one side of the potential ruffle using a zig zag stitch.


Fold over 1/4″ of the unsewn side of the ruffle, pinning and evenly spacing each ruffle on the right side of the sweater material.
Sew the tops of the ruffles in place.


With right sides of the sweater facing in (backing material on the outside), sew the two separate pieces together on all 3 sides with the same 1 1/2 seam, leaving an opening for the pillow or stuffing.

Cut the excess seam off, snip the corners and turn the material right side out.


Slide the pillow inside of the material or use the stuffing to fill the pillow out. Use invisible thread once again to sew up the opening.

Throw them on your fancy pink couch, brew some more tea and take a nice nap.


Read more

Ten (Plus) Easy Ways to save Money

I am frugal by nature-just ask my parents. I used to hide girl scout cookies under my bed, only allowing myself one delicious thin mint a night. That is-until the ants also found my stash and my parents put an end to my cookie hoarding ways.

That said, I love to save money. Here are ten (plus) easy ways that you can, too!


Chapstick
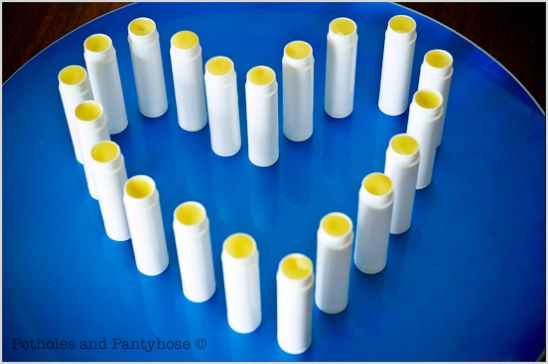
1) Biceps uses lip balm like nobody’s business. And to be fair-so do I. But, is it a crime to want supple, luscious lips void of cracks and flakiness. I contest that it is not!
However, the $3 a tube for Burt’s Bees was a crime. And I needed to solve it. With a few ingredients and within a few minutes time, I had made 40 tubes of Lip Balm that cost less than $.25 each.


Cleanser
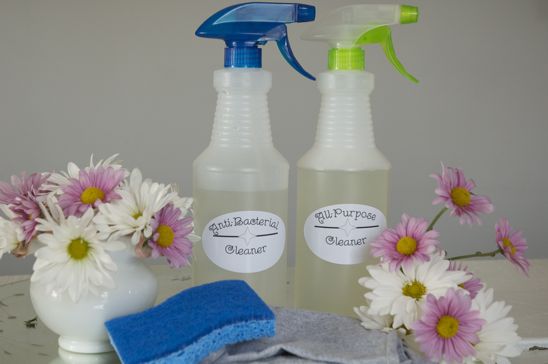
2) I make all of the cleansers that I need to keep my home sparkling. They are cheap, easy to make and non-toxic. Everything from: all purpose & anti-bacterial cleaners, to furniture polish, toilet bowel cleaner, brass and stainless steel polisher, and cooking spray.


Potholes and Pantyhose
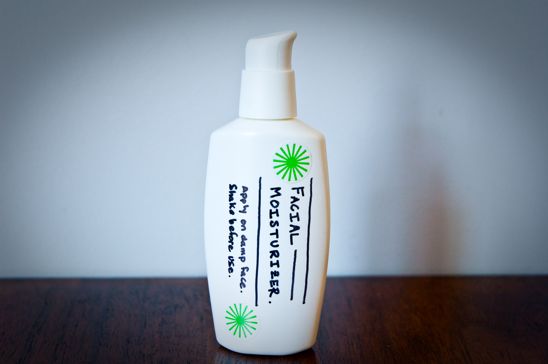
3) I also make most of my beauty products saving me hundreds of dollars a year. Check out this easy to make facial moisturizer, eye make-up remover, toothpaste and mouthwash.


Face Wash
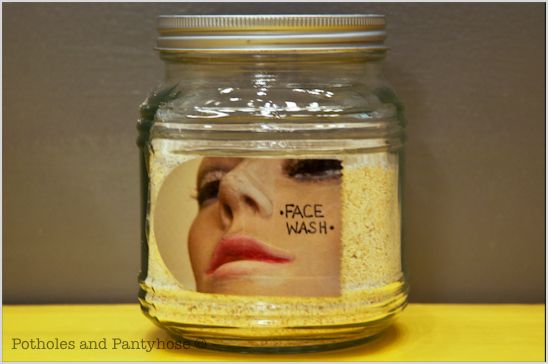
4) Simply make your own face wash using ground oatmeal. I know what you might be thinking-how does oatmeal on my face actually work? The ground oats add moisture back into the skin (thus the reason you are supposed to bathe in it when you have a rash, poison ivy, etc) while the gentle oats exfoliate the skin and cleanse. Cheap. Simple. Love it and the smell of breakfast as you’re washing my face.


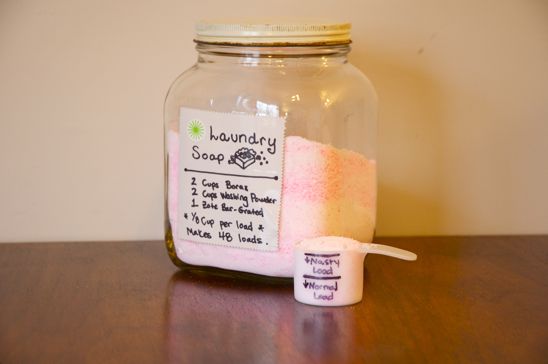
Laundry Soap
5) I make my own laundry soap once a month which lasts me for 48 stinky, big-boy loads. I save big-boy money doing this. The clothes smell great and it’s fun to grind up soap in my blender. Everybody wins.

I also make my own laundry softener and stain stick. Super easy, does the job and smells fantastic!


Mirror Art
6) Make your own art with whatever you have on hand. Get creative and dare to cut your knuckles making this Mirror Art. I’ve used scrap plywood, drywall, oops paint, repainted canvases, and many other odd things to decorate my walls. And-the best part is-if you screw up, you can just throw it away!


Potholes and Pantyhose
7) Learn how to do some basic sewing and start getting thrifty. I made this silky scarf shirt with a couple of scarves and two pieces of ribbon. The cost-$1. I’ve also made shirts and dresses from pillow cases, and cape shirts from lace tablecloths.


Thank You
8) Create your own cheap thank you notes by recycling old photos, postcards, pictures from magazines. Sew them onto card stock and offer your friends a one-of-a-kind letter in the mail.


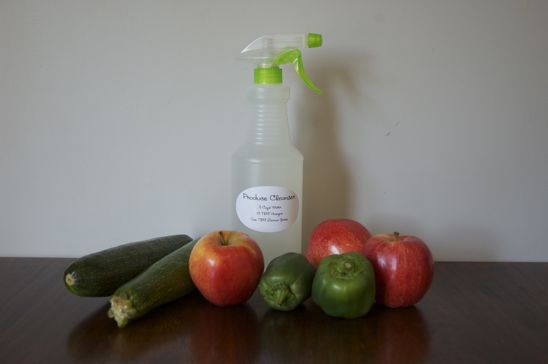
Veggie Wash
9) The produce cleanser I was buying from the store cost about $3 a bottle. Forget that! I now make my very own produce cleanser at home for about $.10 a bottle. Those are savings you can keep!


Garden-Tomatoes
10) Keep your garden humming all year long with an inexpensive DIY spinning composter, rain barrels, critter deterrent and pest spray.

These are just a few ways that I’ve found to save money and replace store-bought items. What are some of your favorite ways to be frugal and keep your cold-hard cash where it belongs (in your wallet)?

Read more