Tag Archive for: decoration

Christmas is over-what’s next on the list?

Every year, around August, I start thinking about and planning for Christmas. Biceps and I begin discussing that year’s Christmas photo  and I begin gathering costuming and necessary accoutrements.



And, I have a theory about Christmas:

Lists rule, disorganization drools.


List for 2012 Christmas Card Photo:

1. Angel Wings
2. Large Tighty-Whities
3. My “dress”-a white sheet
4. Halo
5. Red Jeans
6. Cape
7. Devil Horns
8. Triton

Totally normal Christmas Photo shoot list for most families, I assume.


And sometime after Thanksgiving, I start scheming for Bicep’s birthday-(also known as my “pre-Christmas”), because he’s a Christmas Eve baby.

List for Bicep’s Birthday:

1. Egg pancakes for Birthday breakfast (Greiman tradition)
2. Some sort of weaponry present
3. Some sort of clothing item present that he will probably return
4. Chocolate cake with chocolate frosting with chocolate ice cream (plus more chocolate options, just in case)
5. Back-up Chocolate


Now, if you know anything about Biceps and I-you know that we are frugal. Christmas is budgeted throughout the year, with a little set aside each month. That way, when present making (or for this year-present buying) comes around, we don’t go into a sticker-shock-induced-coma.


Usual List for homemade presents:

1. 95 Ripe Bananas (boy, do the cashier’s give us a weird look)
2. 8 Bags Pretzel Rods
3. 4 Packages Almond Bark
4. 5 Bags Flour
5. 5 Bags Sugar
6. 3 Jars Molasses
7. 2 Bags Peppermint Candy
8. Etc….



And then there’s the Thank You Note List for Gifts Received (past, present and future):

1. Golden Toilet Lighter from Daniel
2. Self-Adhesive Mustache Pack from Christy
3. Portrait of a Sheriff from Beau
4. Inappropriately Shaped Pine Cone Ornament from Carisa
5. Pooping Penguin from Justin
6. 1966 Ford Mustang from Biceps
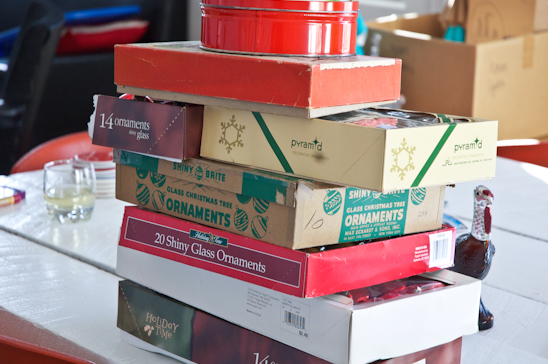


But now, the carefully planned out lists have been fulfilled and thrown away. The presents have been unwrapped, the meals have been eaten and the house is silent.

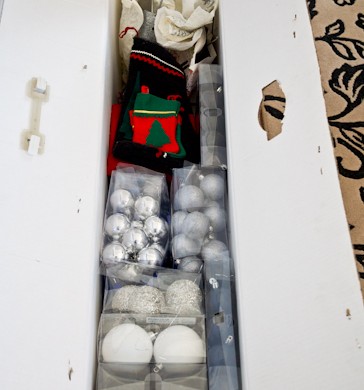
And, it’s time to put all the Christmas cheer back in its appropriate box, wrap it up in tissue paper and store it-once more-up in the attic, until next Christmas.

And I am left with a “Christmas-less” house-until next August when the planning begins again. I don’t have a list anymore. It’s a little disconcerting.

What’s next on your list?

Read more

Christmas Clean-Up

It’s time for it to come down. The tree, the holly, the mistletoe, the lights. All of it.
Granted, I have been listening to and enjoying Christmas music since before Thanksgiving. But, it’s time for all of it to be packed up into boxes and stored away in the attic.


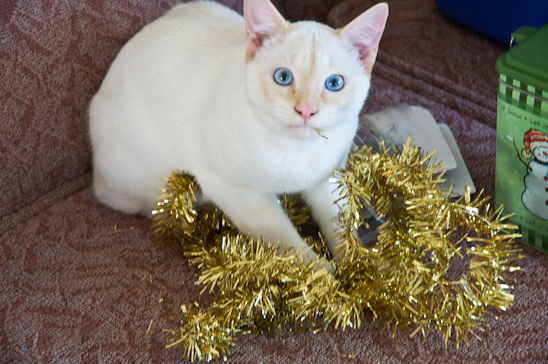
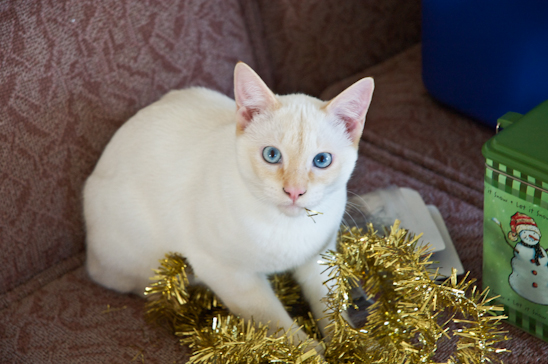
I have had my fill of keeping the cats away from the tree, closing them off from certain parts of the house, or cringing when I hear an ornament hit the floor.
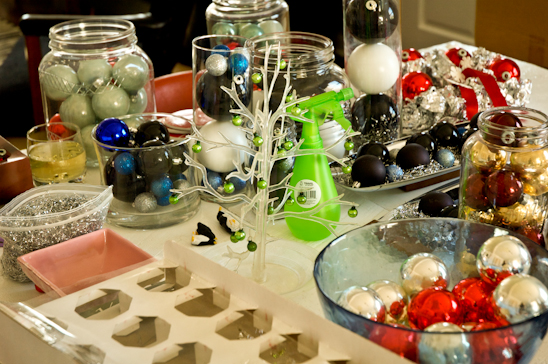
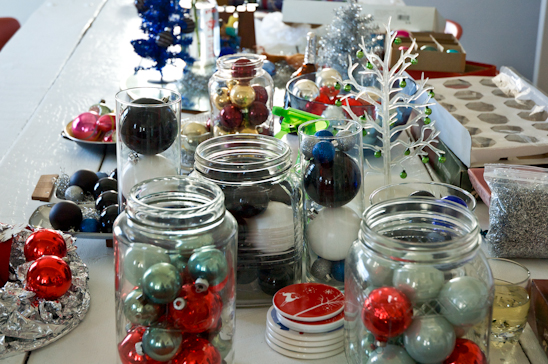
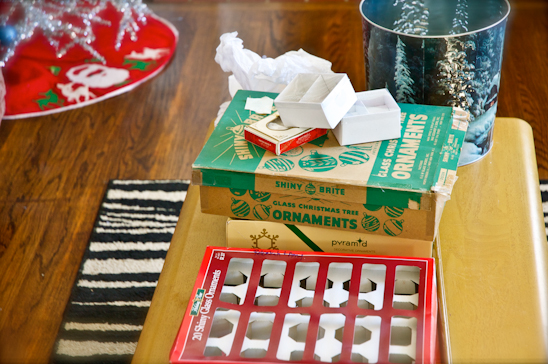
So, I start off by corralling all of my Christmas miscellany onto the dining room table. There are jars, platters and dishes full of bulbs, balls, and tinsel.


After pouring a glass of wine, I turn on Billie Holiday and assess my opponents.


I can never remember how I got all of that into there.
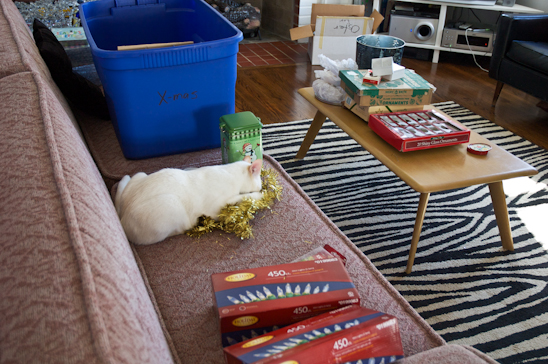
Max and Bianca entertain themselves as they jump in and out of the empty boxes and chase the run-away tinsel.


Certain guilty parties incriminate themselves over and over…


…and over.


Our Christmas ornaments span the years-beginning with my first out-of-college roommate and I co-investing in maroon and gold ornaments purchased from Wal-mart. We spent $5 between us to decorate our tree. That was high-living for us back then.


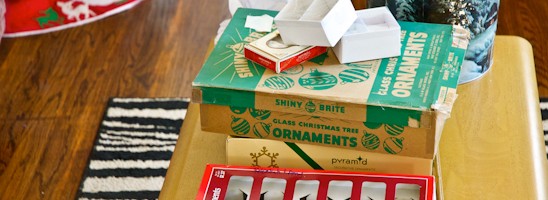
Now, black and white Ikea balls, along with sparkling blue and silver ornaments have been added to the Christmas decor mix. Throw in a dash of Grandma’s vintage ornaments, vintage deer from the flea market and our yearly ornament purchase, and I am running out of uses for all of them.


Soon, everything is packed away, taped up and ready for next year’s frivolities. It almost feels as if Christmas had never happened.
Except for the tinsel I keep finding squirreled away in nooks and crannies due in part to my weird cats Bianca and Max.
I don’t think they can let Christmas go either. I suppose we are good for each other.

Read more

Pretty Paper Christmas Trees

I explained in “Christmas No-No Decor” why I had to switch it up this year due to my naughty kittens. We are in the throes of training them…they are just a little hard-headed.

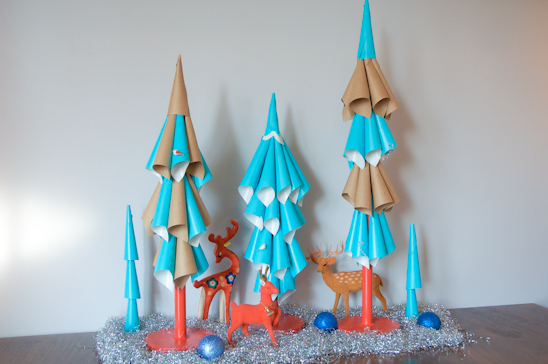
I was excited to try something new and this vision of blue and red came to mind. I went with it.


Apparently, the motivation from naughty cat-dom was just the challenge I needed. Without spending a dime and using things that I had on hand, I created a whole new fancy look for my mantel this year.


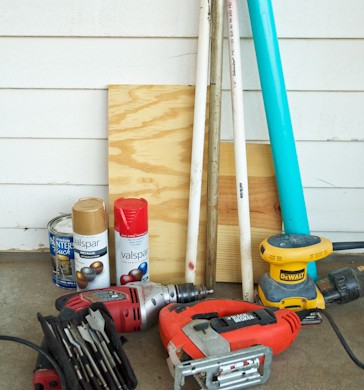
Here’s what you’ll need to make your very own Pretty Paper Christmas Trees:

3/4″ Dowel Rods or PVC pipe
3/4″ Scrap Plywood
Coffee can lid
Jigsaw
Palm Sander & Fine/Medium Sand Paper
Drill and paddle drill bits
Oops Paint or Spray Paint
Hot glue gun & glue sticks (not pictured because they were warming up for their duties)
Wrapping Paper (I used both robin egg blue and brown parchment)


I had two pieces of leftover 3/4″ PVC and a 3/4″ Broom stick that someone had gone ninja on. I used all three pieces to make my three trees.
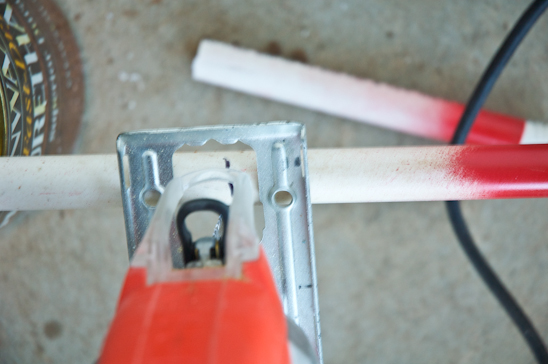
Mark the desired height of trees onto the PVC or dowel rod with a sharpee. I cut my lengths to 18″, 24″ and 32″.


Using the jig saw and a wood blade, cut the PVC or dowel rods at the marked lines.


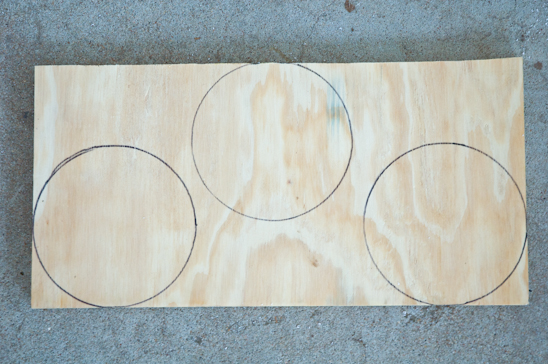
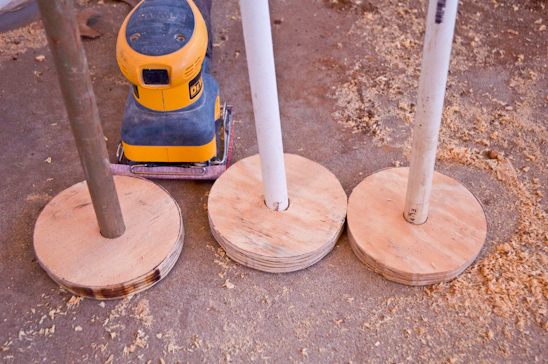
Outline the coffee can lid onto the scrap plywood. This will be the base of the trees.


This joke never gets old, “Cut it out.” (Courtesy Uncle Joey.)
Meaning, cut the plywood circles out with the jig saw.
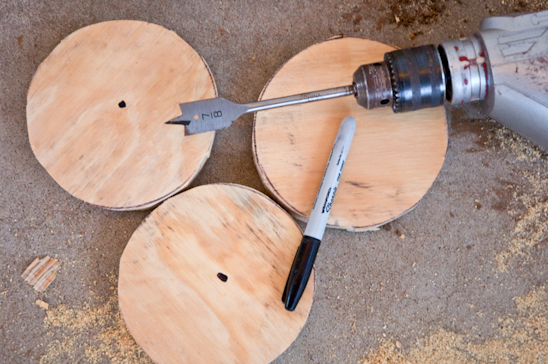
Using a 7/8″ paddle drill bit attached to the drill, drill into the center of the plywood, without going all the way through.


Sand the pieces of plywood using the palm sander. Sand the PVC and dowel rods by hand with a loose piece of sand paper.
Make sure the PVC or dowel rods fit into the holes in the plywood.


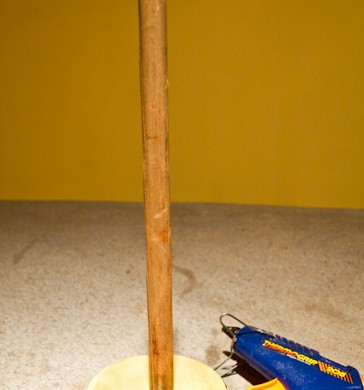
Hot glue the PVC or dowel rods to the plywood. Make sure you burn at least two of your fingers in this process.


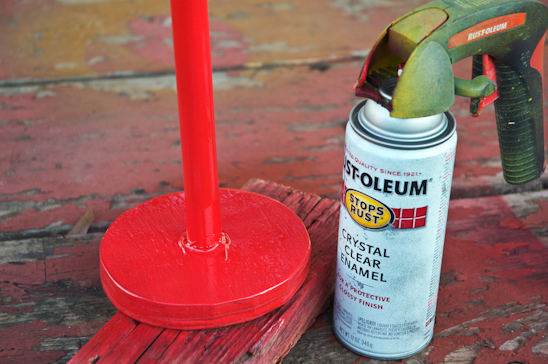
Spray the entire thing with two coats of your favorite paint. Let dry.


While the tree stands are drying, cut out 3″ square pieces from the wrapping paper.


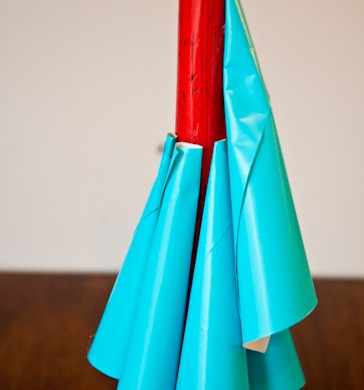
Roll each square into a cone shape that resembles this one. Hot glue the very end to the cone.


Pour a glass of wine and then do that same thing about 20 times more for each tree-depending upon the height.
Some of my trees required about 20 cones, the tallest about 30.


Starting about 6″ away from the base of the tree, begin hot glueing the desired colored cones to the PVC or dowel rod. Move up about 3-4″ and add another round of cones. Continue doing this until you reach the top of the tree.
I made one tree that was all blue, one with rows of alternating blue and brown parchment paper, and one that alternated within the same row blue, brown, blue, brown, etc.


I insist you make a mess while doing this, just so I don’t feel bad.


Add one last cone to the top of the tree, covering up any of the remaining PVC or dowel rod. Add a few cute birds, candy canes or alternating colors.


Fancy it up with some cute deer, sparkly tinsel and leftover ornaments and call your mantel decorated!
Merry Christmas!

Read more

Retro Reindeer Stocking

After making my Retro Christmas Tree Skirt, I was inspired to update some of the other decor around the ‘ol house for Christmas. This picture from 2009 shows Biceps’ stocking in all of its ridiculous glory. His stocking is far left, Cowboy is in the center and mine is far right.

Notice the sheer enormity of his stocking? He believes it entitles him to more presents…
Not only does his stocking stretch as the weight increases, but the knit of the stocking allows you to see anything inside of it-thus you must wrap everything. After years of dealing with this silliness, something had to be done.


With the leftover material from my Retro Christmas Tree Skirt and the green light from Biceps, I decided to make us Retro Reindeer Stockings that were the proper size a stocking should be.
This is the man’s version of a Retro Reindeer Stocking….


And this is the lady’s version of a Retro Reindeer Stocking.


Here’s what you’ll need to make a pair of you very own Retro Christmas Stockings:

Felt-several different scrap colors that float your boat and enough to cut (4) pieces of approx 2’ stockings-8’ squared of total material
Hot glue gun
Scissors
Ric-rac or other desired embelishments
Card Stock or your favorite stencils


Trace a simple stocking shape onto the material and cut out four total pieces. Mine measured approximately 16” tall and 10” wide. With two right sides together, sew a seam around the stocking, 1/4” away from the edge and leaving the top open.


Cut a 7” loop of ric-rac. Turn the sewn stocking right side out. Fold the top down a 1/2”, turning it inside of the stocking. Insert the loop of ric-rac on the edge of the stocking and sew a 1/4” seam around the top of the stocking.


Use your favorite stencil, or draw a shape onto cardstock that your little heart desires. I chose a tree for each stocking and also a boy deer with antlers for Biceps and a girl deer sans-antlers for yours truly.
Cut out the shapes that your little heart desired on you felt scraps.


Hot glue your felt shapes onto your stocking. Add ric-rac on the toes, heels and the top of the stocking.


I gave a little ric-rac embellishment to each deer’s neck…


…and added a bow to my ‘girl’ deer.


And then, I hung my Retro Christmas Stockings up by the chimney with care, in hopes that Saint Nick can fit a ’66 Mustang in there.
Or a diamond tennis bracelet.
Or just some gum. I’m easy to please.

Read more