Tag Archive for: bunny

DIY Plaster Animal Heads

I am in the throes of decorating our nursery. I know that our baby won’t care what the room looks like. Heck-as a baby-I removed the paint my father laboriously put on my nursery walls with a wet wipe.

However, since I will be spending an inordinate amount of time in this room, I wanted some pretties to look at. And, of course, I didn’t want to spend very much doing so-thus my DIY Plaster Animal Heads. If you have the patience of a cucumber and a few hours each day, you too can have very inexpensive animal heads custom made to your liking!
 

Plaster Heads Begin
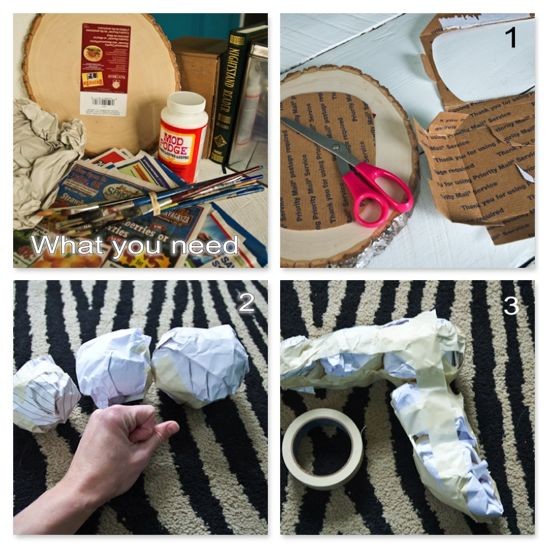
Here’s all that you’ll need to make your DIY Plaster Animal Heads:

Newspaper, Packing Paper
Paper Towels
Masking Tape
Cardboard
Mod Podge
Tissue Paper, Book Pages
Paintbrushes, Paint
Glitter, other accessories to decorate if desired
Plaque (I bought mine from a hobby store)
Brad Nails, Hammer
Flour, Water

Step 1:
Cut out a piece of cardboard that will be the backer to the animal head. Make sure it’s smaller than the plaque that’s been chosen.
Step 2:
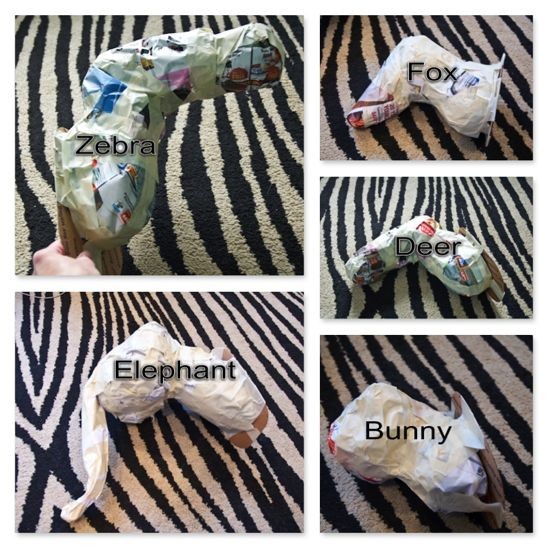
Make balls out of newspaper or packing paper that will be the animal head and neck. Tape the balls together individually.
Step 3:
Tape the entire head and neck together.
 

Plaster Step 2
Step 4:
Add a final layer of newspaper to smooth out any valleys and build up any areas that are needed for the contour of the head. Use masking tape to attach the newspaper and the cardboard backer to each head.
 

Plaster Step 3
Step 5:
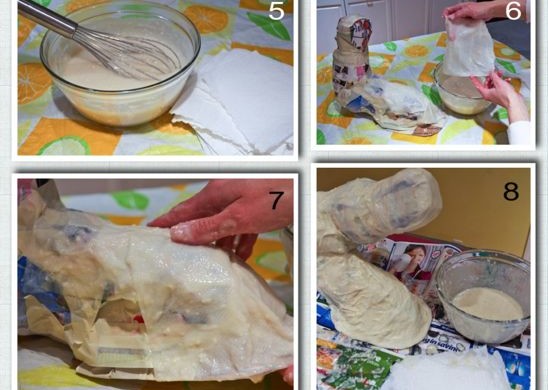
Use 4 parts water to 1 part flour to make the “plaster”. Heat up on stove and slowly whisk in flour until the consistency is a thick and soupy. Let cool.
Step 6:
Cut paper towels into 3″ x 4″ rectangles, or somewhere close to that size. I cut my select-a-size in half. Dip into the soupy plaster and squeeze off the excess.
Step 7:
Using one paper towel at a time, add a single layer of the paper towels to the head and cardboard backer.
Step 8:
Cover the entire head and cardboard backer with the plaster paper towels.
 

Plaster Step 4
Step 9:
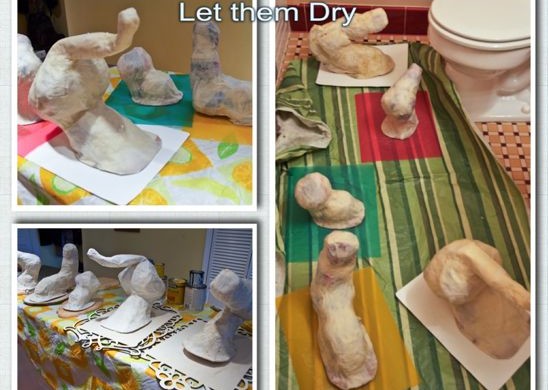
Let the head(s) dry completely overnight or for several hours. It was very cold out, so I placed my heads in a small bathroom and used a space heater (safely) to speed up the process. Rotate the heads and make sure the cardboard backer is completely dry as well.
 

Plaster Step 5
Step 10:
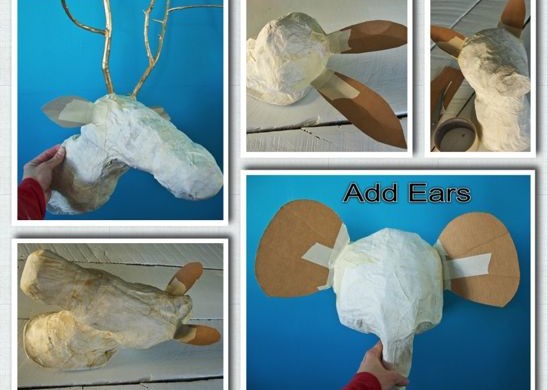
Cut out ears for each head and use masking tape to attach to the heads.
 

Plaster Step 6
Step 11:
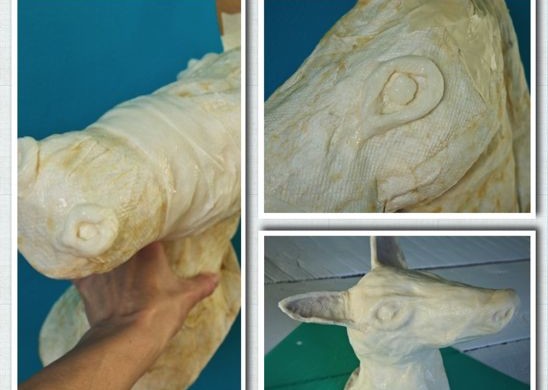
Use another round of plaster and paper towels to build up eye and nose formations. Cover the entire head once more, along with the cardboard backer and the ears with another layer of paper towels.
Let the head(s) dry completely overnight.

While you’re waiting on them to dry, paint your plaques!
 

Potholes and Pantyhose
Step 12:
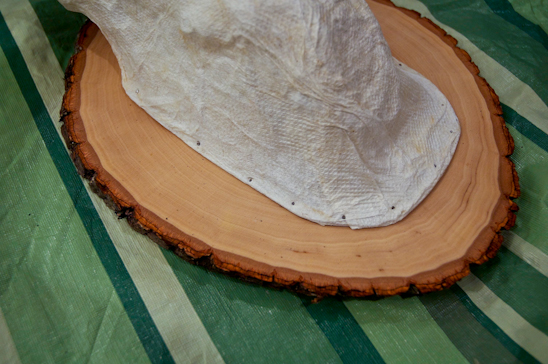
Once the head(s) are completely dry, attach to the painted plaque by gently using brad nails and a hammer. (I went the extra mile and added a little hot glue to the cardboard backer before attaching it to the plaque. I don’t think this step was necessary, but it made me feel better.)
 

Plaster Step 8
Step 13 Alternate (1):
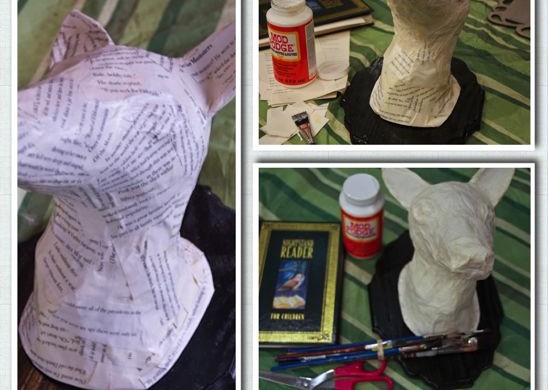
Here comes the fun part-decorating the heads! There are many ways to do this. Here you can see that I used mod podge and the pages of a book to cover the entire head. After cutting out a stack of small pieces from a book, I brushed a thin layer of mod podge on the back side. I placed the piece on the head and brushed another thin layer over the top. I repeated this process until the whole head was covered.

I had five heads, so I covered two with book pages.
 

Plaster Step 9
Step 13 Alternate (2):
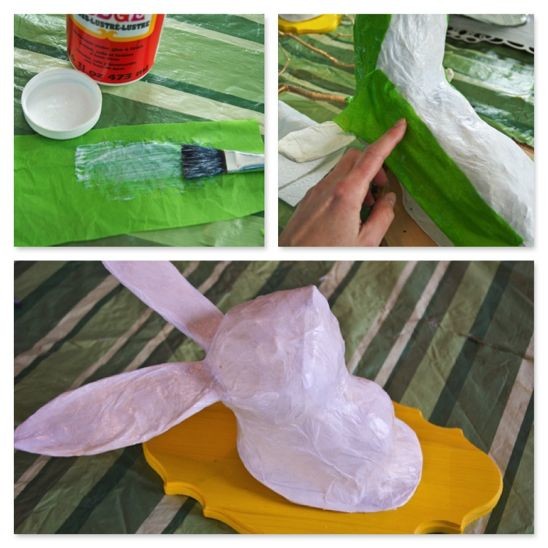
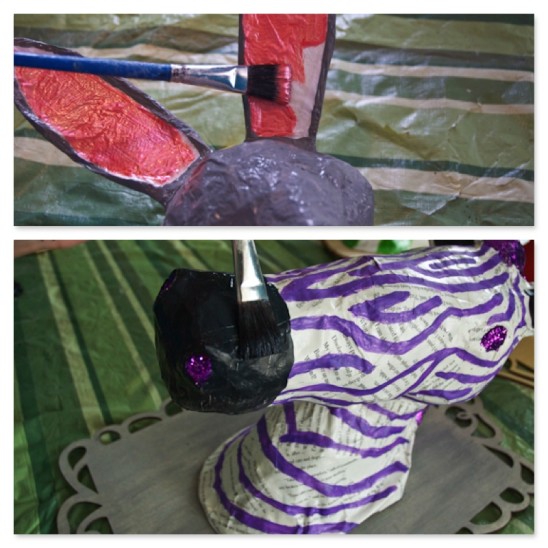
Here, I used the same mod podge process, but utilized fun tissue paper instead. I covered the three remaining heads with tissue paper.
 

Plaster Step 10
Step 14:
Now, it’s time to paint! Get creative and crazy. Add glitter, rhinestones, mirror pieces, wires for whiskers, feathers, or whatever you have on hand. (Let dry completely between coats of paint).
 

Potholes and Pantyhose
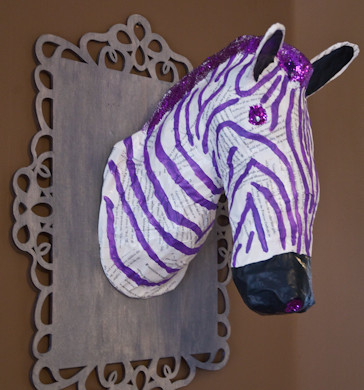
Here are my finished heads. This one I call Frank the Zebra.
 

Potholes and Pantyhose
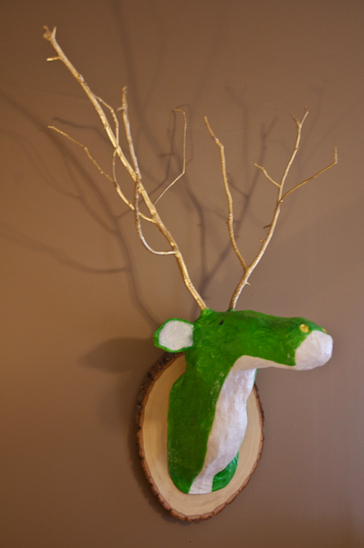
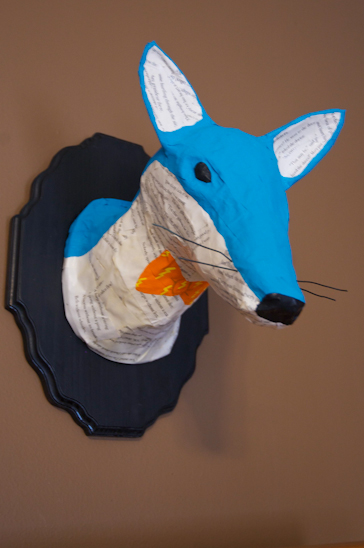
This is Lightening McQueenFox.


Potholes and Pantyhose
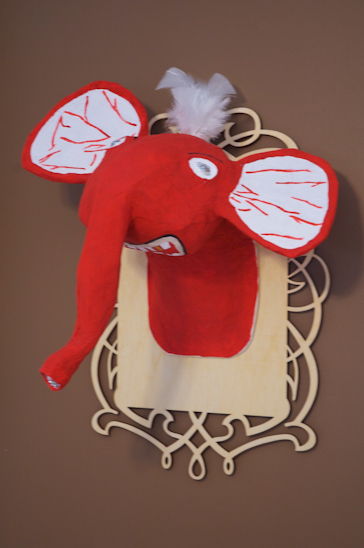
This is Goldy the Elephant.


Potholes and Pantyhose
This is George. Just George.


Potholes and Pantyhose
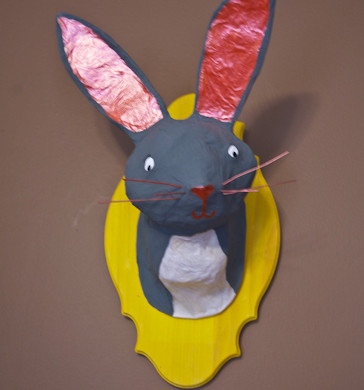
And this is Twinkles the Bunny.

I figured that I saved about $700 making these myself. Not bad for a few days’ work. If you made an animal head, what would it be?
Read more

Getting Ready to Garden-Bunnies Beware

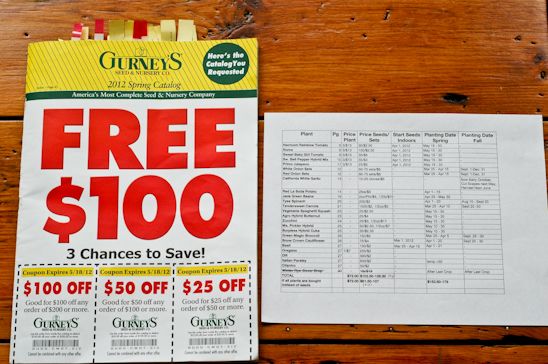
I know-it’s only January 3rd. But, it’s never too early to start planning your garden. I’ve been thumbing through my Gurney’s and Baker’s Creek Catalogues, spending hours plotting and scheming.


I’m such an organizing freak, that I made an excel spreadsheet outlining what plants and seedlings I would be buying, along with the planting schedules, cost and soil needs.

I know-I’m a Class A Nerd. And I’m ok with that.


A wonderful reader-Janice-sent me Baker’s Creek Heirloom Seed Catalogue last year-along with a bunch of seeds. I was so ecstatic to try things last year that I normally wouldn’t, that I went about my garden tossing seeds *to and fro.

Who knew that Biceps and I would love okra so stinkin’ much. I’m planting double this year. And, I’m adding cauliflower. Yum.


(*Actually, all seeds were carefully placed into the soil and no seeds were harmed during my skipping and frolicking while wearing these cute green clogs.)


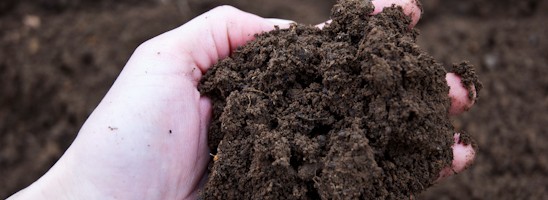
Look at this beautiful soil, just ready and willing to grow yummy vegetables.


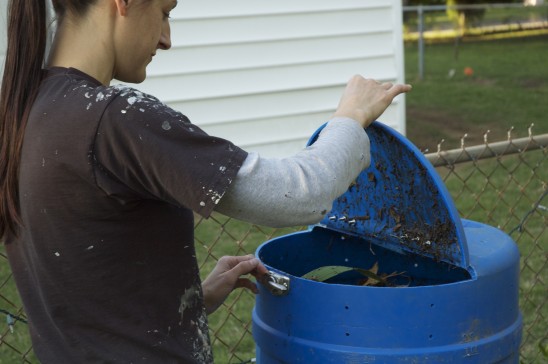
My Spinning Composter is filled to the brim and ready to fertilize my soil-naturally.
My Rain Barrels are full and ready to offer free rainwater for the garden.
The dutch clover is protecting my soil from erosion and is going to be a lovely green fertilizer come this spring.

Now, all I have to do is wait and soon, I will have this. But for now, I will enjoy the canned produce, yummy salsa and jalapeno jelly from last year’s harvest.

And, I will wait patiently (somewhat) for the new planting season-when I brush off aforementioned cute green clogs and get down and dirty with my seedlings.


So, bunnies-BEWARE. Your time of bouncing through my vacant garden willy nilly is coming to an end. Enjoy it now, furballs. Enjoy it now.

How are you planning for your garden?

Read more

Garden Critter Deterrent-Bunnies in particular

My garden is well underway. Weeks of planning, preparation and coddling have brought me to this point. My vegetables are in the beautiful black earth, soaking up the nutrients from my composter. The gathered rainwater is providing the moisture and my song is providing the incentive to grow.

However, there is a devil afoot.


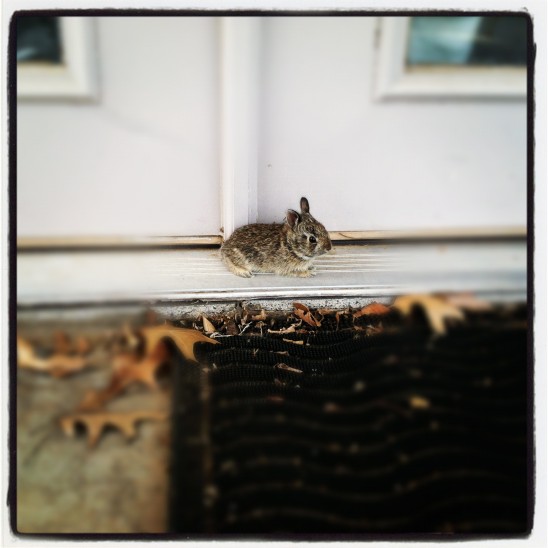
Sure, he looks cute. Sure, he’s furry. Sure, I even talked about how wonderful it was to have a bunny in my backyard.

But did you know that bunnies also like to eat my plants-the ones that I’ve toiled over, loved on and kept safe from hail storms? Bunnies love to nibble-and I will admit, they look pretty darn cute doing so-but they are destroying my garden. Something must be done!


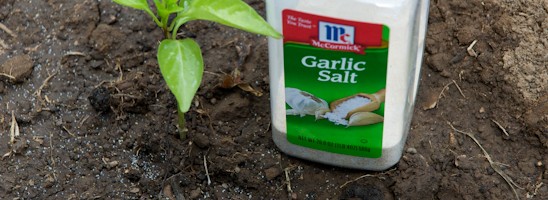
Enter Garlic Salt and Chili Pepper in mass quantities. Bunnies do not like sniffing these two substances. In fact, they tell the other bunnies to stay far away.


I sprinkle a little of each around the base of my plants and around the perimeter of my garden.


As the bunny checks the wind for potential vegetable and leafy prey, the garlic and chili pepper reach their delicate noses and they take off for greener, less spicy pastures.

I reapply the spices after a heavy rain.


I don’t mind sharing. But after three destroyed pepper plants attributed to this very cute little bunny, I chose to go the humane route and spice it up.

Let’s not talk about the alternative offered by Biceps.


Read more

Little Bunny Foo-Foo, Almost became a Boo-Boo

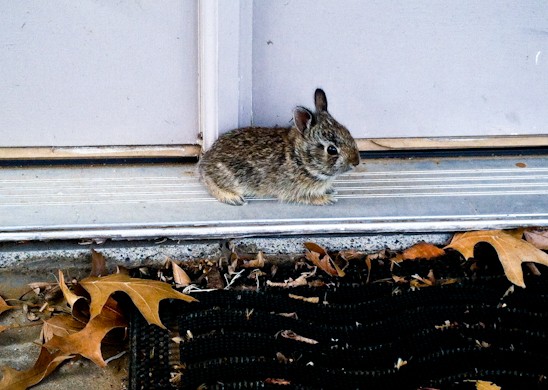
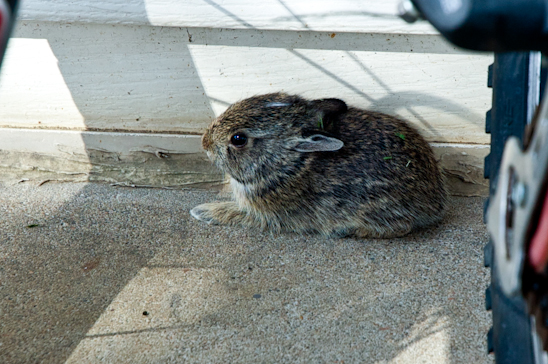
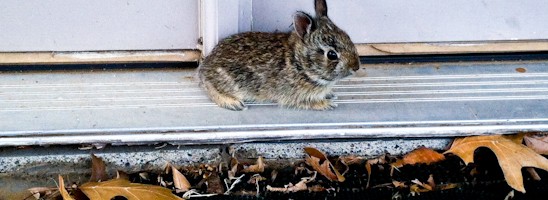
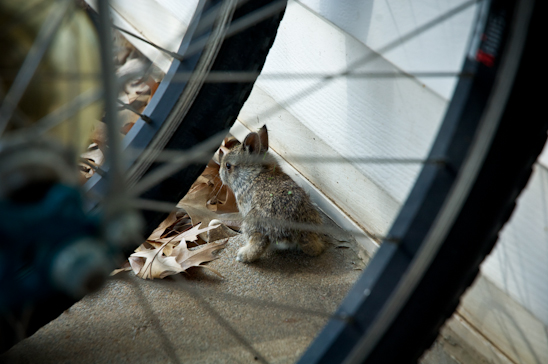
This is the cutest thing I’ve witnessed hopping around my backyard. But, this cute little thing almost wasn’t.

I was in the middle of mowing the lawn, when Little Bunny Foo-Foo shot out from his highly populated rabbit hole and made a bee line for my back porch.


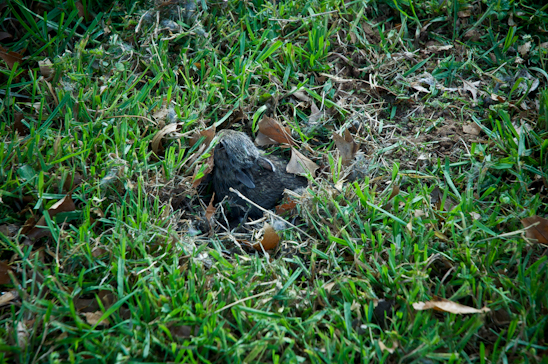
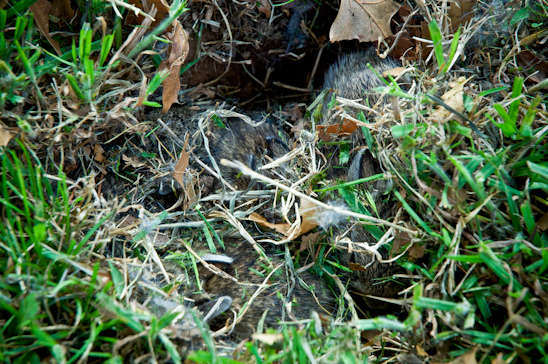
Nesting in the dirt-just below the surface of the grass-was an entire bunny family.


I assumed they all lived in trees with cute front doors, like Rabbit from Winnie the Pooh. But underneath the grass clippings, gathered items were at least six tiny bunnies. My heart melted on the spot. Seriously. Like wax.


Little Bunny Foo-Foo hunkered down on my back porch, far away from the safety of his nest, his momma, and his bunny siblings.

(Just look at that cute little bunny butt.)


I told Little Foo-Foo that I would go mow the front lawn-leaving the backyard free from scary noises for awhile-if he promised to go back to his nest.


I think he has human trust issues.


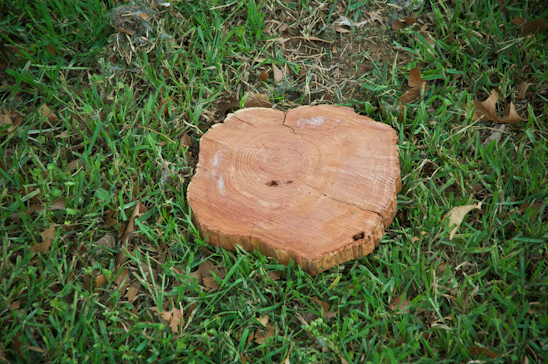
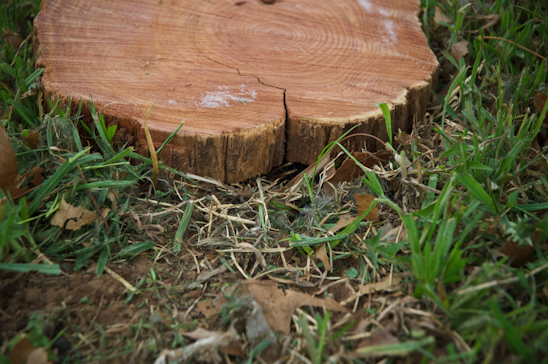
I covered his little nest with a chunk of wood to protect it from more mowings, birds or naughty kitty cats.


But, I propped up a corner, leaving a way for the goings and the comings of the furry group. I didn’t want to touch any of them and infect them with my stinky human scent or try to move their nest and hurt them.


When I returned to the backyard, Little Bunny Foo-Foo was nowhere to be found. I believe he’s back in his nest, telling a slightly exaggerated story to his bunny siblings of his adventure with the giant woman and a back porch full of scary leaves and bugs.

At least I hope so. Long live Little Bunny Foo-Foo!

Read more