Archive for category: Recipes

How to Freeze Beans and avoid BPA

Canned products are usually lined with BPA-a product known to cause cancer, birth defects, miscarriages, obesity, and insulin resistance, which can lead to Type II diabetes. I have decided to quit buying anything that comes in a can. This means no more canned beans.
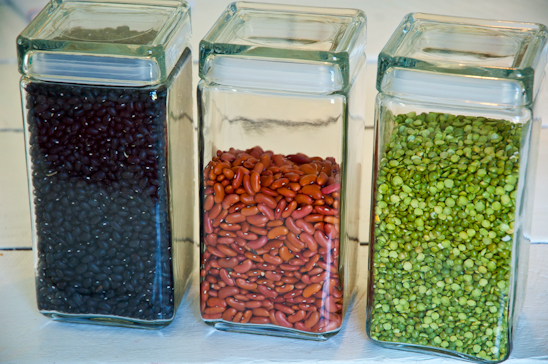


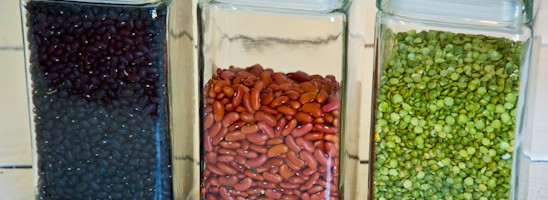
Instead, I have fun with dried beans. I set aside a few hours in a day and call it my “Bean-Fest”. I put on Salsa music, grab a spicy apron and get to work.

Every burner and large pot that I have on hand is utilized, cooking legumes of every shape and size.

I follow the basic instructions in my cookbook on how to cook beans, but I cut out the salt and cut down the cooking time by 33%. Meaning, if it tells me to cook the beans for 1 1/2 hours-I only cook them for an hour, or just until they can be forcefully squished with a fork. You want the beans to be a little tough.
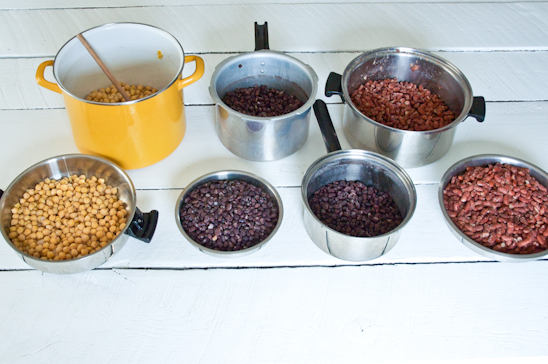


After draining the beans, I divide them in half, leaving half in the pot and the other half in the lid, allowing them to cool down. I also stir the beans from time to time to release the captured heat.

You could transfer them to another dish to cool faster, but since I don’t want to wash another dish-I opt for the above method.


Once the beans are cool, I measure out 2 or 3 cup increments into ziplock bags, depending upon how I use the beans and toss them in the freezer.

I measure 3 cups for my garbanzos in order to be ready to make my Hummus Among Us Recipe.


I measure out 2 cups for my red and black beans for salads or to accompany rice meals.


In order to use the beans, I allow them to thaw in the refrigerator for a good day before they are needed.

Voila! Ready-at-the-helm beans without an infestation of BPA. Kind of a win-win for very little work.


Linking up here, along with other parties:
Today's Creative Blog
 http://www.thethriftyhome.com
Photobucket
Between Naps on the Front Porch
Fine Craft Guild

Read more

Skinny Orange Julius w/ Stevia

It’s so beyond summertime here, it’s ridiculous. I’ve been sweating every minute of every day-whether I’m sitting down or vacuuming or doing Crossfit, it’s the same. Stinky sweat and no end in sight.

This brings me always to the same place-I need something cold to drink. But I don’t want to consume my daily caloric intake with one or even two drinks. You can find a printable recipe at the bottom of this post.

(Did you know that the average Starbucks Frappuccino is in the range of 400-500 calories? YIKES!)

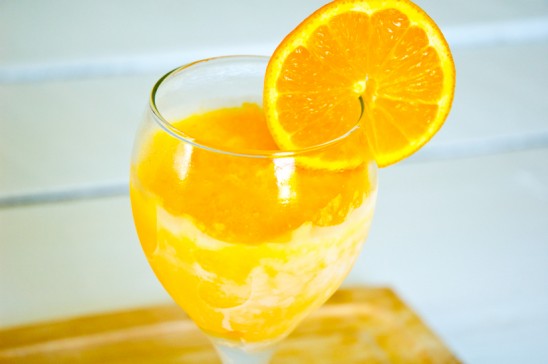
I decided to come up with a skinny version of one of my favorite drinks-Orange Julius. The result was a delicious drink without any of the spare tire conversion.

This recipe is a great just as a beverage, but can also be frozen and eaten as Orange Sherbet-(a skinny alternative to icecream)!


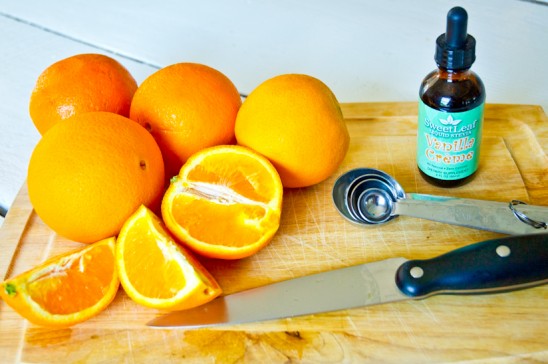
Here is all that you’ll need to make your own Skinny Orange Julius:

This Recipe makes a Pitcher of 4-5 Servings:
4-5 Peeled Fresh Oranges
4-5 Cups of Ice
1-2 Cups of Water
1/4 tsp Vanilla Creme Stevia

This Recipe makes one serving:
1 Orange
1 Cup of Ice
1/4 Cup of Water or as Needed
2 Drops of Liquid Vanilla Creme Stevia


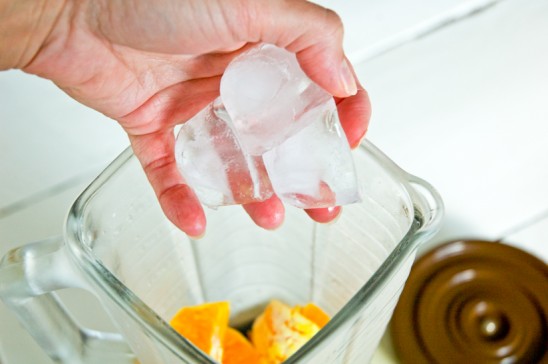
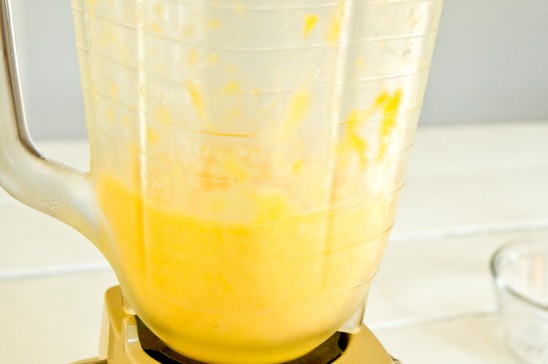
In a blender, combine the peeled oranges, adding 1/2 of the needed ice on top.


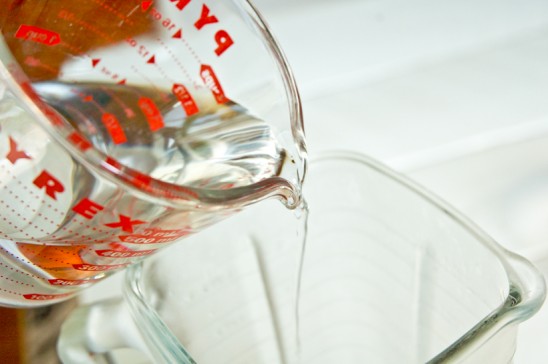
Add the water and pulse until the ice is broken up into chunks. Add to this the other half of ice.


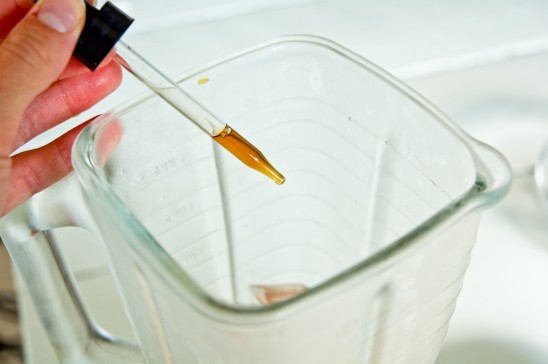
Next, add the Stevia.


Puree everything until it’s blended, but still a bit chunky.


Pour into a chilled glass, prop your feet up and enjoy.


Make an extra serving to freeze and enjoy later on as a skinny Orange Sherbet.

Watch out summer, I may have you beat.

Skinny Orange Julius w/ Stevia
Author: 
Recipe type: Beverage
Cuisine: Healthy Living
Prep time: 
Total time: 
Serves: 1-6
 
Here's a skinny version of one of my favorite drinks-Orange Julius. This a delicious drink without any of the spare tire conversion. This Skinny Orange Julius is great just as a beverage, but can also be frozen and eaten as Orange Sherbet-(a skinny alternative to icecream)!
Ingredients
  • This Recipe makes a Pitcher of 4-5 Servings:
  • 4-5 Peeled Fresh Oranges
  • 4-5 Cups of Ice
  • 1-2 Cups of Water
  • ¼ tsp Vanilla Creme Stevia
  • This Recipe makes one serving:
  • 1 Orange
  • 1 Cup of Ice
  • ¼ Cup of Water or as Needed
  • 2 Drops of Liquid Vanilla Creme Stevia
Instructions
  1. In a blender, combine the peeled oranges, adding ½ of the needed ice on top.
  2. Add the water and pulse until the ice is broken up into chunks. Add to this the other half of ice.
  3. Next, add the Vanilla Creme Stevia.
  4. Puree everything until it's blended, but still a bit chunky.
  5. Pour into a chilled glass, prop your feet up and enjoy.
  6. Make an extra serving to freeze and enjoy later on as a skinny Orange Sherbet.
  7. ***This recipe for Skinny Orange Julius (and me!) will be featured on Fox 23's Great Day Green Country on January 2nd, 2013 at 10 am.***

Read more

I’m A Guest over at the Better Baker!

Good Morning my dear readers!

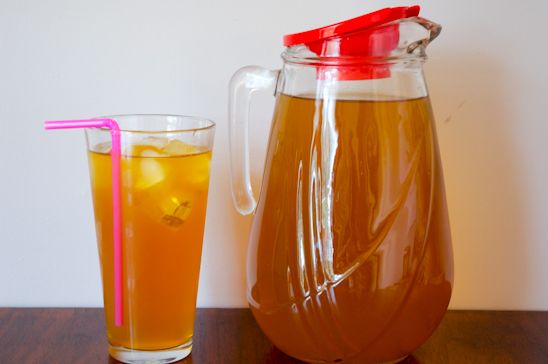
Marsha-who’s “a good cook, but a better baker ” writes the blog, The Better Baker. She’s generously asked me to be a guest on her site today and she is featuring my No Calorie Sweet Green Tea.

Her site has amazing recipes-just in the last few days she has posted recipes for Very Blueberry Coffee Cake and Cabbage Lasagna with Homemade Garlic Bread. If your stomach isn’t growling already, it should be!

Hop on over to The Better Baker and say “hi” to Marsha, and tell her this weirdo sent you.

Read more

Homemade Crockpot Yogurt

This past month, I have made it my goal to rid my kitchen of as many store bought products as possible. I know I can’t get rid of everything, but a girl can sure try.

I wanted to find options for condiments, such as ketchup and bar-b-cue sauce (something Biceps consumes by the truckload), butter, yogurt, granola (to replace our cereal), summer drinks and canned anything.


Photo Source
The process of making it myself had to be simple, cost effective and better tasting to warrant the move.

Last week, I shared with all of you my recipe for Tasty Granola sweetened by Agave Nectar. And what goes better with granola than yummy, creamy, sweet yogurt? I dare say nothing does.


Today, we are going to focus just on the yogurt. The granola will just have to get along on its own, crying by itself in the cabinet. It’s yogurt’s time to shine.


I was on the hunt for an easy, cheap recipe to make my own yogurt-free from things found in the ingredient’s list that I cannot pronounce. After a few tries, I came up with the perfect recipe-and it’s all done in the crockpot and with very little effort.

I start my yogurt in the evening, knowing that the cool down can happen overnight and I can enjoy fresh yogurt in the morning!


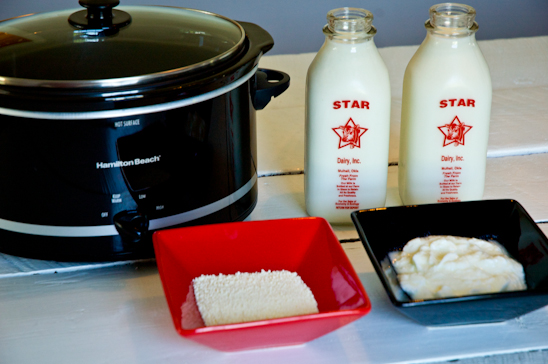
Here’s all that you’ll need to make your very own yogurt (makes 1/2 gallon of yogurt):
-1/2 Gallon of Milk* (I used 2%, because that’s what we drink.)
-1 Cup Plain Yogurt with active cultures (after you make your first batch, you save a cup and use on the next batch. No more store bought yogurt!)
-*1/2 Cup Powdered Milk (if using 2% or lower milk, or ultra pasteurized milk)
-Crockpot
-Cooking Thermometer


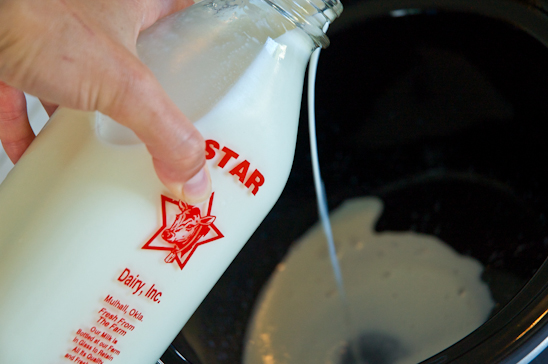
Pour the 1/2 gallon of milk into the crockpot, cover with the lid and set to high.


Let the milk heat until it’s almost to the boiling stage with the desired temperature of 180. This took my crockpot about 1 1/2-2 hours to do.


Once the milk has reached 180, turn the crockpot off and let it cool down to 115. I would recommend stirring it from time to time to distribute the heat and help it cool down more quickly.


Once the milk has cooled to 115, stir in the 1/2 Cup of Powdered milk if you are using it.


Next, stir in the 1 Cup of Plain Yogurt.


Put the lid back on the crockpot and cover it with a large towel.


Set the crockpot in the oven and let it cool down for 8-12 hours (or overnight).


Write yourself a note so that you won’t accidentally turn the oven on and burn your house down if you are forgetful like me.


In the morning, open the oven, remove the beach towel and see what happened overnight! .

Remember to save back a cup of this yogurt, sticking it in a ziploc bag and placing it in the freezer for your next batch.


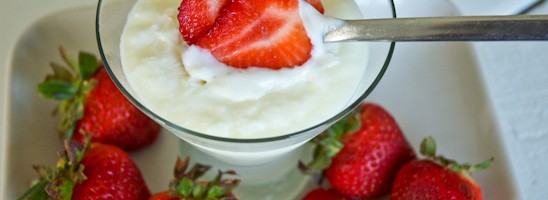
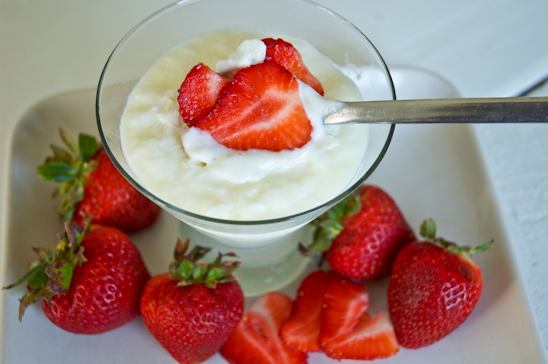
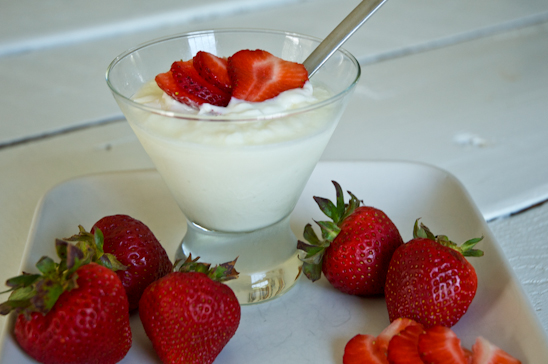
Sweeten the yogurt with liquid Stevia (I prefer the Vanilla Creme), add some strawberries and Tasty Homemade Granola and voila-enjoy a delicious breakfast all made by you!


Read more