Archive for category: Recipes

Festival of Foods

Dear Readers:
My garden this year has produced, and produced and produced (every pun intended). I almost can’t keep up with it-neither can my freezer. I’ve been harvesting daily, canning, freezing, dehydrating and when all else fails, inviting others over to stuff them full of veggies.
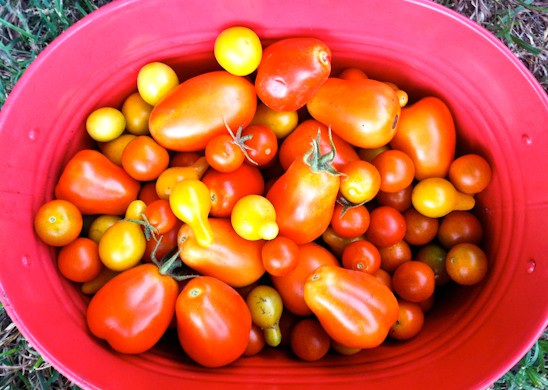
I hope to prolong and save back as much of the garden’s goodness as possible. I thought I’d show you all what I’ve been up to.



Roasting whole cherry tomatoes has become a favorite past time. I throw these on a pizza, a sandwich or I just eat them plain. Yum. I’ll do a large batch, freezing several small baggies for later use.
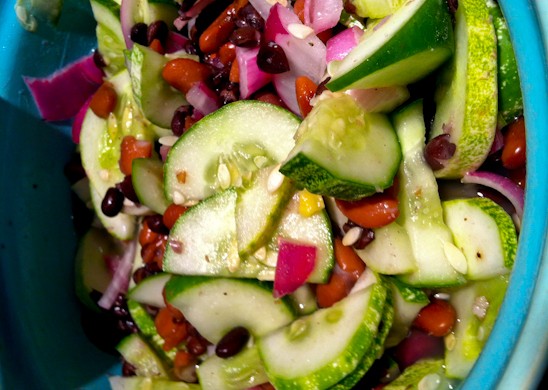


To use up cucumbers, I concocted a cuke salad adding black and red beans, red onions, vinegar and stevia. So tasty.
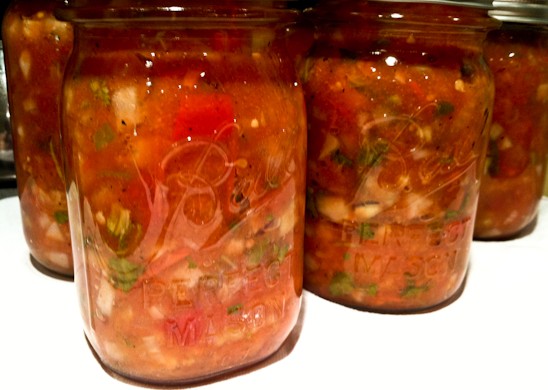


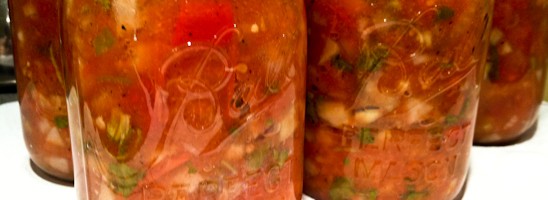
Of course, canning is a must. I’m set for the next couple of years in the salsa, whole tomatoes, jalapeno pepper department.


My little $5 dehydrator has been pushed to its limit and has seen the likes of tomatoes, green beans, okra and peppers. I freeze most of the dehydrated items to use in recipes down the road.
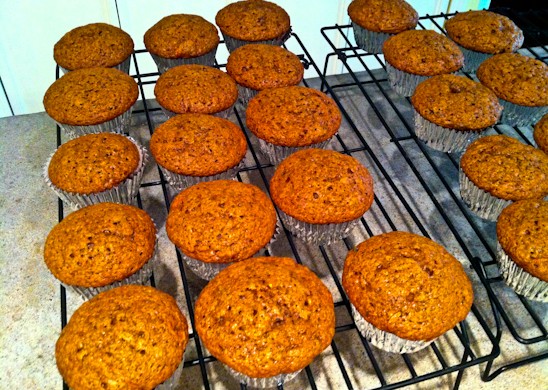


And Bicep’s favorite are my chocolate zucchini muffins. So, I made lots of them-96 to be exact. Most I freeze, but I pull out a few from time to time if he’s been a good boy.
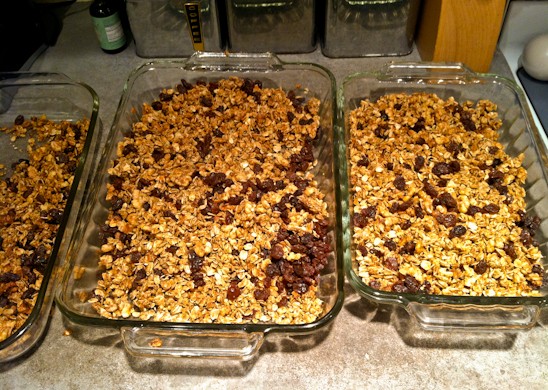


This is the only thing my garden hasn’t produced, but that I love to make-granola! I make 4 batches at a time and freeze 3 ziplock bags full for the future.
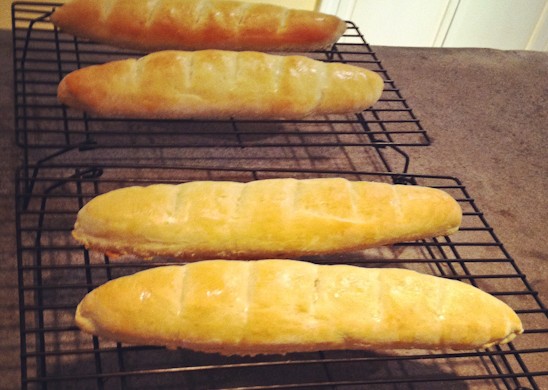


Biceps even got in on the action and for the first time ever, made french baguettes. They were amazing.

My poor little freezer-I have pushed it to the limit. I stuffed it so full of awesomeness that the air wasn’t circulating and nothing was freezing. Our ice cubes were water squares.

I think it’s safe to say that next year, I’m saving up for a chest freezer. End of story.
Read more

Fresh Lime “Gritzer”-No Calorie

All summer, I’ve been trying to find alternatives to soda to beat the heat. I wanted these beverages to contain no sugar, be low cost and easy to make by the glass or an entire pitcher.
Here are a few that I’ve shared with you:
No Calorie Sweet Green Tea
No Calorie Sweet Iced Coffee
Skinny Orange Julius


Today, I am going to show you how to make a “Gritzer”, thus named by Biceps by combining Spritzer with our last name Greiman. He’s an inventive little bugger, isn’t he?
This drink is sweet, fresh, crisp and transports you to an island oasis with its limey-ness. (Yes, that’s a word.) So, throw on your flip flops, turn on some Beach Boy’s music and have a Gritzer.


Here’s all that you’ll need to make a Gritzer (makes 1 Liter):
1 Liter of Diet Tonic Water (sweetened with Splenda)*
1 Lime
1/4 tsp Liquid Stevia
*here’s my disclaimer, Tonic Water contains quinine. Some people cannot consume this product. I have yet to find an alternative.


Fill a pitcher with the Diet Tonic Water.


Wash one whole lime first, then cut into wedges and squeeze into pitcher. Throw the limes into the liquid if desired.


Add 1/4 tsp of Liquid Stevia (more or less depending upon your sweet needs).


Stir a couple of times, pour into your favorite “fancy glass” and garnish with another lime wedge. Now, let’s partake of your Fresh Lime Gritzer.

Sit back, take a sip and let yourself be transported to Aruba, Jamaica, ooh they want to take you to Bermuda, Bahamas, come on pretty Momma….

Enjoy!

Sometimes, I link up to these parties (Here’s my complete Linky Party Page):
Monday: The Girl Creative, Crafts Keep Me Sane, The Better Baker, Skip to My Lou, DIY Showoff, Say Not, Sumo’s Sweet Stuff, Etcetorize, Sew Chatty, Brassy Apple, Flour Me With Love, Creating my Way, Mad in Crafts, Our Delightful Home, Sew Can Do, It’s So Very Cheri, Craft O Maniac, Polly Want a Crafter, Tuesday: Craft Edition, Inspiration Board , New Nostalgia , Lettered Life , Coastal Charm, Tip Junkie , Ladybug Blessings, Hope Studios , Todays Creative Blog, Wednesday: Someday Crafts , Day2DayJoys, Jillify It , Junk in the Trunk, We are that Family , Frugally Sustainable, Sew Much Ado, Fine Craft Guild , The Thrifty Home, My Girlish Whims , Quick, Easy, Cheap & Healthy, Trendy Treehouse, Thursday: Somewhat Simple, No Minimalist Here , A Glimpse Inside, The Mommy Club, The 36th Avenue, Cheap Chic Home, Beyond the Picket Fence, Fireflies and Jellybeans , House of Hepworths , The Shabby Chic Cottage, Friday: My Repurposed LifeIt’s a HodgePodge LifeThe Shabby NestJust Wingin’ ItOne Artsy MommaFrench Country CottageFinding Fabulous, Passionately Artistic, Petals and Picots, Simply Designing, Little Becky Homecky, My Romantic HomeBacon Time, Simply Living, Saturday: Polkadot Pretties, Tatertots and Jello, Create and Inspire, Be Different, Act Normal, Craft Envy, Lolly Jane, Funky Junk Interiors, Petites Passion, Sunday: Under the Table, Natural Mothers, Mopping the Floor

Read more

Simple Homemade Butter

In March, I gave myself a month long challenge of ridding my house of nasty chemicals and high priced products that I can make myself. Here are a few of the things that I was able to replace around the house that you’d find at your supermarket in the beauty and cleaning aisles:
Recipe for Facial Moisturizer
Cheap, Organic Face Wash
DIY Household Green Cleaners
DIY Organic Eye Makeup Remover
Simple, Organic Lip Balm


Then, I got crazy in May and June replacing anything in the kitchen that comes in a package. Here are a few things that I’ve replaced that you’d find at your supermarket in the food aisles:
Simple, Healthy Salad Dressing
How to Freeze Beans and Avoid BPA
Homemade Crockpot Yogurt
Simple, Tasty Granola
Skinny Orange Julius
Sweet Iced Coffee-No Calorie


Today, I wanted to share with you a simple recipe to replace the store bought margarine or butter you have in the fridge. Here’s all that you’ll need to make your very own Simple, Homemade Butter:

2 Cups Heavy Cream
1/4 Cup Sour Cream
1/2 Cup Plain Yogurt (see recipe above)


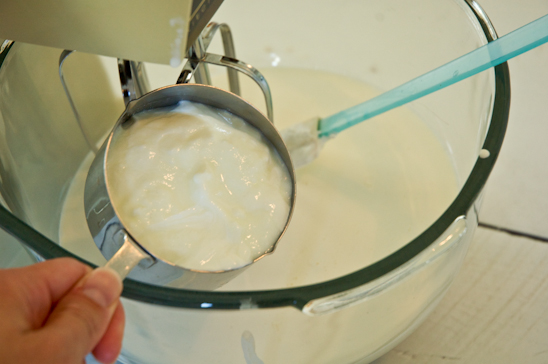
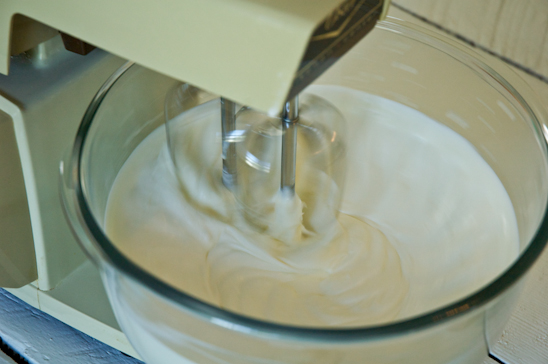
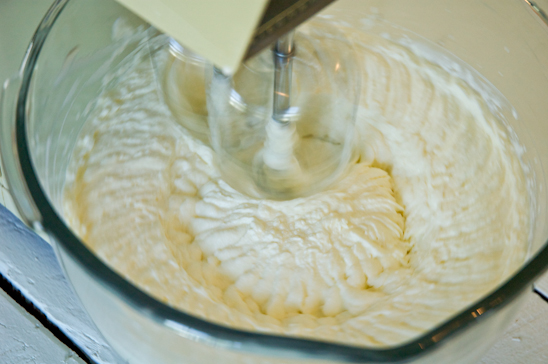
First, prepare a water bath by filling a large bowl with water and ice cubes. Pour 2 Cups of Heavy Cream into the bowl of a standing mixer. Turn the mixer speed to medium.


Gradually add the sour cream and the plain yogurt.


After a few minutes, the mixture will begin to look frothy.


After 5-10 more minutes, the mixture will begin to resemble butter.


During this process, I usually cover the mixer with a towel to avoid splattering my entire kitchen.


The butter will start to form a clump in the center of the bowl and will give off the byproduct of buttermilk.


Once the clump is the right consistency, remove from the bowl and place on a clean, lint-free tea towel.


Dip the butter several times into the ice bath, removing all the excess buttermilk.


Save the buttermilk that was left in your mixing bowl for other recipes. It’s great for pancakes, let me tell you!


For later use, form the butter into a block and wrap tightly in saran wrap and place it in the freezer.

I usually cut the butter in half, placing half in the freezer and half in the fridge. If you are going to use the butter immediately, don’t worry about saran wrapping it. Store the butter preferably in a glass dish and leave in the fridge for up to 2 weeks.


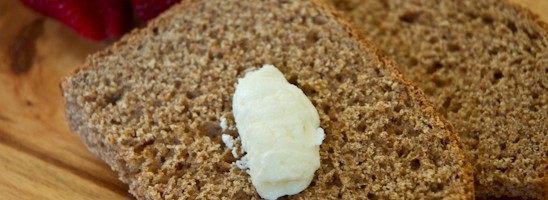
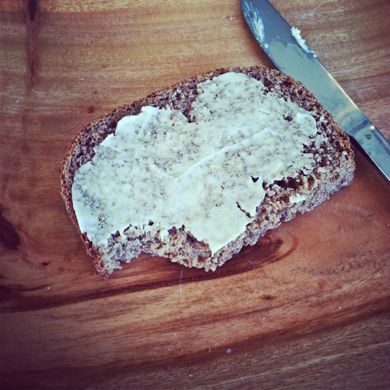
Slather your Simple, Homemade Butter on your favorite piece of toast and enjoy your buttery awesomeness.


Read more

Sweet Iced Coffee-No Calorie

It’s so hot here I don’t even want to talk about it. To combat the heat and to avoid increasing the waistline, I’ve started experimenting with several iced drinks that are either no calorie or low calorie. I’ve already shared with you my No Calorie Sweet Green Tea and Skinny Orange Julius.

Today, I’d like to share with you a No Calorie Sweetened Iced Coffee.


A few things that I’ve found out about Iced Coffee are:
1) If you brew coffee and then cool it down in the fridge, it will only be good for about 4 hours (often it may take that long to cool it down). After that it goes rancid. Ew.
2) If you rely on Starbucks to make you Iced Coffee, you will spend $3 or more and you have to request it unsweetened. Otherwise, they will slather on the syrup.
3) If you are like me and want just a cup of iced coffee here or there, you stress out over using a filter, waiting for the brew time, waiting for the coffee to cool down, etc.

What’s a girl to do?


Make her own. One sweet cup at a time, on a whim, at her own bidding.

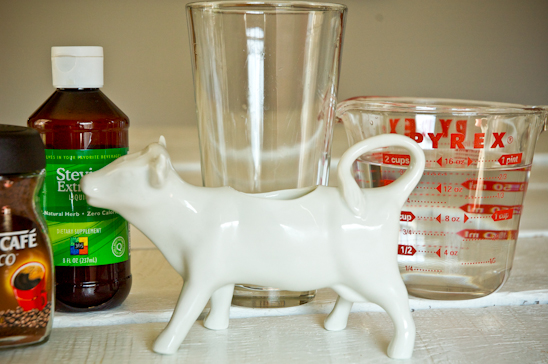
Here’s what you’ll need to make your very own Sweetened Iced Coffee (it’s so easy, it’s silly):
2 TBS Decaf/Caffeinated NesCafe-more or less depending on how strong you like your coffee
8 drops Liquid Stevia-more or less depending on how sweet you like it
Milk
Water


Fill a tall glass of water (heh) with the 2 TBS of NesCafe. Stir and add ice.


Add the 8 drops of Liquid Stevia.


Add milk depending on your taste.


Stick a cute straw in the glass and enjoy! I told you it was so simple, it is silly.


Linking up here, along with other parties:
Today's Creative Blog
 http://www.thethriftyhome.com
Photobucket
(My Repurposed Life)
Between Naps on the Front Porch
Fine Craft Guild

Read more