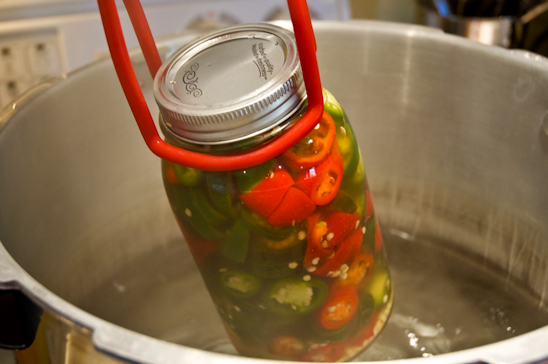
Archive for category: Recipes

Cheap, Organic Facial Moisturizer-Phase 1 of My Month Long Challenge

I’ve been challenging myself to slowly rid our house of anything with nasty chemicals and large price tags. As I begin to use the final drop of something off the shelf, I am concocting a replacement with little more than what I have on hand or what I can find at the organic market.

But the replacements must meet or exceed three important expectations for this frugal gal:
1. It must be easy to replace-no beakers or science lab experiments. Thank you.
2. It must be just as good or better than the current product I’m using and,
3. It must cost the same or less than the current product I’m using.


photo source unknown

If the product I create passes the final test-me using it for over two plus week to make sure it doesn’t stink-then I’ll be sharing it with you. I will break down the cost for you, provide you the recipe and give you my honest opinion of the final product.

Up on the docket for replacement over the next month or so is: mascara, dishwasher detergent, washing machine detergent, eye makeup remover and tortilla chips (I know-they don’t quite fit in but they are my weakness and I need to replace the hydrogenated and fried naughtiness with something healthier), along with anything else I can get rid of.

Fasten your seatbelt. Here’s Phase 1 of ridding my house of chemicals-Cheap, Organic Facial Moisturizer.
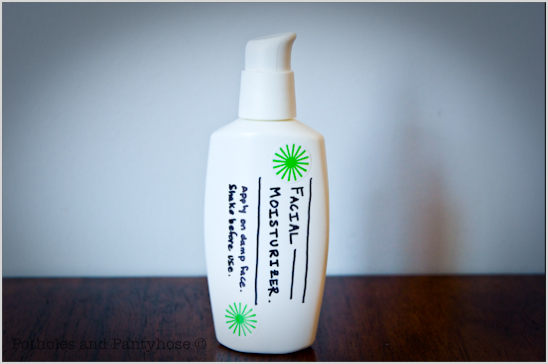
I am quite picky when it comes to my face. I have always had very sensitive skin that dries out if I even look at it wrong.
After several tries, I came up with a recipe that works wonderfully-without greasiness or smelliness.
And it costs $.75 per 2.5 oz. Yep. That’s right-seventy five freakin’ cents.
I’ve been spending $12-14 for 2.5 oz!
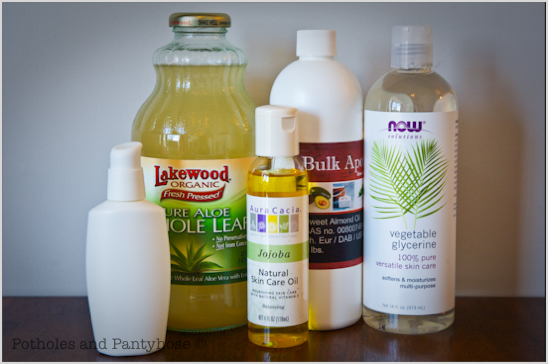


Here’s what you’ll need to make your very own Cheap, Organic Facial Moisturizer:

4 TBS Pure Aloe Vera (drinkable kind)
1 tsp Vegetable Glycerin
6 Drops Jojoba Oil
1/4 tsp Sweet Almond Oil

Container to keep the moisturizer in (I re-used my pricey lotion container).
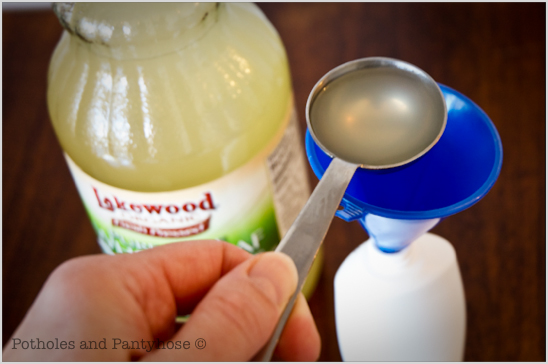


If necessary, use the funnel to add the 4 TBS of Aloe Vera.
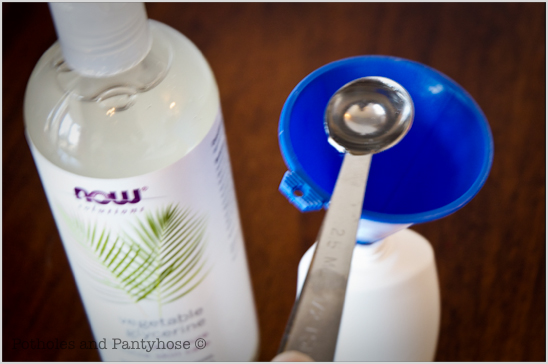


Next, add the 1 tsp Vegetable Glycerin.
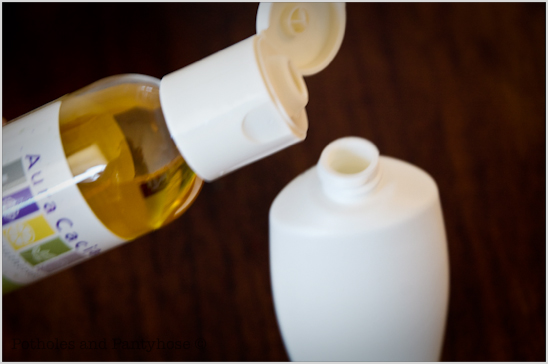


Add 6 drops of the Jojoba Oil.
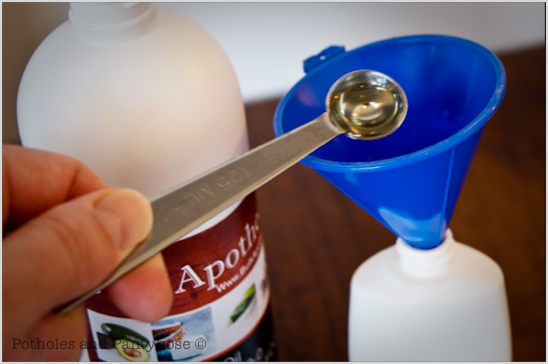


And the 1/4 tsp of Sweet Almond Oil.


Shake everything up in the container and before every use. The moisturizer will be watery-either apply by squirting into a cotton pad or into a cleansed hand and applying with clean fingertips. As it dries, it will be absorbed and leaves you with soft, silky skin.

That’s it. Simple as pie.

Here’s the financial breakdown:

$8.50 for 32 oz of Pure Aloe Vera (drinkable kind)
$9 for 16 oz of Vegetable Glycerin
$13.50 for 4 oz of Jojoba Oil
$5.75 for 16 oz of Sweet Almond Oil

Needed per 2.5 oz moisturizer:

4 TBS (2 oz ) Pure Aloe Vera= $.52
1 tsp (.16 oz) Vegetable Glycerin= $.09
6 Drops (.04 oz) Jojoba Oil= $.13
1/4 tsp (.04 oz) Sweet Almond Oil= $.01
TOTAL = $.75 per 2.5 oz

Click on the following to see more of my projects:
I’ve posted a Recipe for Facial MoisturizerDIY Organic Dishwasher DetergentCheap, Organic Face WashDIY Household Green Cleaner and last week was my DIY Organic Eye Makeup Remover.

Linking up: The Thrifty Home

Read more

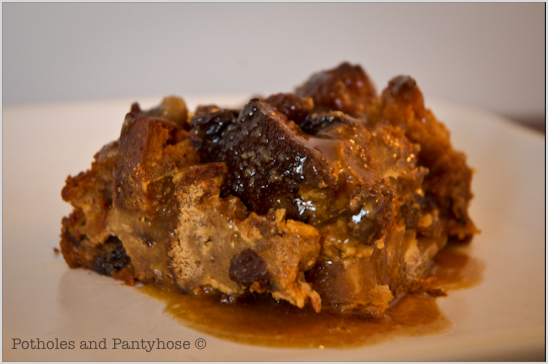
Bread Pudding with Butterscotch Sauce

I love entertaining-there’s something wonderful about bringing someone into your home and fattening them up. It makes a weird lady, like me, feel good. In fact, if you are ever in the area-look me up. We’ll start off with my homemade Jalapeno Jelly, Cream Cheese and Crackers. Then, we’ll move on to a yummy Whole Wheat Pizza or maybe Sesame Almond Chicken for dinner.


Then, we’ll top off the evening with a warm, rich dessert that hits the spot-Bread Pudding with Butterscotch Sauce. This simple dessert can be made ahead of time and is so very delectable. I don’t use that word-“delectable”-lightly, mind you.

At the end of the evening, we will both be so stuffed that a lounge by the fireplace with a gas of wine will be the only remedy.


This recipe is similar to others-however, I found that increasing the amount of raisins, cinnamon and using Mexican Vanilla takes this over the top.

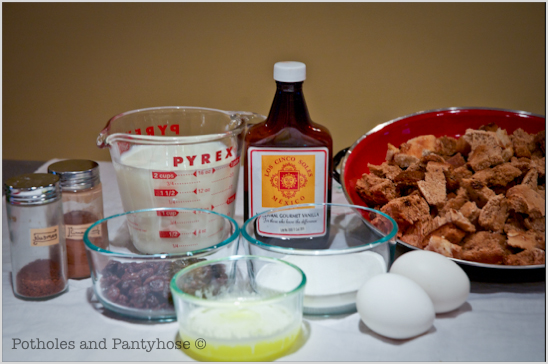
Here’s what you’ll need to make Bread Pudding with Butterscotch Sauce.

For the Pudding:
4-5 Cups of Sweet Breads
-toasted and cut into 1″ cubed pieces
-or cut into cubes and dried in the oven at 300 degrees for 10 minutes
1/2 Cup of Raisins or dried fruit of your choice
2 Slightly Beaten Eggs
2 Cups of Milk
1/4 Cup Melted Butter
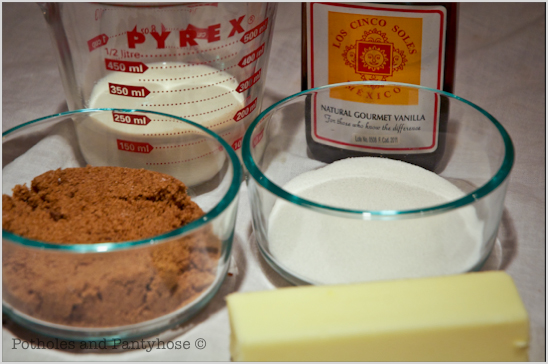
1/2 Cup + 2 TBS Sugar
1 tsp (heaping) Cinnamon
1 1/2 tsp Mexican Vanilla (substitute with regular vanilla, if applicable-but add another 1/4 tsp)


For the Butterscotch Sauce:
1/2 Cup of unsalted Butter
1/2 Cup Half and Half
1/3 Cup Sugar
1/2 Cup Brown Sugar
1 1/2 tsp Mexican Vanilla (substitute with regular vanilla, if applicable-but add another 1/4 tsp)


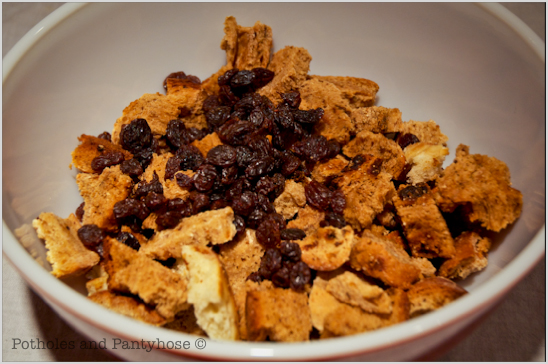
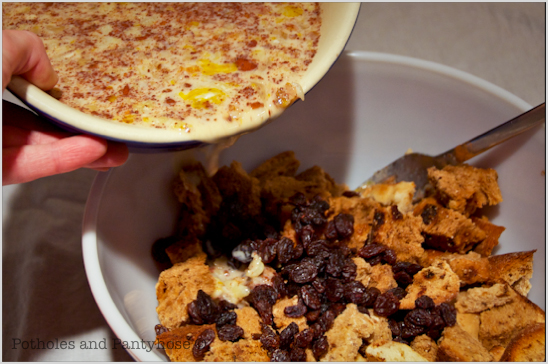
Combine the cubed bread pieces and raisins in a large mixing bowl.


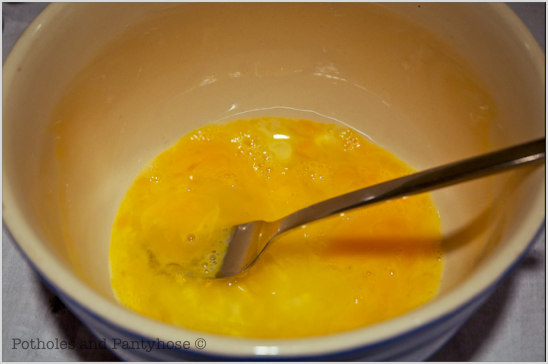
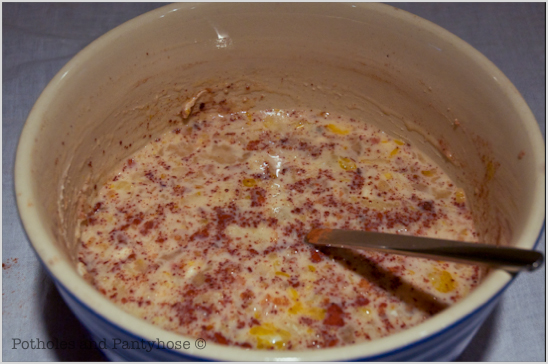
In another medium mixing bowl, slightly beat the 2 eggs.


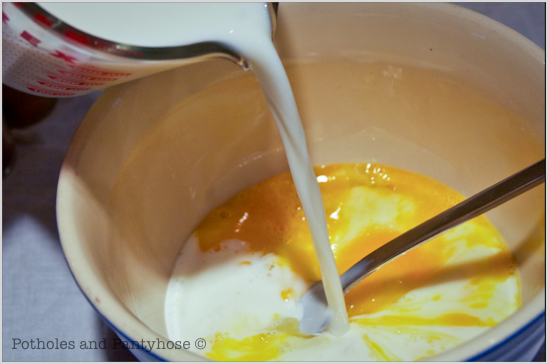
Add the 2 Cups of Milk.


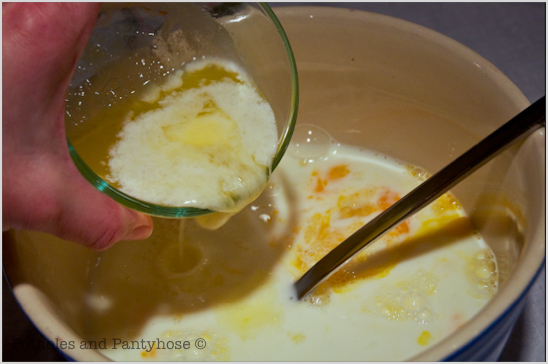
Add the melted butter.


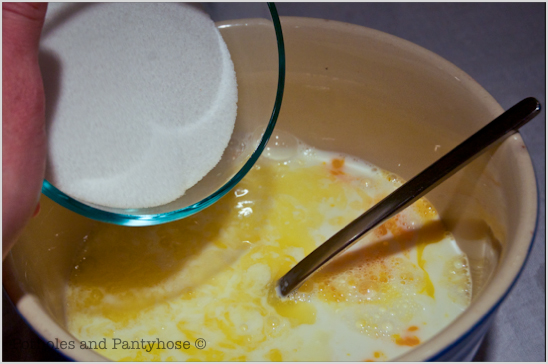
Next, add the sugar and stir thoroughly.


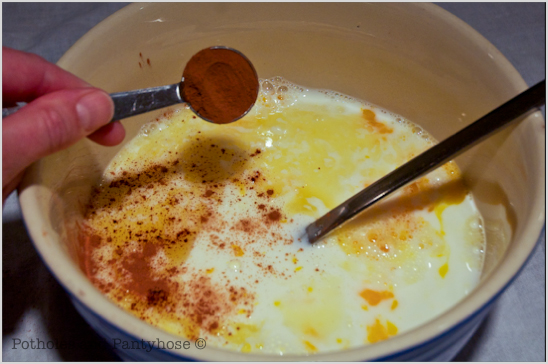
Add the 1 tsp Cinnamon.


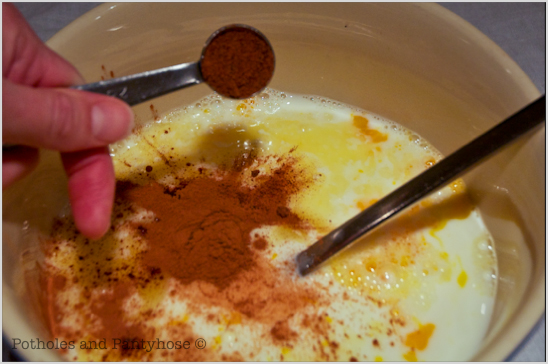
And the 1/2 tsp of Nutmeg.


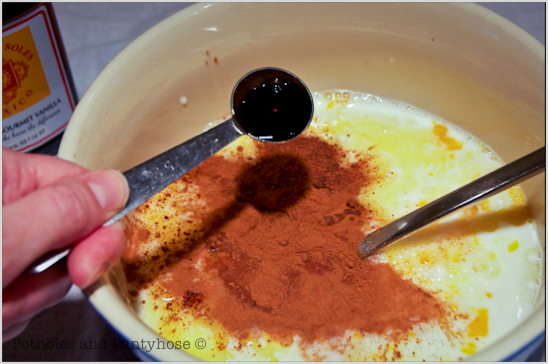
Finally, add the 1 1/2 tsp of Mexican Vanilla.


Stir thoroughly until the spices are distributed throughout the liquid.


Add the liquid mixture to the cubed bread and raisins.


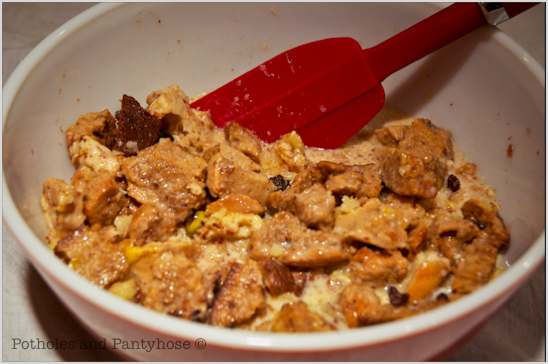
Gently fold the liquid mixture in with a spatula.


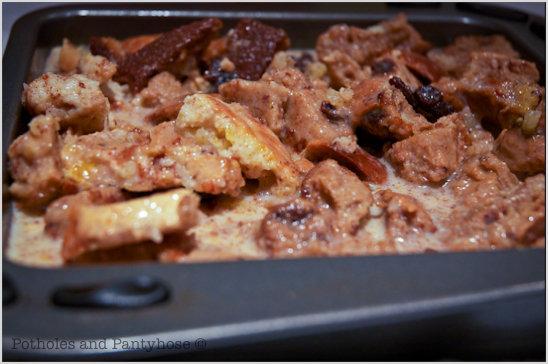
Pour the bread pudding into a greased 8 x 8 pan.
Bake at 350 for 50-55 minutes, or until puffy and a knife comes out of the center clean.


Now-for the Butterscotch Sauce! (Make this right before you serve the bread pudding.)

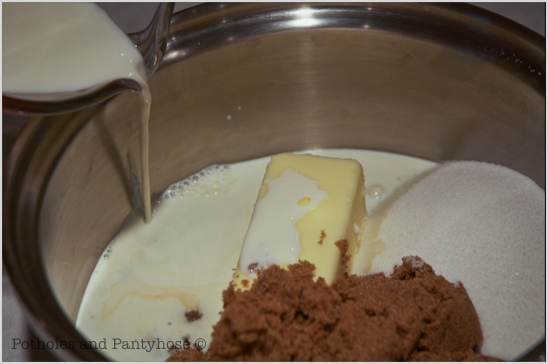
Combine everything, except for the Mexican Vanilla, in a medium saucepan and cook over a medium/low heat for 5-8 minutes or until slightly thickened. Once the liquid comes to a full boil, immediately remove from heat.
Add the 1 1/2 tsp Mexican Vanilla and stir.


Transfer the desired amount of Bread Pudding onto a plate and pour the hot Butterscotch Sauce on top.

Grab your socks (so they aren’t blown off) and enjoy!

Read more

Baked Apples-Guest Post at Trendy Treehouse

Today, I am guest posting over at Trendy Treehouse! Tara is the sweetest and has allowed my weirdness to infect her readers. That’s sounds weird, huh?

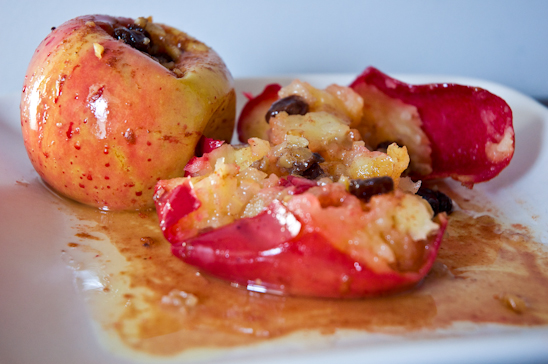
Today, I am showing you a tutorial on making a yummy dessert-Easy Baked Apples-that can be made at the last minute and with ingredients you probably already have on hand.


These Easy Baked Apples are one of my favorite go-to’s when last minute guests arrive. To really go over the top, add a little french vanilla ice cream and be crowned dessert queen of the year.

Go check out my entire tutorial and leave Tara a comment telling her she’s awesome!

But, make sure you come back here. Don’t leave me hangin’.

Love you-Rebekah

Read more

Pickled Jalapeno Peppers

After making enough Jalapeno Pepper Jelly to feed a small army, I still had more jalapenos than I could handle. I then dehydrated a large freezer bag full and then blanched another freezer bag full.
But, I still had at least six more pounds of jalapeno’s to deal with. Since you can pickle cucumbers, okra and just about anything else, I decided I would try it on my jalapenos. So stinkin’ glad that I did.

(This tutorial may look like a lot of steps, but I am also showing the canning process that is applicable to any type of water bath canning-just in case you aren’t familiar.)


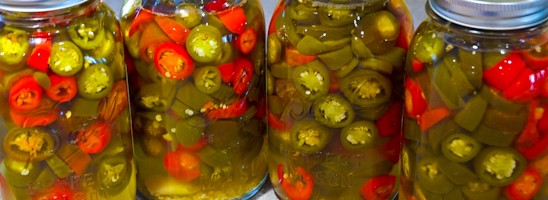
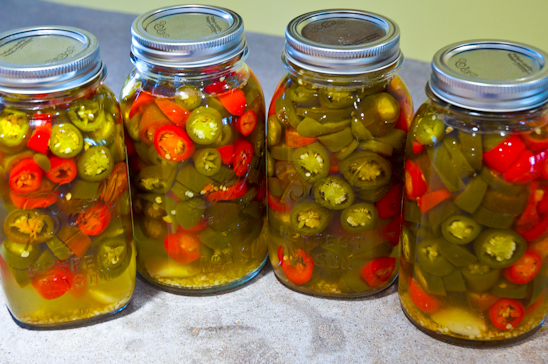
Pickled Jalapeno Peppers are tasty, a little hot and still crunchy. Throw a few in your chili, on top of nachos, hot dogs or even a pizza to add a little pizzaz. (If you don’t want them to be hot, simply remove the seeds and membranes).
The best part? They look fancy inside a mason jar and make inexpensive gifts!


Here’s what you’ll need to make your very own Pickled Jalapeno Peppers (this recipe makes the 4 quarts shown):

3 C Water
9 C Distilled White Vinegar
2 TBS Kosher Salt
1 1/2 tsp ground cumin
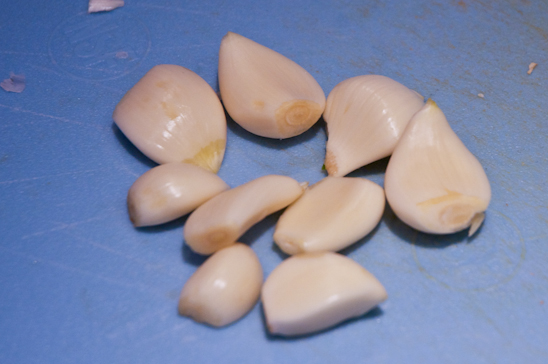
8 cloves of Garlic, peeled and left whole
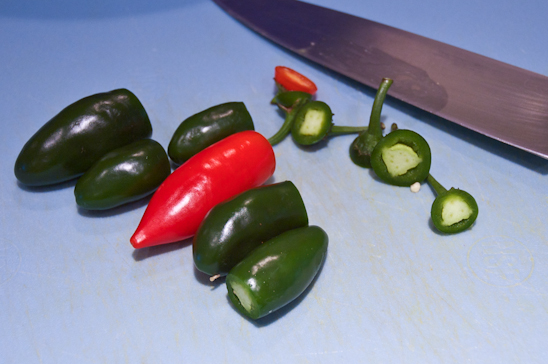
6 Lbs Jalapeno Peppers-green & red (that’s about 180 small peppers or 60 large)

4 Quart Jars with lids and rings
Canner & canning utensils
Gloves


First things first, wash your jars, rings and lids in soapy water.


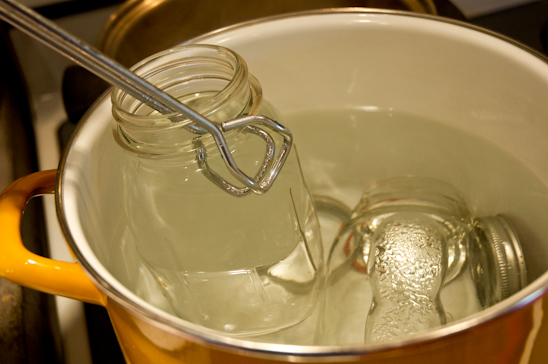
I am super particular about bacteria, so after I wash my jars, rings and lids-I put them in a large pot of boiling water, turn down the heat and let them simmer while I am making the jars’ contents.


Slap on your rubber gloves and de-stem the jalapenos. At this point, if you want less hot jalapeno’s, cut out the membrane and the seeds.


Slice the jalapeno’s to be about 1/4-1/2″ thick.


Peel the garlic gloves and apply slight pressure to each clove with your thumb. Don’t smash them to smithereenes-this is just to release a bit of flavor.


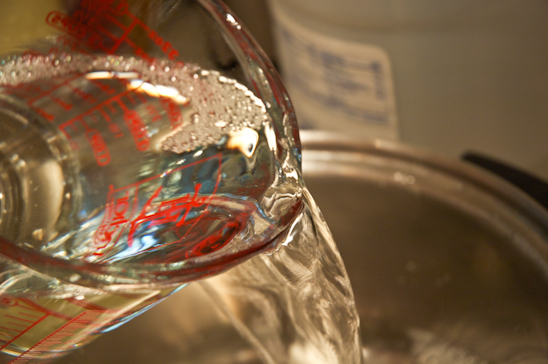
Now for the brine: Pour the 3 cups of water into a large stainless steel pot. Place the pot on a large burner on the stove.


Add the 9 cups of vinegar to the pot.


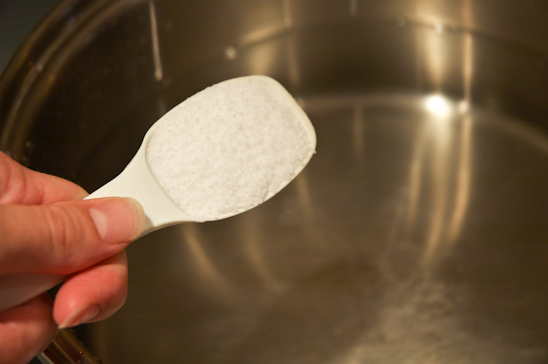
Add the 2 TBS of Kosher salt.


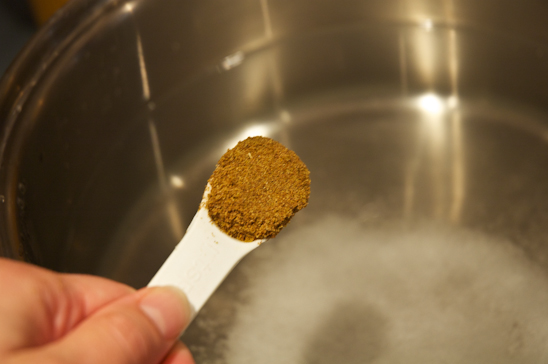
Finally, add the 1 1/2 tsp of ground Cumin.

Whisk all of these ingredients together and bring to a boil. Stir until the Kosher salt dissolves completely.


While you are waiting on the brine to boil, remove the hot jars, lids and rings with tongs.


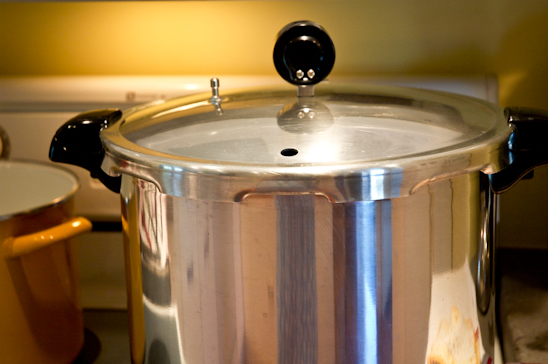
Also, while you are waiting on the brine to boil, fill the canner up with water, about 3/4 of the way up. Turn the burner on high, set the canner lid loosely on top-don’t screw the lid on as pictured here!.


Put a clove of garlic (or two if the clove is small) in the bottom of the sterilized jars.


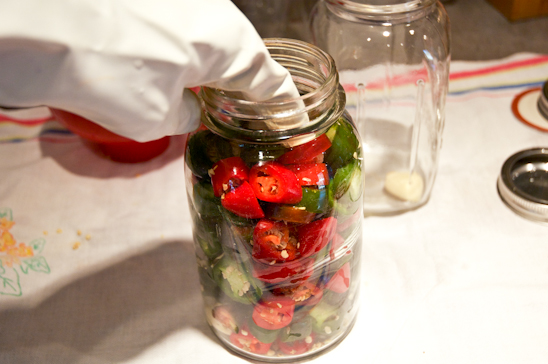
While wearing gloves, pack each jar completely full of jalapeno pepper slices.
 

Place the canning funnel over each jar. Fill the jar full of the hot brine, leaving a 1/4″ at the top of the jar.


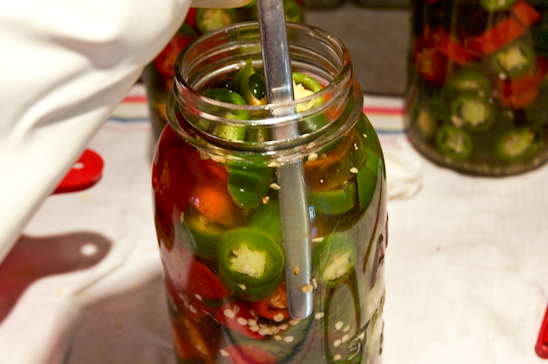
Use a knife to remove any air bubbles.


Remove any excess liquid from the mouth of the jar with a clean cloth.


Place the lids on the jars and hand tighten the rings.


Using tongs, place the jars inside of your water bath canner.


Place the canner lid and process the jars for 10 to 15 minutes.


Remove the jars with the tongs, and set on clean dish towels on the counter. As the jars cool, you can hear a ‘ping’ which tells you the jars were processed correctly.


Store for 3+ weeks in a dark area. This allows all the flavors to get to know each other, mingle around, have some alone time and in turn-makes your jalapenos super yummy.

Keep opened jars for 6 months in the fridge-use only clean utensils to remove peppers. No fingers, please.
Keep unopened jars for a year.

This means you can make Pickled Jalapeno Peppers this summer after the jalapeno harvest and give to that special someone as Christmas gifts months later.

Easy, peasy, cheap and pleasy.

Read more