My month long challenge of slowly ridding our house of nasty chemicals began more than a month ago. I got on this kick and can’t stop!
I’ve posted a Recipe for Facial Moisturizer, DIY Organic Dishwasher Detergent, Cheap, Organic Face Wash, DIY Household Green Cleaner and last week was my DIY Organic Eye Makeup Remover.
I am concocting my own household replacements with little more than what I have on hand or what I can find at the organic market.
But the replacements must meet or exceed three important expectations for this frugal gal:
1. It must be easy to replace-no beakers or science lab experiments. Thank you.
2. It must be just as good or better than the current product I’m using and,
3. It must cost the same or less than the current product I’m using.

photo source unknown
If the product I create passes the final test-me using it for over two plus weeks to make sure it does its job-then I’ll be sharing it with you. I will break down the cost for you, provide you the recipe and give you my honest opinion of the final product.
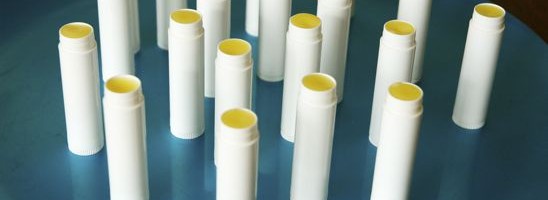
Today, I’ll be sharing a tested and loved recipe for Simple, Organic Lip Balm. (ps-I shared this over at Curbly in January)
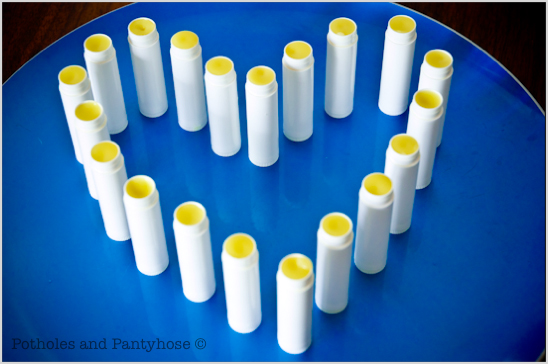
My hubby and I go through inordinate amount of lip balm. And at $3 a tube, it was beginning to add up. I wanted to find a way that I could circumvent the cost, the unnecessary added chemicals and the need for store-bought lip balm.
For approximately $.25 a tube, I had my very own lip balm without the chemicals.
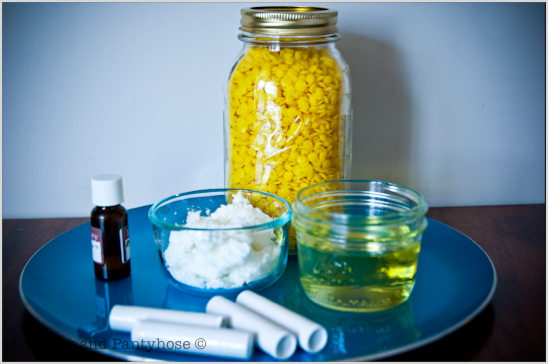
Here’s what you’ll need to make your very own Simple, Organic Lip Balm:
2 TBS Beeswax Pearls
2 TBS Pure White Refined Shea Butter (you can use unrefined shea butter, it just has a bit of an odor)
4 TBS Sweet Almond Oil
1/4 tsp “Essential” Peppermint Oil (or use Lavender, Cherry, Lime, Eucalyptus, oil)
Double Boiler (or a heat safe bowl set over a pot of simmering water)
Plastic Measuring Cup with a spout
Paper Towels/Rags
(15-20) .15 oz new or recycled tubes or containers (I bought mine from bulkapothecary.com for $0.14 each)
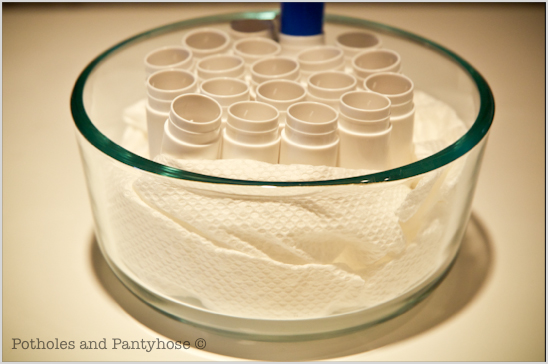
Prepare the lip balm containers by placing in a bowl or pan, without the lids. Help tubes stay upright by wedging paper towels around them.
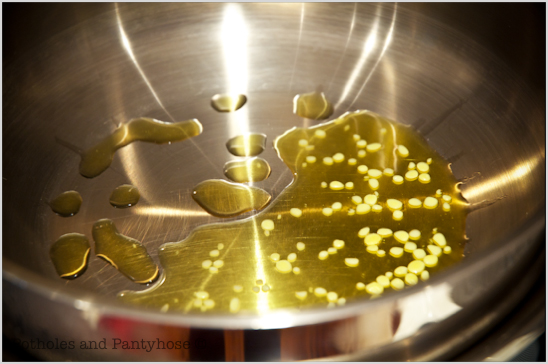
If using a Double Boiler, fill the bottom pan with water and bring to a slow boil. Place the second pan on top, and melt the beeswax.
If using a heat safe bowl, set the bowl over a pot of simmering water.
Stir continuously with a wire whisk while the next ingredients are added.
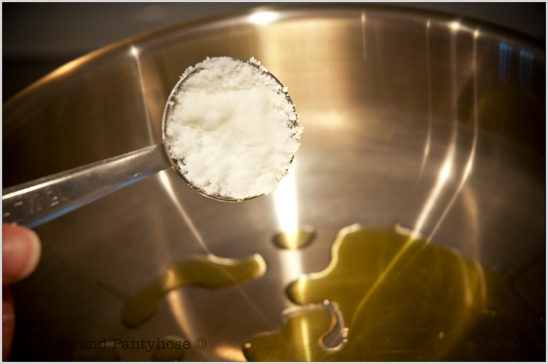
Add the 2 TBS of Shea Butter.
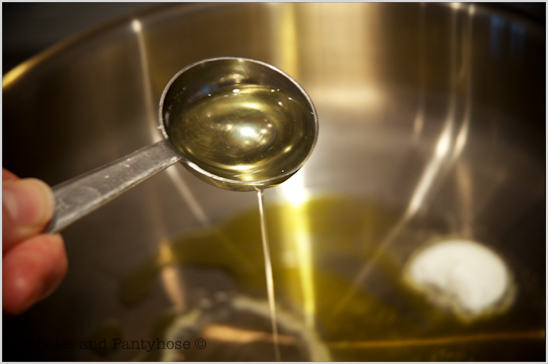
Add the 4 TBS of Sweet Almond Oil.
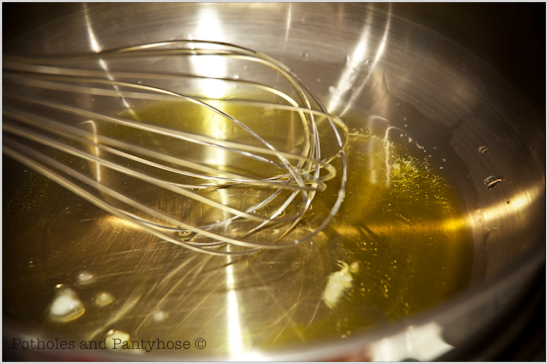
Once liquified, remove the top pan from the heat while continuing to stir.
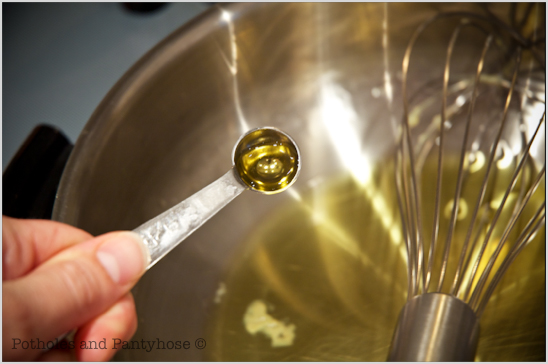
Whisk in a 1/4 tsp of essential oil. (I used peppermint in my lip balm).
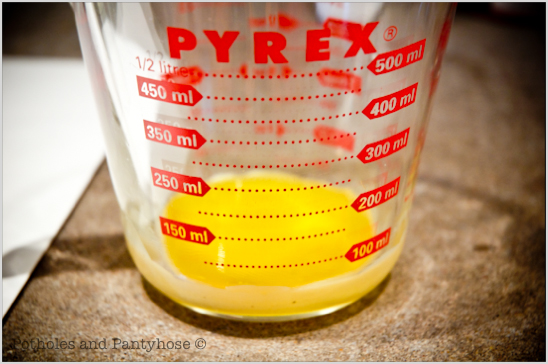
Working quickly, transfer the hot liquid to a room temperature plastic measuring cup with a spout.
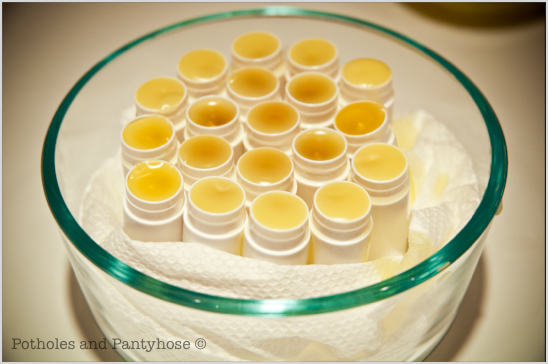
Pour the hot liquid into the lip balm containers.
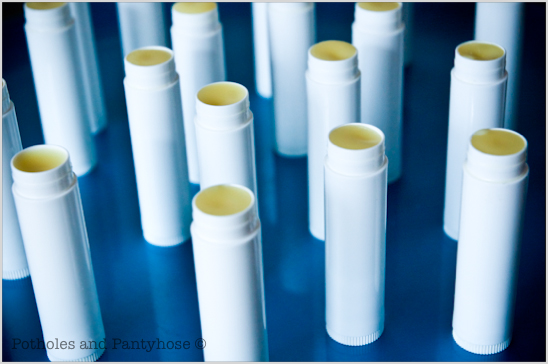
Let cool for 15-20 minutes. Place the lid on the cooled container and enjoy.

I recommend wiping out all pans, measuring cups and spoons with a rag or with paper towels before attempting to wash them. Trust me, I learned the hard way….
Each tube cost me approximately $.25 or less-I had a bit leftover which I use on my cuticles-it’s great for that tough little skin. Hope you enjoy!
Linking up to this and other parties:
The Thrifty Home
