Archive for category: At Home…

BFF & Remodeling Her Bathroom

My BFF-Cynthia, needed a new bathroom and she had a week of vacation with which to reinvent her commode.
After volunteering to help her far in advance, I then learned that one side of my family would be leaving town just as another would be coming in at this same time. Simultaneously, I contracted bronchitis from an unnamed source.
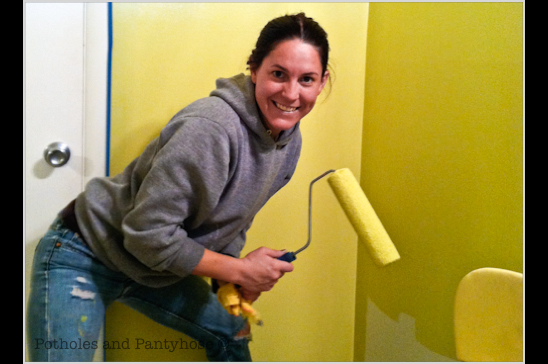
I didn’t get to help as much as I would have liked to. But, at least I was able to help a bit. We painted, installed hexagon tile-with the help of Biceps and removed excess grout together.

Cynthia hired a plumber install the toilet and a new vanity-I wasn’t about to try and tackle plumbing after my debacle with one of my rent houses. I flooded the second story with my awesome plumbing skillz.
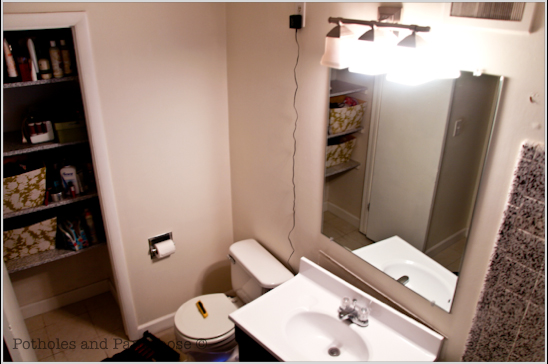


This is what her bathroom looked like before it was torn apart and renewed. Fine, but a bit boring.
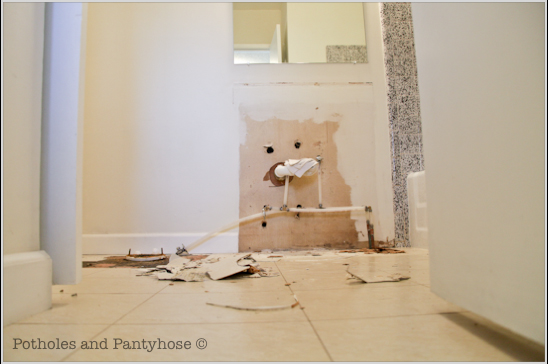


My sweet brother, Pat, donated his time and removed the old toilet and vanity.
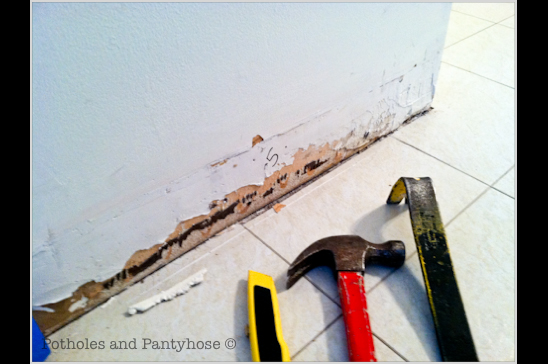


I removed and numbered all of the baseboards and light switch plates. We taped off the tiling and any other surface that needed to be protected with painter’s tape.

We knew we would get messy. Mostly on purpose.
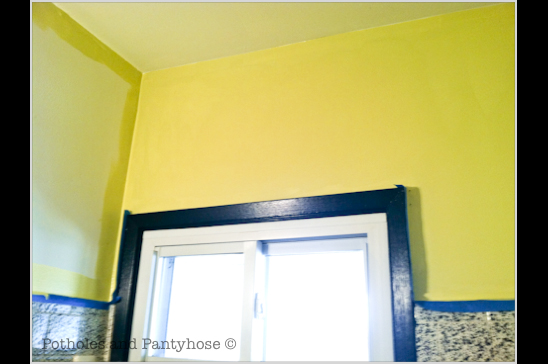


Cynthia chose a beautiful limey green color for the walls, with accents of grays and whites. I tackled the cutting in and she had fun rolling the walls. And my pants.
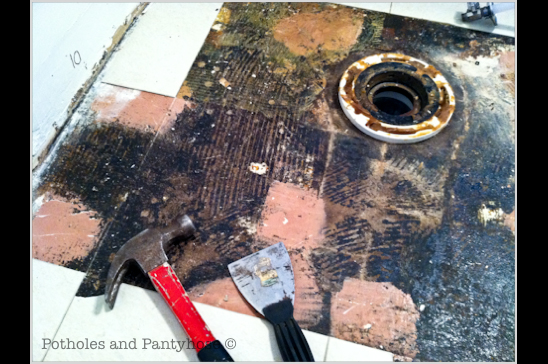


Next, there were some floor leveling issues that needed to be addressed where a few loose tiles had been removed. So, I addressed them and asked, “Why aren’t you level, you stupid floor?”.

There was no response.
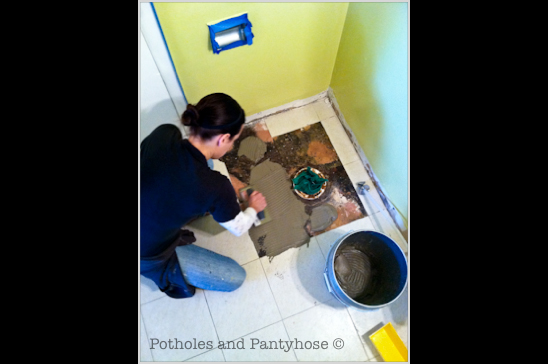


I grabbed my drill, a bag of dry mastic and got to work. Leveling a floor is a lot like icing a cake-except with dusty mastic, a drill, stinky clothes and severely dry hands afterwards.
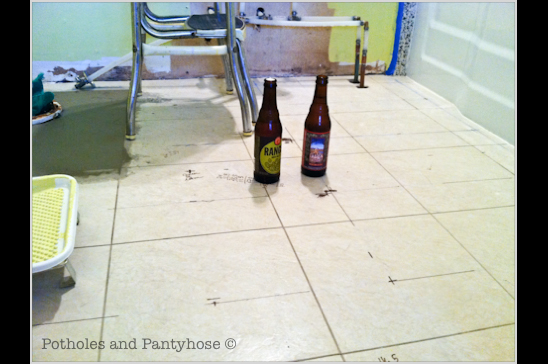


We then paused for a moment and had some refreshments. This is what I live for when remodeling…
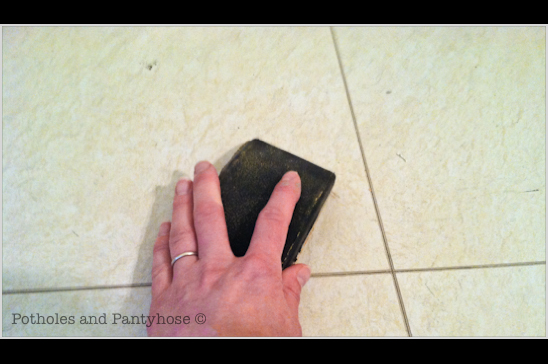


After our refreshments, we got back to work and scuffed up the linoleum floor with a sanding block, which helps the mastic stick to the flooring, holding the tile in place.
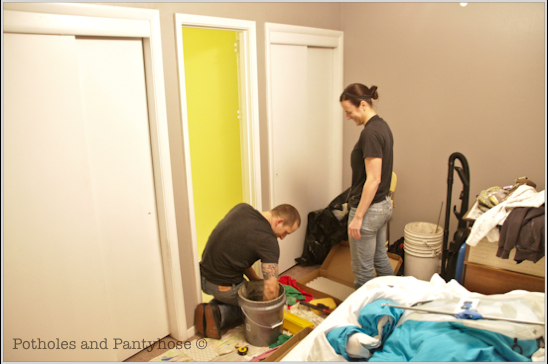


About halfway through the process of laying the tile, a frantic call was made to Biceps-who came right over.

That’s a good man.
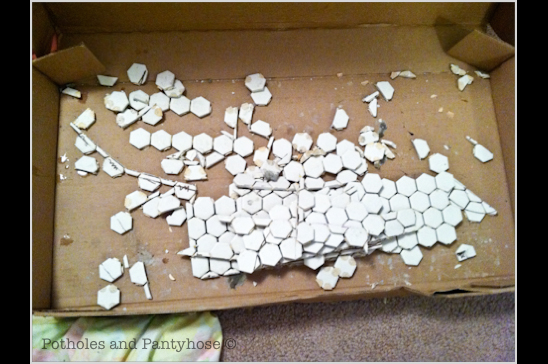


We had little spare tile to work with, the mastic was drying too quickly, the tile saw blade was dulling, the angles needing to be cut were giving me a mathematical headache and…I was getting grouchy.

Pictured here is all that was leftover of the tile. Talk about cutting it close-literally. Hah.
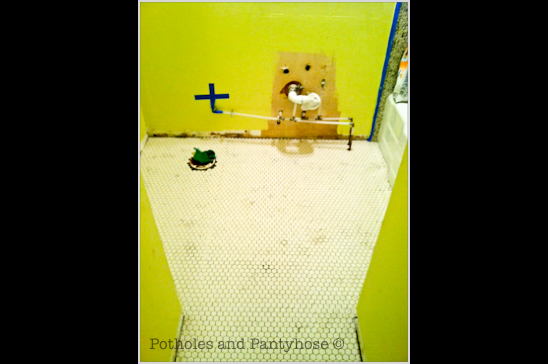


After the tile was laid; my backs, knees and fingers breathed a sigh of relief.
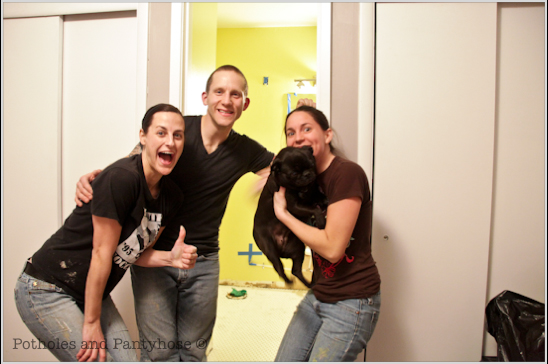


We were a little delirious by the end of the night, as can be seen here. Nothing like photographing stinky remodelers at the end of the work day and then posting it online for the world to see.

I like to keep it real. Real-real.
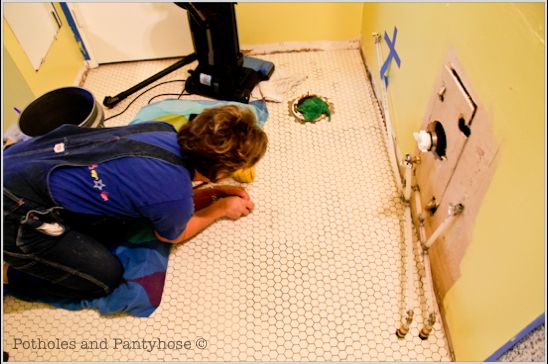


The next day, Cynthia’s sweet mother came to her rescue, cleaning out excess mastic from between the tiles-with a toothpick. This is one devoted momma.

The two of them decided to tackle grouting together.

It did not go as planned.

Bicep’s and I were called and headed over to lend a hand. We found two tuckered out hard working women who desperately needed a break. The grout they had applied was a little too thick and was drying-quickly.
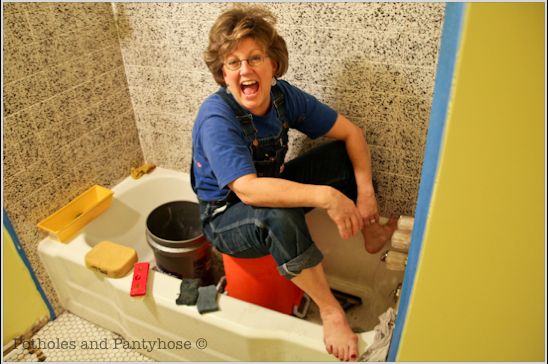

We used everything we had on hand to scrape off the excess grout-sponges, a grill brush, toothbrushes. It was a tense couple of hours until all of the grout was off. Although, Cynthia’s mother was just as happy as if she were picnicking in the park.

I could learn a lot from this woman.
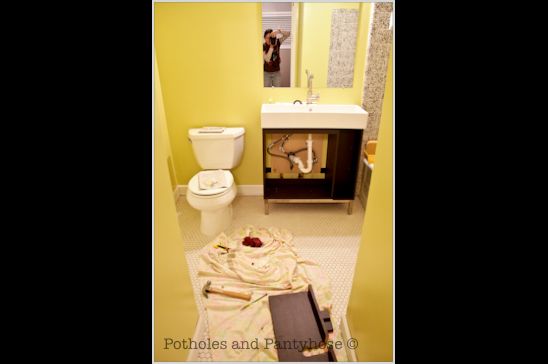


After the grout incident, Cynthia was able to install her brand new toilet and vanity.


And here she is. So pretty.

I will post some pictures with the accessories Cynthia chose soon. Stay tuned.
Read more

Baked Apples-Guest Post at Trendy Treehouse

Today, I am guest posting over at Trendy Treehouse! Tara is the sweetest and has allowed my weirdness to infect her readers. That’s sounds weird, huh?

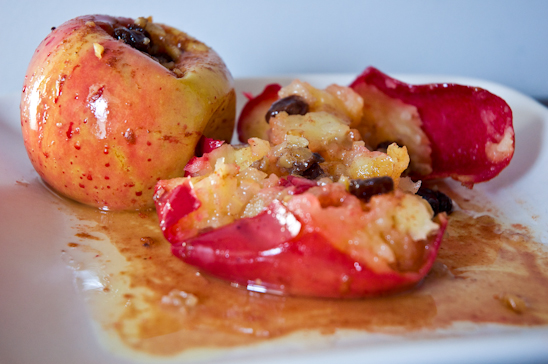
Today, I am showing you a tutorial on making a yummy dessert-Easy Baked Apples-that can be made at the last minute and with ingredients you probably already have on hand.


These Easy Baked Apples are one of my favorite go-to’s when last minute guests arrive. To really go over the top, add a little french vanilla ice cream and be crowned dessert queen of the year.

Go check out my entire tutorial and leave Tara a comment telling her she’s awesome!

But, make sure you come back here. Don’t leave me hangin’.

Love you-Rebekah

Read more

Too Cute for Comfort

Dear Readers:
It’s been awhile since I’ve discussed the enormously cute properties of our rescue kitties. I have had a bit of a battle at my hands, hoping to train the kittens up in the way they should go. However, they are choosing to ignore my instructions and each morning I find they’ve been on the counter, the table or whatever else is off-limits.


That said, I’ve been a bit frustrated. Today, I decided to look through the cuteness of aforementioned kittens to encourage me in my struggle to gain obedience from the fur gang.

This is Bianca-who on her own-makes a little tent out of our rug in the breakfast nook. She can sneak in and out of the tent-and it says put until she returns. Pretty cute.


This is Maxwell, who repeatedly climbs onto the ledges in our Master Bathroom, only to be unable to get down on his own. He is posing-I’m sure of it-to gain cute points so that I will climb on top of the toilet and retrieve him.


Max’s butt. Nuff said.


Face plant by Max.

Cute points are about to top out at this point.


Topped out.

Ah, just what I needed to encourage me once more. Now, back to the training with a spray bottle and a “gentle, but authoritative voice”.

It will work one of these days, I’m sure of it.

Love-Rebekah

Read more

Pickled Jalapeno Peppers

After making enough Jalapeno Pepper Jelly to feed a small army, I still had more jalapenos than I could handle. I then dehydrated a large freezer bag full and then blanched another freezer bag full.
But, I still had at least six more pounds of jalapeno’s to deal with. Since you can pickle cucumbers, okra and just about anything else, I decided I would try it on my jalapenos. So stinkin’ glad that I did.

(This tutorial may look like a lot of steps, but I am also showing the canning process that is applicable to any type of water bath canning-just in case you aren’t familiar.)


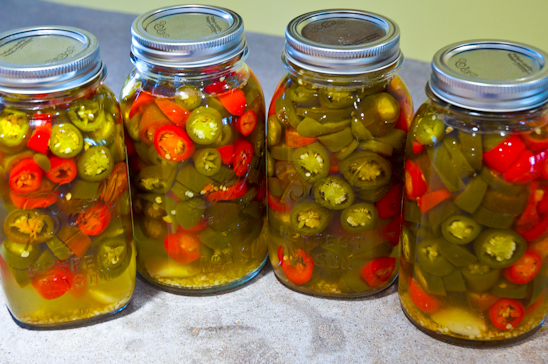
Pickled Jalapeno Peppers are tasty, a little hot and still crunchy. Throw a few in your chili, on top of nachos, hot dogs or even a pizza to add a little pizzaz. (If you don’t want them to be hot, simply remove the seeds and membranes).
The best part? They look fancy inside a mason jar and make inexpensive gifts!


Here’s what you’ll need to make your very own Pickled Jalapeno Peppers (this recipe makes the 4 quarts shown):

3 C Water
9 C Distilled White Vinegar
2 TBS Kosher Salt
1 1/2 tsp ground cumin
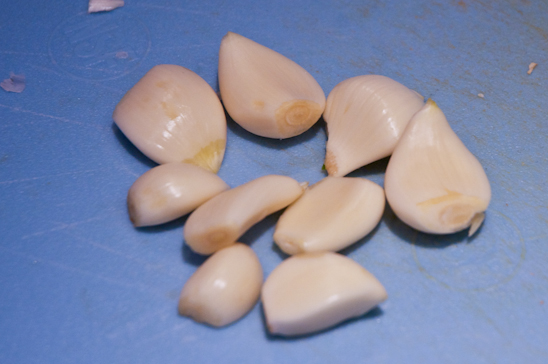
8 cloves of Garlic, peeled and left whole
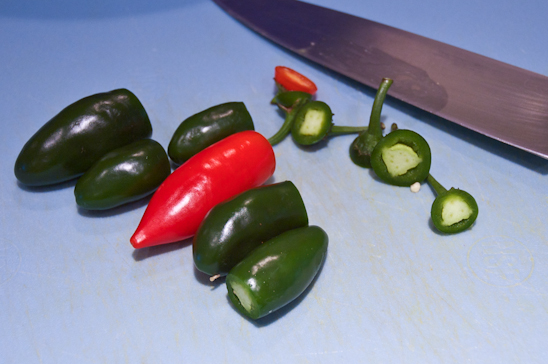
6 Lbs Jalapeno Peppers-green & red (that’s about 180 small peppers or 60 large)

4 Quart Jars with lids and rings
Canner & canning utensils
Gloves


First things first, wash your jars, rings and lids in soapy water.


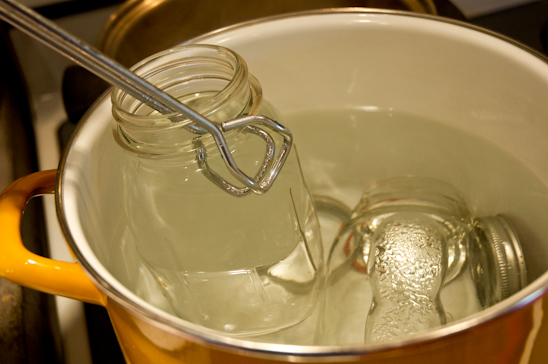
I am super particular about bacteria, so after I wash my jars, rings and lids-I put them in a large pot of boiling water, turn down the heat and let them simmer while I am making the jars’ contents.


Slap on your rubber gloves and de-stem the jalapenos. At this point, if you want less hot jalapeno’s, cut out the membrane and the seeds.


Slice the jalapeno’s to be about 1/4-1/2″ thick.


Peel the garlic gloves and apply slight pressure to each clove with your thumb. Don’t smash them to smithereenes-this is just to release a bit of flavor.


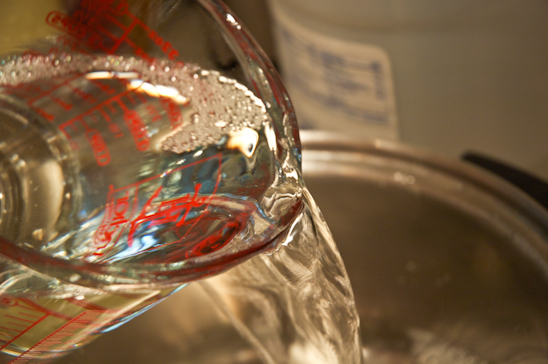
Now for the brine: Pour the 3 cups of water into a large stainless steel pot. Place the pot on a large burner on the stove.


Add the 9 cups of vinegar to the pot.


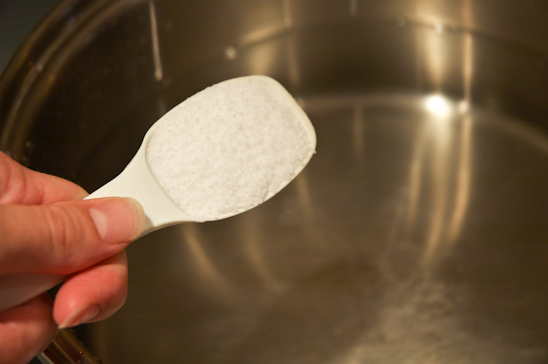
Add the 2 TBS of Kosher salt.


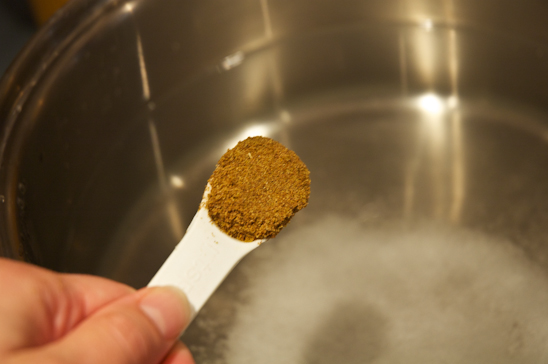
Finally, add the 1 1/2 tsp of ground Cumin.

Whisk all of these ingredients together and bring to a boil. Stir until the Kosher salt dissolves completely.


While you are waiting on the brine to boil, remove the hot jars, lids and rings with tongs.


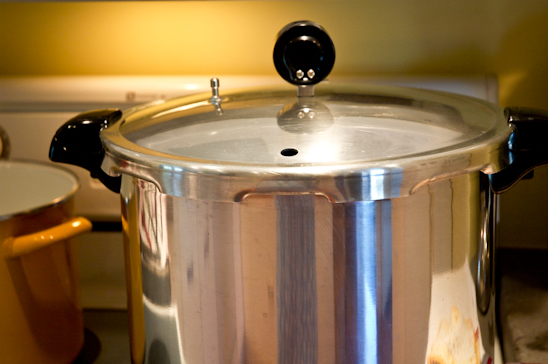
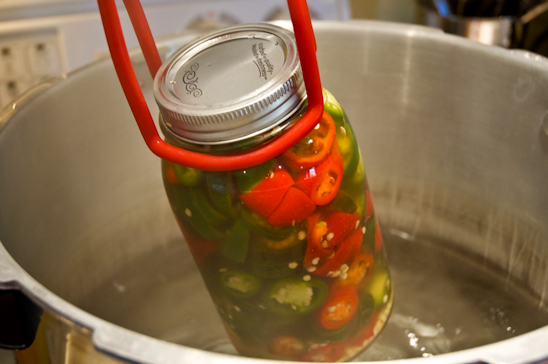
Also, while you are waiting on the brine to boil, fill the canner up with water, about 3/4 of the way up. Turn the burner on high, set the canner lid loosely on top-don’t screw the lid on as pictured here!.


Put a clove of garlic (or two if the clove is small) in the bottom of the sterilized jars.


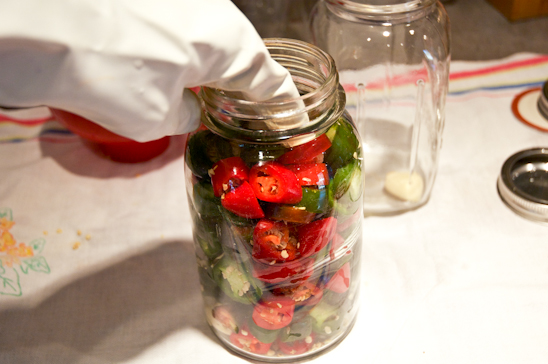
While wearing gloves, pack each jar completely full of jalapeno pepper slices.
 

Place the canning funnel over each jar. Fill the jar full of the hot brine, leaving a 1/4″ at the top of the jar.


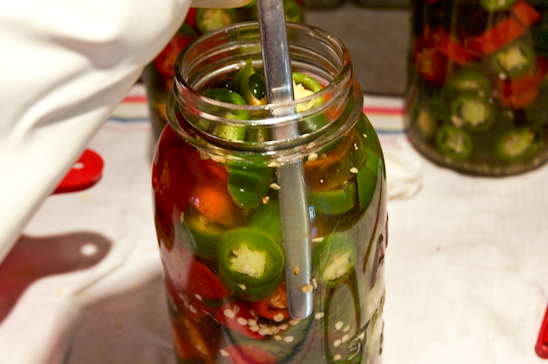
Use a knife to remove any air bubbles.


Remove any excess liquid from the mouth of the jar with a clean cloth.


Place the lids on the jars and hand tighten the rings.


Using tongs, place the jars inside of your water bath canner.


Place the canner lid and process the jars for 10 to 15 minutes.


Remove the jars with the tongs, and set on clean dish towels on the counter. As the jars cool, you can hear a ‘ping’ which tells you the jars were processed correctly.


Store for 3+ weeks in a dark area. This allows all the flavors to get to know each other, mingle around, have some alone time and in turn-makes your jalapenos super yummy.

Keep opened jars for 6 months in the fridge-use only clean utensils to remove peppers. No fingers, please.
Keep unopened jars for a year.

This means you can make Pickled Jalapeno Peppers this summer after the jalapeno harvest and give to that special someone as Christmas gifts months later.

Easy, peasy, cheap and pleasy.

Read more