Archive for category: Featured

DIY Nursery Mobile-Cloudy with a Chance of Rain

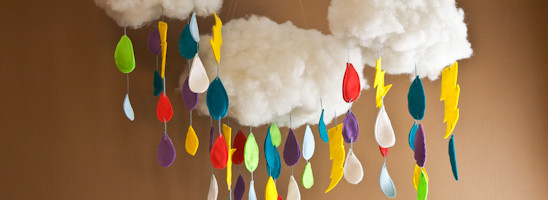
The baby belly is growing, the pants are shrinking, and the DIY in me has come out with full force. I wanted a colorful and whimsical mobile for above the crib for Baby G. However, I didn’t want to pay the price from some fancy store that also sells $54 burp rags.


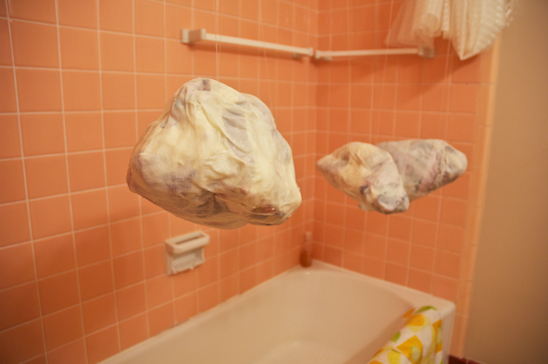
Cloud Mobile-Far Away
So, after gathering my trusty hot glue gun, a roll of paper towels, fishing string and colorful felt…I got to work. I spent about $4 to make this mobile. Granted, I had a few of these things on hand. If you have to start from scratch-I estimate about $10-15 to complete this project. Not bad for a pregnant woman. Not bad at all.


Cloud Mobile-Ingredients
Here’s all that you’ll need to make your very own Cloudy with a Chance of Rain Mobile:
Newspaper
Masking Tape
Roll of Paper Towels
Flour
Thick Fishing Line and quilting needle (or a very tough needle)
Pillow Stuffing
Hot glue gun and glue sticks
Colorful felt and thread
Ric Rac, Ribbon, or something similar
White swag hooks (from Lowe’s or Home Depot, etc)
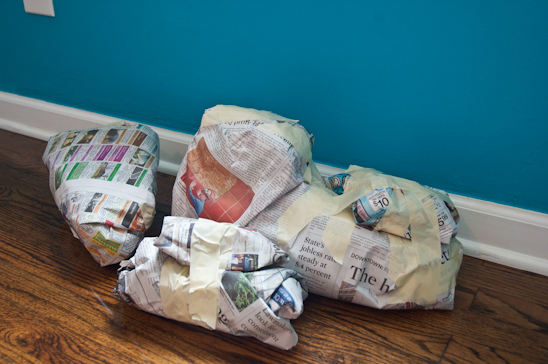
 

Cloud Mobile-Newspaper Balls
First, make “clouds” from balled up newspaper. Make them the appropriate size for the space. I chose to make a large, medium and small cloud. Use masking tape to secure the newspaper together.


Cloud Mobile-Paper Mache

Next, use a one part flour to 5 parts water mixture. Heat the water up on the stove and slowly whisk in the flour until it’s the consistency of a thick soup. Let cool.

Dip paper towels that have been cut in half into the soupy mixture and apply to the newspaper clouds, one at a time. Cover the entire cloud with a thin layer of paper towels.


Cloud Mobile-Fishing line

While the newspaper and paper towels are still wet, use the quilting needle to pass a long piece (about 4′ total) of fishing line through the top of your cloud, about 3-4″ down from the top. Allow an equal amount of fishing line on either side (about 2′). If the cloud is larger, I recommend having two places that you pass fishing line through. This will be what the mobile hangs from.


Cloud Mobile-Drying

Tie the (2) 2′ pieces of fishing line together and use a coat hanger to suspend the clouds. Let dry overnight.


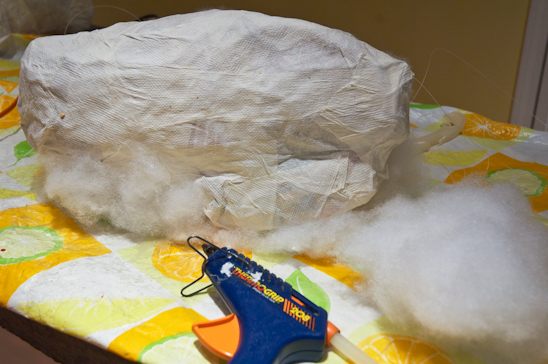
Cloud Mobile-Hot Glue Stuffing

Once the cloud is dry, cover the entirety of it with the pillow stuffing by using a hot glue gun. Be careful not to burn your fingers as I did, over and over and over….


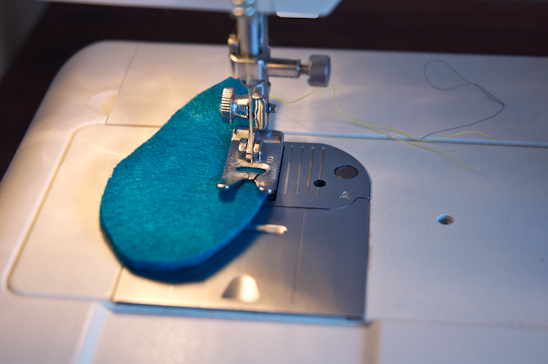
Cloud Mobile-Sewing Raindrop

Next, cut out of the felt: raindrops, umbrellas, lightening bolts, cats and dogs or whatever else your little creative mind comes up with to hang from the bottom of the cloud. I cut out two pieces per item to give it a little more strength and dimension.


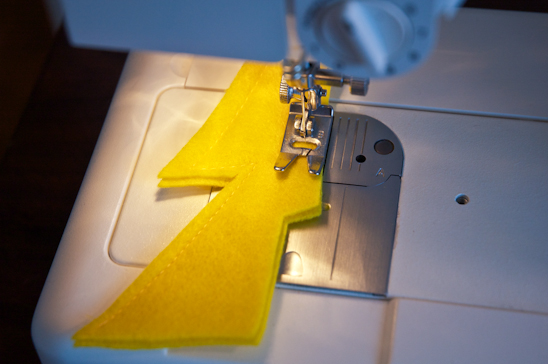
Cloud Mobile-Sewing Lightening Bolt

Sew the two pieces together around the outside of the object.


Cloud Mobile-Sewn Pieces
After you have sewn all the pieces, arrange them in the order you’d like to see them “drop” from the cloud.


Cloud Mobile-Ric Rac
Attach the pieces to one another using a hot glue gun. I chose ric rac, but you can use ribbon or anything else that you fancy.


Cloud Mobile-Completed Bottom Side
Part the stuffing at the bottom of the cloud so that you can attach the ric rac with a hot glue gun. I used a wooden skewer to push the ric rac into the bead of hot glue to avoid burning my fingers-again.


Cloud Mobile-Close Up
Hang each cloud from the ceiling on a swag hook, using the fishing line you sewed through the top to secure it to the hook.


Cloud Mobile-Far Away

Stand back and enjoy your handiwork. I know that Baby G. is going to love it!

**See what else I’ve made for the nursery: DIY Plaster Animal Heads


Linking up to these Parties:
My Repurposed Life

The Shabby Nest

Just Wingin’ It 

French Country Cottage

My Romantic Home

Bacon Time


Read more

Vintage Drums and Dates

Biceps is the best husband ever. Hands down. Bar none. Don’t argue with me. He’s been that way for the entirety of our almost 13 years of marriage. I married up, and most of my family wouldn’t contradict that point. They know I’m right. With all of that said, Biceps is also a very focused man.


Cute Biceps
With baby #1 on the way, he has taken to a “nose-to-the-grindstone” mentality with work, school and providing for our family. The man never rests. Except from 11 pm to 5 am. Then–he’s out like a light and no amount of kitty wrestling, house alarms sounding or excessive use of the bathroom by yours truly (thanks Baby G) will wake him.


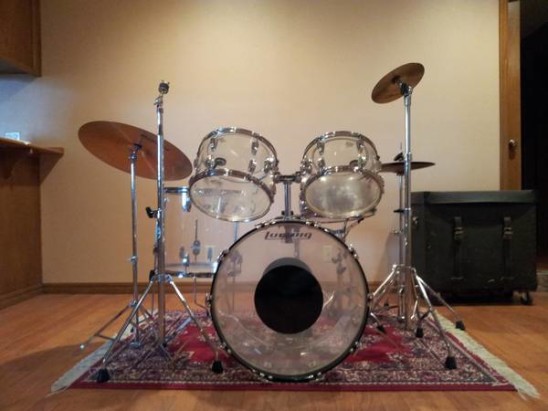
Vistalite Drums
We’ve been needing a little getaway before Baby G pops out into the world. However, I knew pulling Biceps away from his focus would be difficult.

Enter a craigslist for sale ad for Vintage Ludwig Vistalite Drums in a city just two hours away. As a wife, I just hit the jackpot.


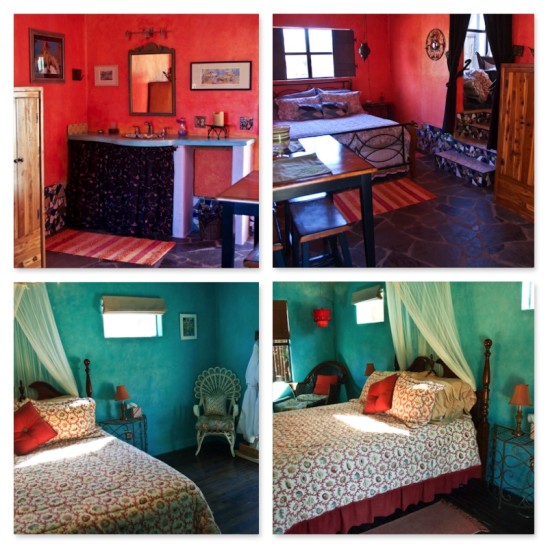
Main Living-Norman B & B
Nothing motivates a musician more than the drums they’ve always dreamed about. Within hours, Biceps had found and secured a night at a Norman Bed and Breakfast.


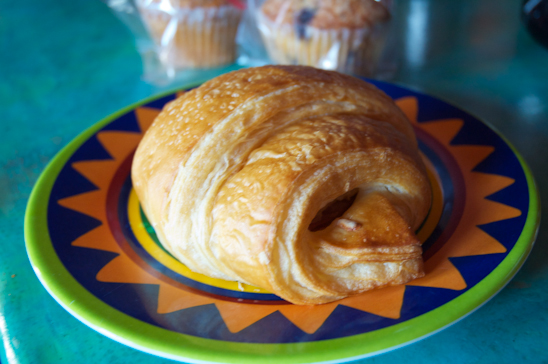
Breakfast at Norman B & B
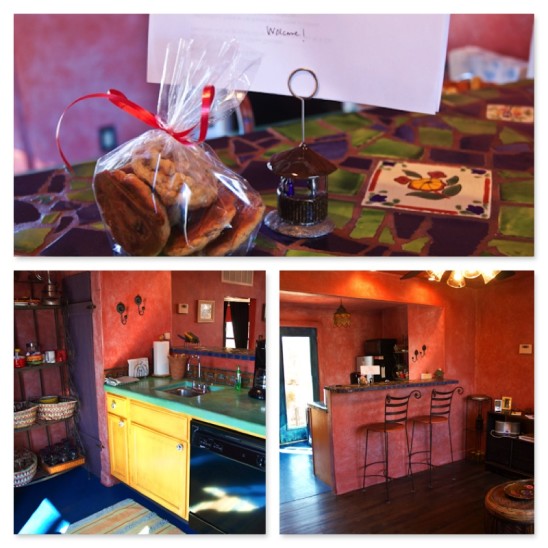
This beautiful little house was very affordable, it was all ours (no weird interaction with the owners or other guests), and stocked with yummy snacks.


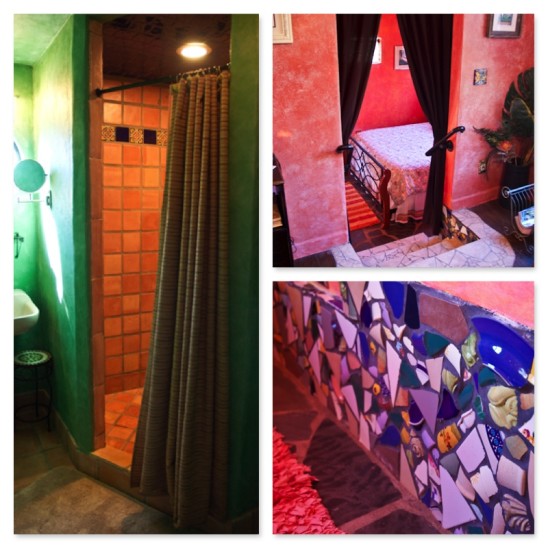
Bedrooms2-Norman B & B
The best part was-they did not decorate with dolls, doilies or victorian pictures. Thank goodness.


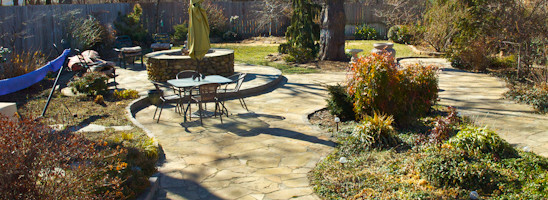
Backyard-Norman B & B
If the weather hadn’t been so stinkin’ freezing cold, we would have used the hammock, the hot tub and the fire pit provided. Instead, we looked at it longingly from the safety and heated security of the inside-while eating cookies.


Biceps-Norman B & B
Biceps actually relaxed from his overwhelming schedule and donned a robe and house shoes. He sat for hours looking at old pictures with me and talking about our future with Baby G.


House Highlights-Norman B & B
Biceps bought his drums and we got our inexpensive, much-needed getaway. Take note ladies-if you are needing a getaway with your special man-pray that God prompts your hubby to look one more time at craigslist. And then pack a bag.


Read more

DIY Plaster Animal Heads

I am in the throes of decorating our nursery. I know that our baby won’t care what the room looks like. Heck-as a baby-I removed the paint my father laboriously put on my nursery walls with a wet wipe.

However, since I will be spending an inordinate amount of time in this room, I wanted some pretties to look at. And, of course, I didn’t want to spend very much doing so-thus my DIY Plaster Animal Heads. If you have the patience of a cucumber and a few hours each day, you too can have very inexpensive animal heads custom made to your liking!


Plaster Heads Begin
Here’s all that you’ll need to make your DIY Plaster Animal Heads:

Newspaper, Packing Paper
Paper Towels
Masking Tape
Cardboard
Mod Podge
Tissue Paper, Book Pages
Paintbrushes, Paint
Glitter, other accessories to decorate if desired
Plaque (I bought mine from a hobby store)
Brad Nails, Hammer
Flour, Water

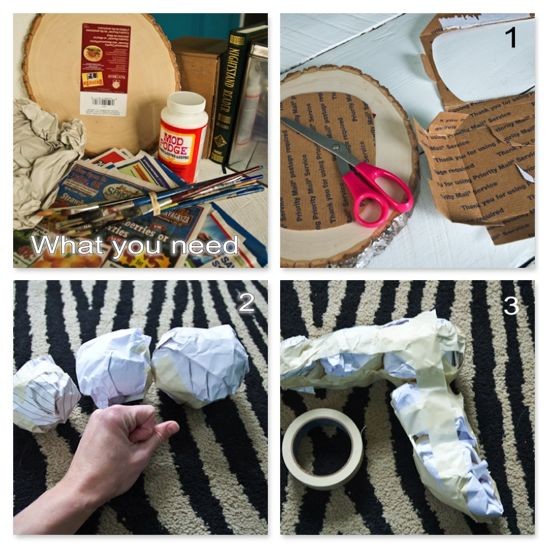
Step 1:
Cut out a piece of cardboard that will be the backer to the animal head. Make sure it’s smaller than the plaque that’s been chosen.
Step 2:
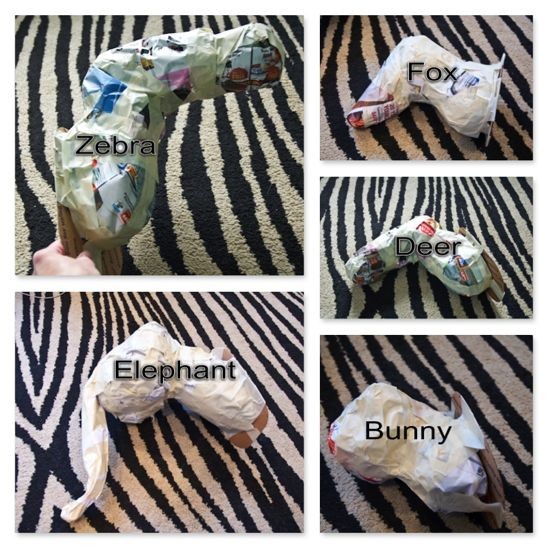
Make balls out of newspaper or packing paper that will be the animal head and neck. Tape the balls together individually.
Step 3:
Tape the entire head and neck together.


Plaster Step 2
Step 4:
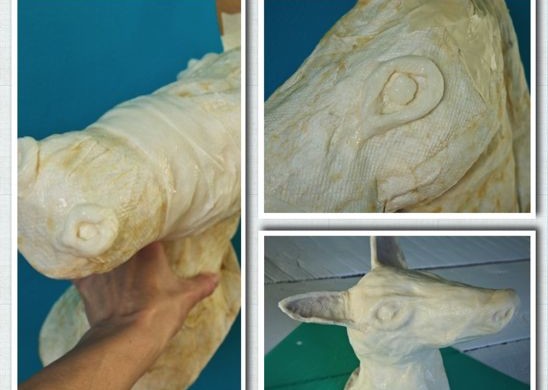
Add a final layer of newspaper to smooth out any valleys and build up any areas that are needed for the contour of the head. Use masking tape to attach the newspaper and the cardboard backer to each head.


Plaster Step 3
Step 5:
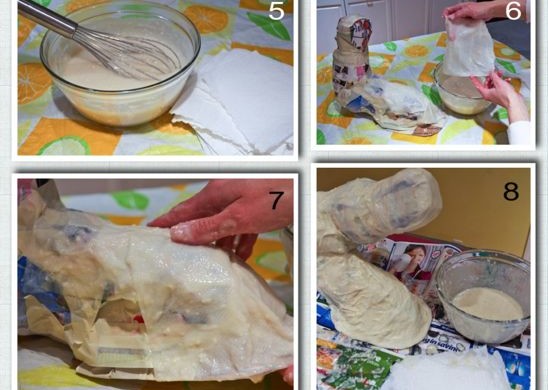
Use 4 parts water to 1 part flour to make the “plaster”. Heat up on stove and slowly whisk in flour until the consistency is a thick and soupy. Let cool.
Step 6:
Cut paper towels into 3″ x 4″ rectangles, or somewhere close to that size. I cut my select-a-size in half. Dip into the soupy plaster and squeeze off the excess.
Step 7:
Using one paper towel at a time, add a single layer of the paper towels to the head and cardboard backer.
Step 8:
Cover the entire head and cardboard backer with the plaster paper towels.


Plaster Step 4
Step 9:
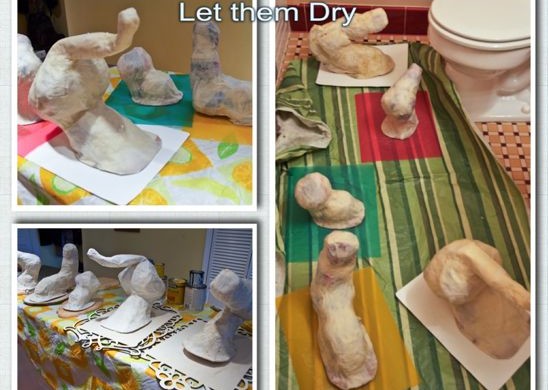
Let the head(s) dry completely overnight or for several hours. It was very cold out, so I placed my heads in a small bathroom and used a space heater (safely) to speed up the process. Rotate the heads and make sure the cardboard backer is completely dry as well.


Plaster Step 5
Step 10:
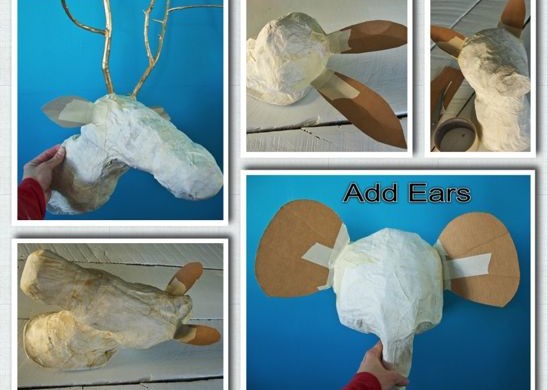
Cut out ears for each head and use masking tape to attach to the heads.


Plaster Step 6
Step 11:
Use another round of plaster and paper towels to build up eye and nose formations. Cover the entire head once more, along with the cardboard backer and the ears with another layer of paper towels.
Let the head(s) dry completely overnight.

While you’re waiting on them to dry, paint your plaques!


Potholes and Pantyhose
Step 12:
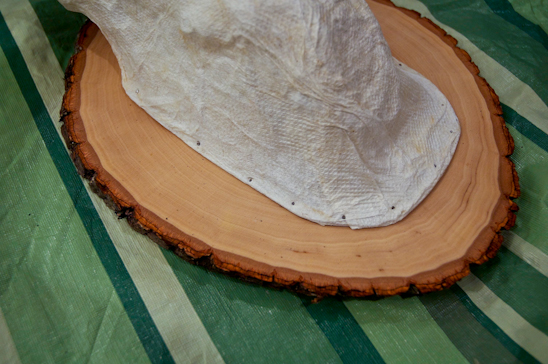
Once the head(s) are completely dry, attach to the painted plaque by gently using brad nails and a hammer. (I went the extra mile and added a little hot glue to the cardboard backer before attaching it to the plaque. I don’t think this step was necessary, but it made me feel better.)


Plaster Step 8
Step 13 Alternate (1):
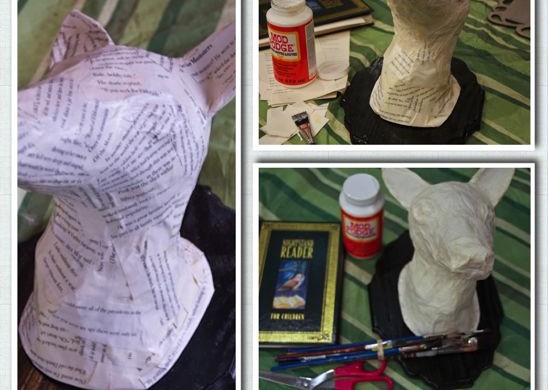
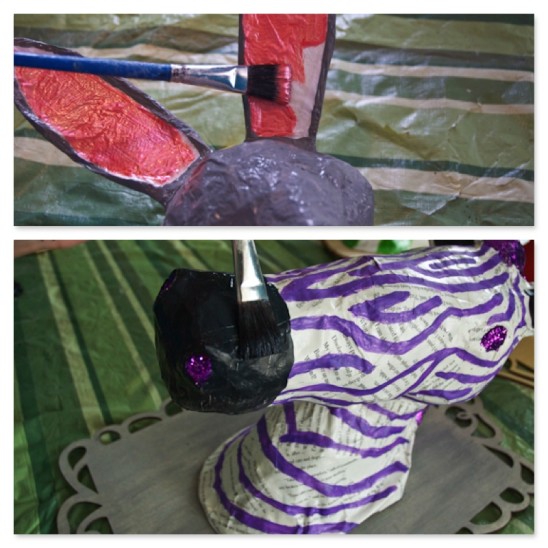
Here comes the fun part-decorating the heads! There are many ways to do this. Here you can see that I used mod podge and the pages of a book to cover the entire head. After cutting out a stack of small pieces from a book, I brushed a thin layer of mod podge on the back side. I placed the piece on the head and brushed another thin layer over the top. I repeated this process until the whole head was covered.

I had five heads, so I covered two with book pages.


Plaster Step 9
Step 13 Alternate (2):
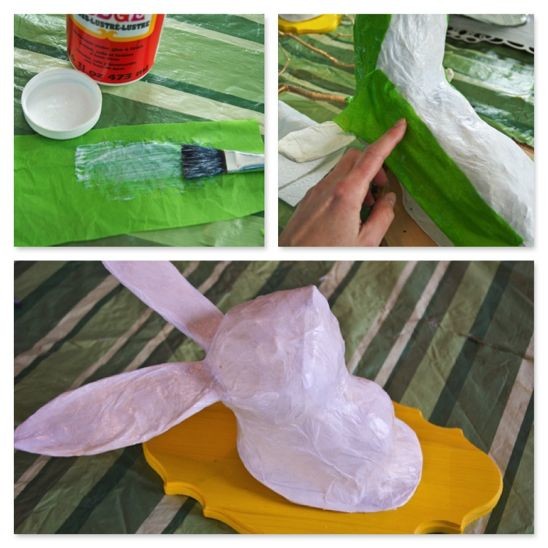
Here, I used the same mod podge process, but utilized fun tissue paper instead. I covered the three remaining heads with tissue paper.


Plaster Step 10
Step 14:
Now, it’s time to paint! Get creative and crazy. Add glitter, rhinestones, mirror pieces, wires for whiskers, feathers, or whatever you have on hand. (Let dry completely between coats of paint).


Potholes and Pantyhose
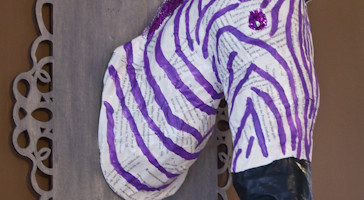
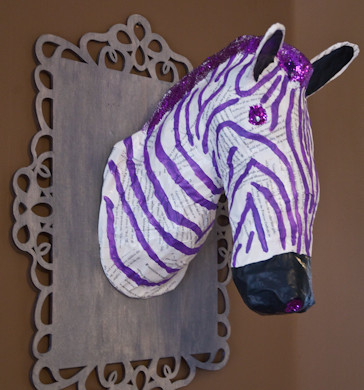
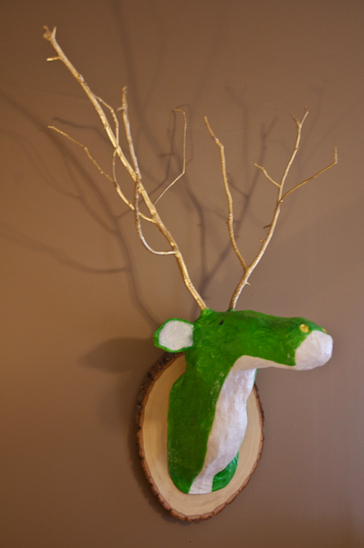
Here are my finished heads. This one I call Frank the Zebra.


Potholes and Pantyhose
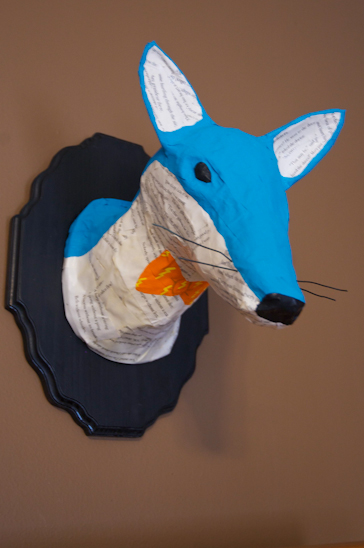
This is Lightening McQueenFox.


Potholes and Pantyhose
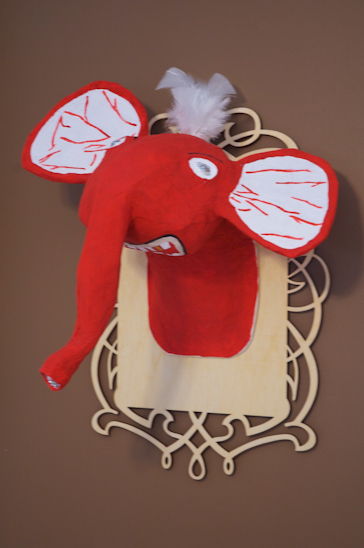
This is Goldy the Elephant.


Potholes and Pantyhose
This is George. Just George.


Potholes and Pantyhose
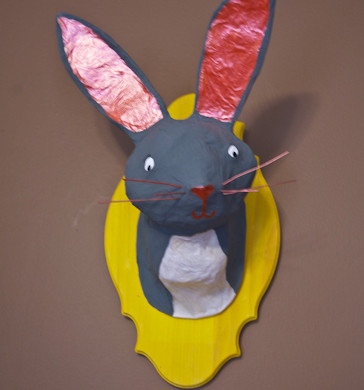
And this is Twinkles the Bunny.

I figured that I saved about $700 making these myself. Not bad for a few days’ work. If you made an animal head, what would it be?

Read more

The Not-Uncomfortable Baby Shower

I know. The title of this post is a double negative. I know what this means in writing terms. I am aware of what I am doing. At least-I am aware of what I am doing right here, right now. Ask me again in five minutes and my mind may have wandered to some far-off place that is filled with baby anxiety, onesies and tiny socks.

Anywho-I want to address the title as both a double negative in writing terms but a title that is a positive point to my weekend. Let’s add up these positive points:


DSC_0001
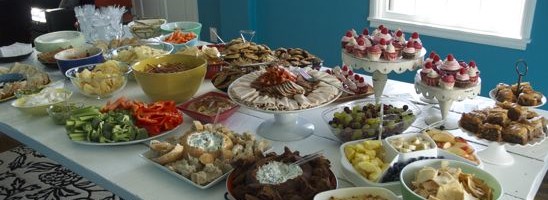
(1) There were no tiny sandwiches and I bought huge paper plates. (3 points, plus 10 bonus points). This allowed me to eat A LOT.
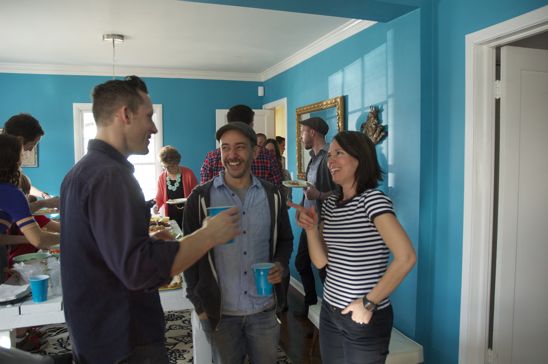
(2) There were both men and women involved, allowing for easy conversations and a party atmosphere. (5 points)
(3) There was a lot of leftover food-which I am still munching on. (4 points)
(4) It was at my house where I feel most comfortable using the bathroom ten gazillion times. (7 points).
(5) My parents, friends and family all chipped in and helped to pull off this large event. (17 points)


Baby Shower
(6) People either lied to me or they did really have a good time. Even the ones that were hoodwinked by their female spouses to attend a “19th century lecture on Russian politics”, only to find out it was a baby shower. (3 points for hoodwink creativity, 5 points for the husband not holding a grudge to the hoodwinker).
(7) The food “made up” for being hoodwinked by aforementioned person. (2 points)
(8) There were no awkward baby shower games. (100 points)


DSC_0002
(9) I got to see so many people I care about in one blow, opening up my calendar for the next month.
(18 points plus 2 points for not feeling guilty about this fact).
(10) I didn’t wear shoes-the whole night. (60 points).

That comes up to a grand total of….anyone have a calculator and a non-prego brain? Please answer below.

Read more