Archive for category: Featured

Ginger “Puff” Cookies-Skinny Version

It is 33 degrees outside as I write this, sitting on the back porch at 6 am. It’s still dark and my coffee is close at hand. I love this change in the weather-it means all things nutmeg and Christmas and Thanksgiving and decorating and making presents and more coffee and hot tea and….



Tasty, Skinny Ginger “Puff” Cookies-which I make without sugar, shortening and a ton of calories.

(I love the original Ginger Snap type Cookies, don’t get me wrong. But with ingredients like 1 1/2 Cups of Shortening and 1 Cup of Sugar…I wanted to find a healthy alternative that would satisfy my ginger cookie loving ways.)
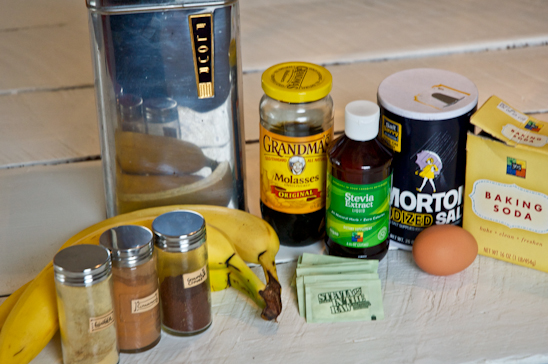


Here’s all that you’ll need to make your own Ginger “Puff” Cookies (printable recipe at the bottom):

2 1/4 C Flour, plus 3-4 TBS
2 tsp Ground Ginger
1 tsp Baking Soda
3/4 tsp Cinnamon
1/2 tsp Ground Cloves
1/8 tsp Salt
3/4 C Ripe Bananas
1 tsp liquid Stevia
1 egg
1/4 C Molasses
2 Powdered Packets of Stevia to Sprinkle the puffy tops (not necessary, but nice)

Preheat the oven to 350. Makes 40-45 cookies.
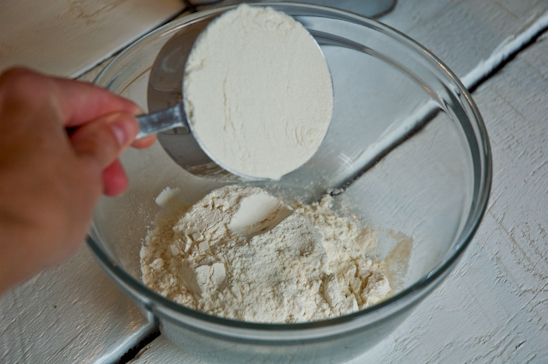


In a medium mixing bowl, measure out the 2 1/4 Cup of Flour.
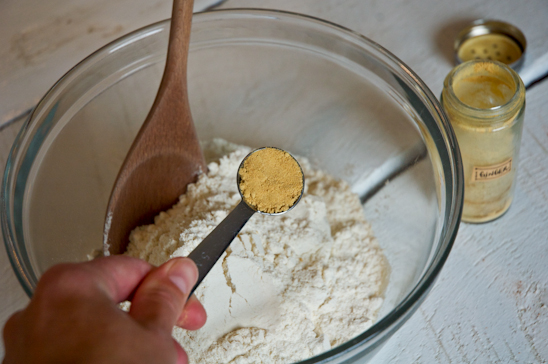


Enjoy the ginger scent for a moment, then add the 2 tsp Ground Ginger.
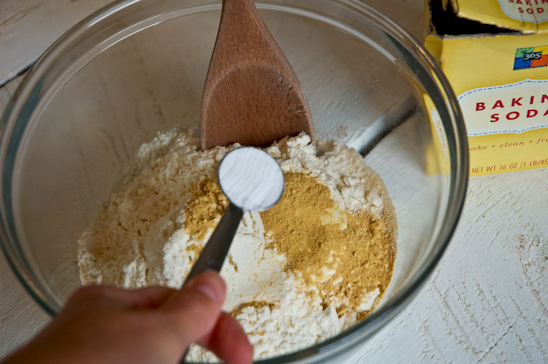


Next, add the 1 tsp Baking Soda.
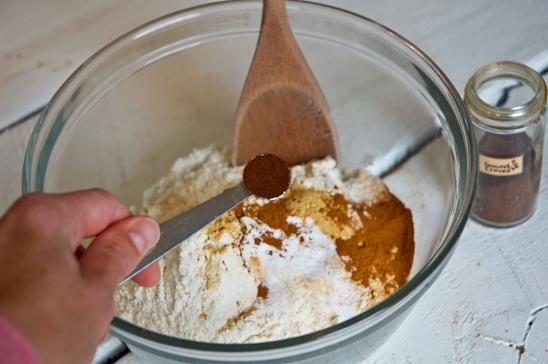


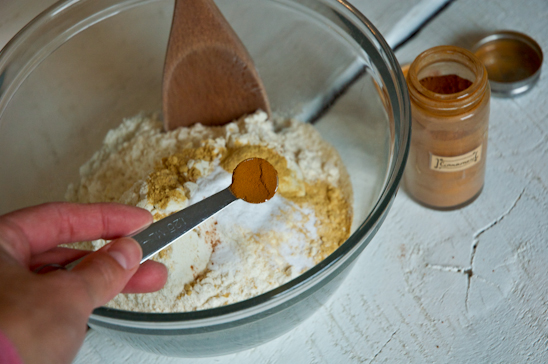
Add the 3/4 tsp of Cinnamon.


Inhale, then add the 1/2 tsp of Ground Cloves. Yum.
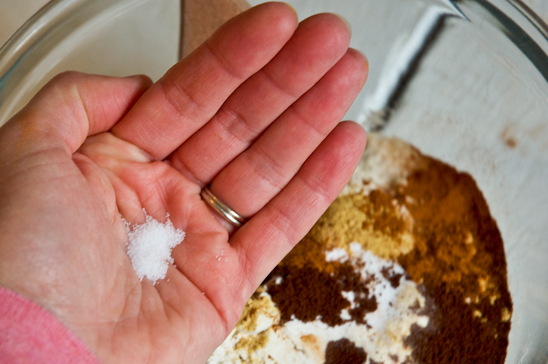


Finally, add the 1/8 tsp Salt.
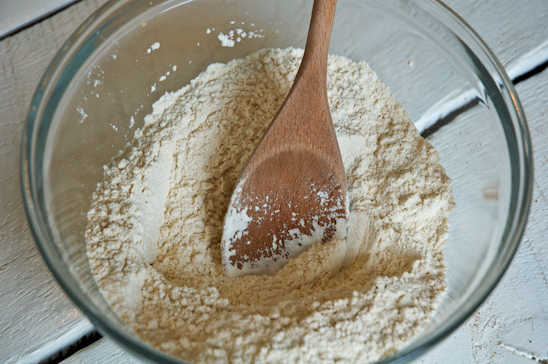


Thoroughly mix the dry ingredients together.
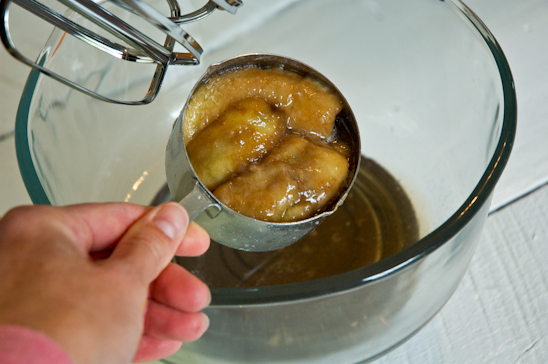


In a large bowl, add the 3/4 C Bananas.
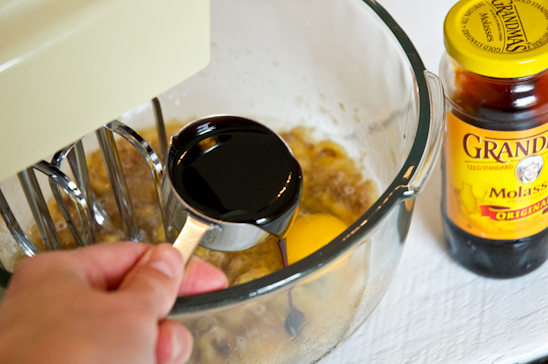


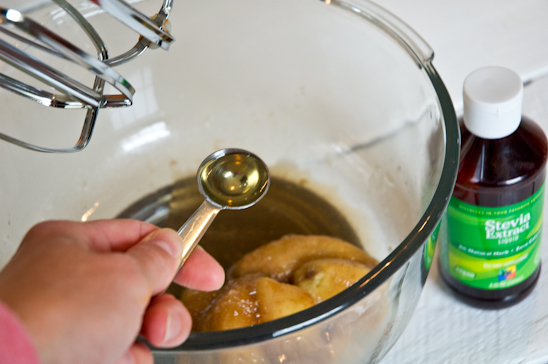
Add the 1 tsp liquid Stevia.


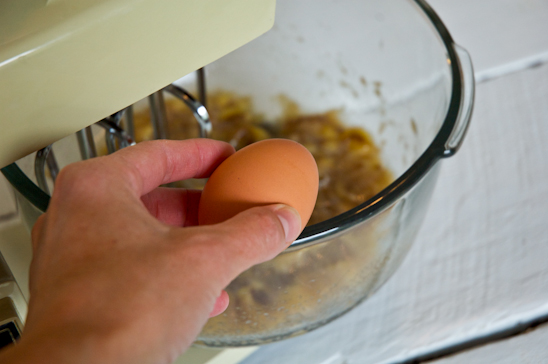
Crack yer egg into the bowl.


Lastly, add the 1/4 C of molasses.


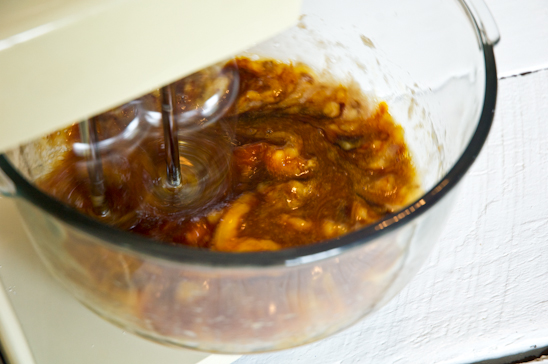
Blend on a low speed until mixed-about a minute.
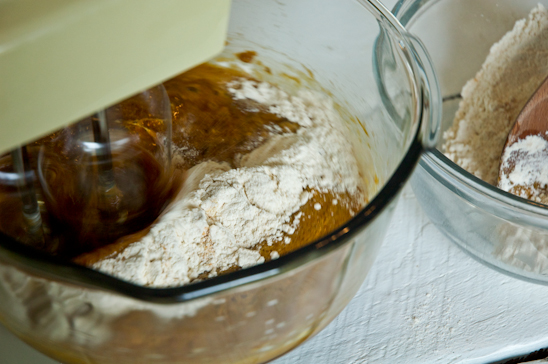


Slowly, add the dry ingredients to the wet, increasing the mixing speed if needed. The batter will become very thick and very sticky.
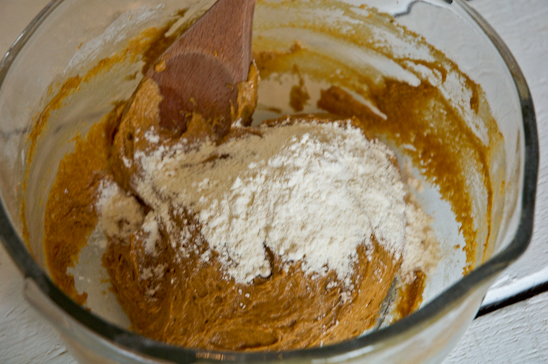


If the mixer starts to bog down, add the rest of the flour mixture by hand. Then, add the 3-4 TSB of the remaining flour until the batter is very thick.


Spoon 1″ round cookie puffs onto an ungreased cookie sheet, leaving about 1-2″ in between each puff.
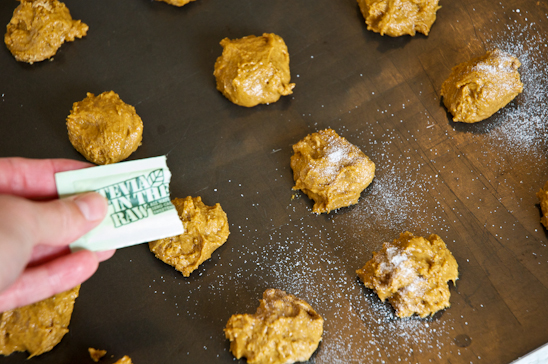


Sprinkle the tops of the cookies with the powdered Stevia, if desired. This makes them a little sweeter-and my hubby, the sweet tooth, desired the extra sweetness.


Bake 8-9 minutes or until the cookies are puffy and browned on the bottom. Cool on the pan on a wire rack for one minute.



Transfer the cookies to a wire rack to finish cooling.


Enjoy these Tasty, Skinny Ginger “Puff” with a hot cup of tea and without the guilt!

5.0 from 2 reviews
Ginger "Puff" Cookies-Skinny Version
Author: 
Recipe type: Dessert
Prep time: 
Cook time: 
Total time: 
Serves: 40-45 cookies
 
Enjoy ginger cookies without the guilt-no sugar, no shortening and low calorie. Perfect for a cold winter day!
Ingredients
  • Dry Ingredients:
  • 2¼ C Flour, plus 3-4 TBS
  • 2 tsp Ground Ginger
  • 1 tsp Baking Soda
  • ¾ tsp Cinnamon
  • ½ tsp Ground CLoves
  • ⅛ tsp Salt
  • Wet Ingredients:
  • ¾ C Ripe Bananas
  • 1 tsp liquid Stevia
  • 1 egg
  • ¼ C Molasses
  • Top With:
  • 2 Powdered Packets of Stevia to Sprinkle the puffy tops (not necessary, but nice)
Instructions
  1. Preheat the oven to 350.
  2. Add all dry ingredients in a medium mixing bowl and mix thoroughly.
  3. Add all wet ingredients in a large mixing bowl and blend thoroughly.
  4. Slowly add the dry ingredients to the wet, until the batter becomes too thick.
  5. Add the rest of the dry ingredients, mixing by hand.
  6. Add the 3-4 TBS of flour.
  7. Spoon onto ungreased cookie sheet and sprinkle with powdered Stevia.
  8. Bake for 8-9 minutes.
  9. Cool on pan on wire rack for 1 minute.
  10. Transfer puffs to wire rack and cool completely.


If these parties are up, I link to them! (Here’s my complete Linky Party Page):
Monday: Crafts Keep Me Sane, The Better Baker, Skip to My Lou, DIY Showoff, Say Not, Sumo’s Sweet Stuff, Etcetorize, Sew Chatty, Brassy Apple, Flour Me With Love, Creating my Way, Mad in Crafts, Our Delightful Home, Sew Can Do, It’s So Very Cheri, Craft O Maniac, Polly Want a Crafter, Tuesday: Craft Edition, Inspiration Board , New Nostalgia , Lettered Life , Coastal Charm, Tip Junkie , Ladybug Blessings, Hope Studios , Todays Creative Blog, Wednesday: Someday Crafts , Day2DayJoys, Jillify It , Junk in the Trunk, We are that Family , Frugally Sustainable, Sew Much Ado, Fine Craft Guild , The Thrifty Home, My Girlish Whims , Quick, Easy, Cheap & Healthy, Trendy Treehouse, Thursday: Somewhat Simple, No Minimalist Here , A Glimpse Inside, The Mommy Club, The 36th Avenue, Cheap Chic Home, Beyond the Picket Fence, Fireflies and Jellybeans , House of Hepworths , The Shabby Chic Cottage, Friday: My Repurposed LifeIt’s a HodgePodge LifeThe Shabby NestJust Wingin’ ItOne Artsy MommaFrench Country CottageFinding Fabulous, Passionately Artistic, Petals and Picots, Simply Designing, Little Becky Homecky, My Romantic HomeBacon Time, Simply Living, Saturday: Polkadot Pretties, Tatertots and Jello, Create and Inspire, Be Different, Act Normal, Craft Envy, Funky Junk Interiors, Petites Passion, Sunday: Under the Table, Natural Mothers, Mopping the Floor

Read more

Healthy, Homemade Beauty Products

This morning, I will be LIVE on Fox23’s “Great Day, Green Country“, trying to look somewhat composed and unsweaty. I was invited back to share my Homemade Beauty Product Recipes.


Little did they know what weirdness they were once again inviting into their normal world….


Here is the live video. I know, I’m awkward. Just don’t judge the recipes for the weirdness of the presenter.


Apparently, I didn’t stink it up too much during the first go around when I shared my Homemade Household Cleaning Recipes.


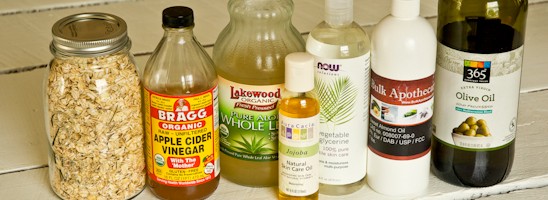
And today, with just 7 simple ingredients, I’ll show you the Healthy, Homemade Beauty Product recipes that I highlighted this morning on Fox23. These recipes use organic ingredients that are centuries old and proven to be healthy for the inside and the outisde of your body. This is nothing new under the sun, just a modern twist on how to do it yourself, easily.

Say good-bye to the over-priced, chemical-laden products from the beauty aisle. It’s time to take back control of what you are putting on the largest organ of your body and make your very own simple Beauty Products.

(If you click on the recipe title-all but the Toner-the link will take you to the step-by-step tutorial for each recipe. I also have a few links at the bottom of this post with more Homemade Household Cleansers and Yummy Food Recipes.)

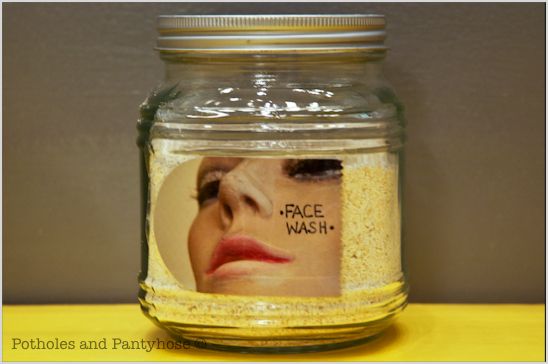
Face Wash
2 Cups or More of plain (Old Fashioned) organic rolled oats

Use a blender and grind up the oats until it is the consistency of a fine powder. Store in airtight container.
With a fistful of oats, add a little water to make it into a mush. Massage over face with circular motions (avoiding eye area) and let sit for 0 to 5 minutes. Wash off with warm water. Use morning and night.

Oatmeal is a natural exfoliant. It cleans, soothes and nourishes the skin. Oatmeal brightens dark spots, lightens freckles and tones down inflammations.


Toner
1 TBS Apple Cider Vinegar

Squeeze a little Apple Cider Vinegar on a cottonball and spread over face, neck and chest. It may be powerful smelling at first, but the scent dissipates and the facial moisturizer will snuff out any remaining scent.

Vinegar clears up acne, heals dry skin and is a great antibacterial. It will remove any leftover make-up, while leaving the skin feeling refreshed and soft.


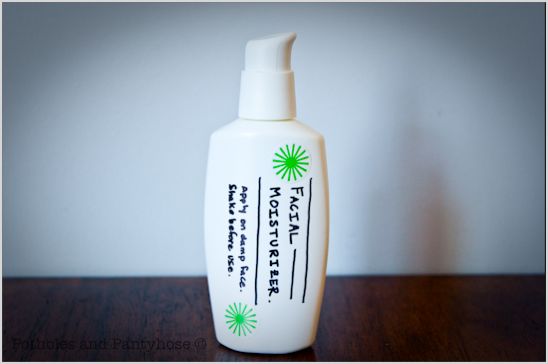
Facial Moisturizer
makes 2.5 oz
4 TBS Pure Aloe Vera (drinkable kind)
1 tsp Vegetable Glycerin
6 Drops Jojoba Oil
1/4 tsp Sweet Almond Oil

Place all ingredients in a container. Shake before each use. After washing your face and following with the toner, squeeze a small amount in your hand and apply with your fingers. It will feel wet at first, but as it dries and absorbs, you will be left with silky soft skin.

Aloe Vera is amazing. Here are some things that it can do topically for your skin (this doesn’t include all of the amazing things it does for the inside of your body):
Halts the growth of cancer tumors.
Eases inflammation and soothes arthritis pain.
Protects the body from oxidative stress.
Nourishes the body with minerals, vitamins, enzymes and glyconutrients.
Accelerates healing from physical burns and radiation burns.
Replaces dozens of first aid products, makes bandages and antibacterial sprays obsolete.
Hydrates the skin, accelerates skin repair.

Vegetable Glycerin
Improves the health of skin
Earth-friendly
Softens the skin
Natural source of moisture
Helps retain moisture
May have a positive affect on skin conditions like skin cancers (non-melanoma) and psoriasis

Jojoba Oil is just as amazing. Here are some of the reasons to use it topically:
Wound treatment
Skin healing
Beneficial as a moisturizer, hydrates the skin, hair and nails while it provides nutrients
Provides a protective coating on the skin to keep bacteria and grime out and moisture in
Reduces and prevents wrinkles and stretch marks
Antibacterial
Anti-inflammatory
Useful treatment for acne, skin wounds and to soothe mild infections
Hypo-allergenic, so it will not cause reactions on the skin and will not clog pores

Sweet Almond Oil
Help retain moisture
Reduces wrinkles
Adds a natural glow
Used on nearly any skin type, dry to oily
PS-Rub a dime sized amount into your scalp for healthier, thicker hair


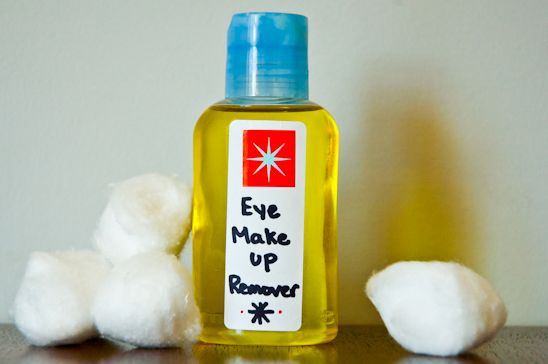
Eye Make-up Remover
makes 3.5 oz
4 TBS Extra Virgin Olive Oil (EVOO)
3 TBS Sweet Almond Oil

Mix in squeezable small container. Dab on cotton ball. Wipe eye makeup off gently.

The Benefits of Extra Virgin Olive Oil for the skin:
Penetrates deep into the skin, providing needed moisture
Protects the skin while keeping it smooth
Powerful Antioxidants, vitamins A and E, can help repair skin damage from sun exposure, cigarette smoke and pollutants.

(See Above Recipe for the Benefits of Sweet Almond Oil)

•   •   •   •   •   •   •   •   •   •   •   •   •   •

YEAH! You now have all you need to keep your skin clean, fresh and feeling younger than before. And, you are spending pennies on the dollar in order to do so.

I hope you have enjoyed these recipes! It may seem overwhelming at first to rid your home of toxins and store-bought everything. And maybe you don’t want to make these products, but would like the benefits of non-toxic products in your home without going broke. I have found some simple solutions to replace the things that I cannot make/don’t want to make myself by purchasing them from a non-toxic green company online. Without directly endorsing them, if you are interested in knowing more,  Feel free to email me with questions.

Here are links to my other Homemade Household Cleansers and Beauty Products:

Easy Laundry Soap
DIY Brass Cleaner
Organic Vegetable/Produce Cleaner
Homemade Household Cleaners

And here are a few Homemade Food Items to easily replace store-bought items:
Simple, Tasty Granola
Easy Crockpot Yogurt
Simple, Homemade Butter
Cooking and Freezing Beans, avoiding BPA
Homemade Hummus
Garden Fresh Salsa

Thanks so much for stopping by and spending time with such a weirdo. Make sure you become a Facebook Fan or a Linky Follower to keep up to date with what this weirdo comes up with next. Have a great day!

If these parties are up, I link to them! (Here’s my complete Linky Party Page):
Monday: Crafts Keep Me Sane, The Better Baker, Skip to My Lou, DIY Showoff, Say Not, Sumo’s Sweet Stuff, Etcetorize, Sew Chatty, Brassy Apple, Flour Me With Love, Creating my Way, Mad in Crafts, Our Delightful Home, Sew Can Do, It’s So Very Cheri, Craft O Maniac, Polly Want a Crafter, Tuesday: Craft Edition, Inspiration Board , New Nostalgia , Lettered Life , Coastal Charm, Tip Junkie , Ladybug Blessings, Hope Studios , Todays Creative Blog, Wednesday: Someday Crafts , Day2DayJoys, Jillify It , Junk in the Trunk, We are that Family , Frugally Sustainable, Sew Much Ado, Fine Craft Guild , The Thrifty Home, My Girlish Whims , Quick, Easy, Cheap & Healthy, Trendy Treehouse, Thursday: Somewhat Simple, No Minimalist Here , A Glimpse Inside, The Mommy Club, The 36th Avenue, Cheap Chic Home, Beyond the Picket Fence, Fireflies and Jellybeans , House of Hepworths , The Shabby Chic Cottage, Friday: My Repurposed LifeIt’s a HodgePodge LifeThe Shabby NestJust Wingin’ ItOne Artsy MommaFrench Country CottageFinding Fabulous, Passionately Artistic, Petals and Picots, Simply Designing, Little Becky Homecky, My Romantic HomeBacon Time, Simply Living, Saturday: Polkadot Pretties, Tatertots and Jello, Create and Inspire, Be Different, Act Normal, Craft Envy, Funky Junk Interiors, Petites Passion, Sunday: Under the Table, Natural Mothers, Mopping the Floor
Read more

The Master Bathroom Remodel-Part Deux

You’ll want to check out the Master Bathroom-Part Uno before jumping into this. You need to be prepared. And if you really want to be prepared, check out what I did with the adjoining Master Bedroom.
So, go-I’ll wait for you. But please, do come back.


Yeah! You’re back-I am assuming you have done what you were told and aren’t being naughty at this point. However, if you are being naughty, I know the feeling…
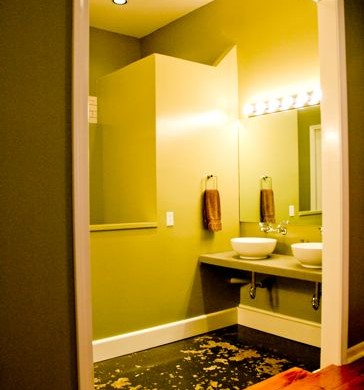
This is what I started with-a green room with absolutely no appeal, nothing, nada. Boring.

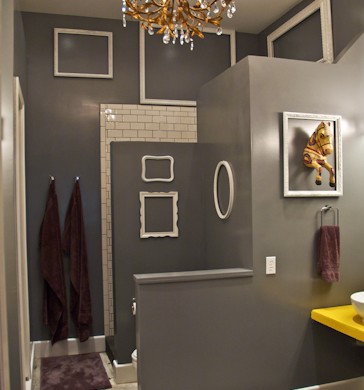
And this is where I left you in the Master Bathroom-Part Uno. Biceps was on tour without me (very sad) and I was being sneaky and remodeling the bathroom. I changed the wall color from green to a deep gray. The concrete floor and both vanities had been stripped of their old concrete stain. I painted the countertops canary yellow using garage floor paint. All the difficult steps are finished-now, it’s time to decorate!

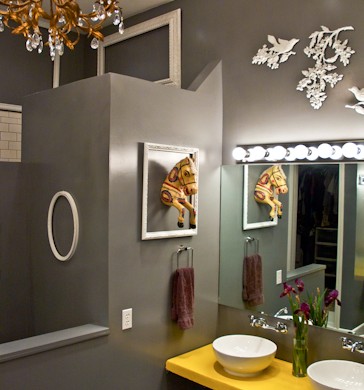
I found Harold (the horse) at an antique store in Jenks, Ok for $10. This was Harold’s first car ride. As you can see, Harold was very happy to come home with me.
Using Harold as inspiration, I began to amass several large and small frames-all of which I spray painted a high gloss white. I hung the empty glossy white frames on the gray bathroom walls, making them pop.

I found a chandelier at an antique shop for $15. For safety’s sake, I rewired it first. Armed with a can of gold spray paint, I repainted it and then antiqued it. I then watered down some leftover high-gloss black paint, and used a rag to rub the watered down black over the gold to antique it.
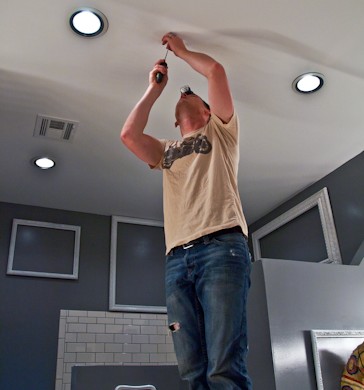
Next, I found a brother-in-law that came free with my marriage to my husband. He aided me in the electrical portion of my bathroom remodel. After determining the spot we wanted to hang the chandelier from, he went to work-cutting, wiring, and hanging.

I got to do the fun stuff associated with chandeliers-hanging sparkly crystals in the appropriate areas. I scavenged discarded chandeliers from other projects to come up with what you see here. Before hanging them, I first cleaned them with vinegar and water to really make them sparkle.

Since I was on my own when it came time to hang the frames, I needed a ladder, some dexterity and a lot of good balancing. And 911 ready on speed dial.

Harold witnessed me almost fall (more than once), but he just sat there and whinnied…jerk.

The three dimensional bird and branch motif that are hanging above the mirror, I snagged at our local flea market for a couple of bucks and spray painted them also high gloss white.

We’ll probably lay tile on the concrete floor at some point in the future, but for now, just the stain being gone is wonderful. If you hadn’t read in my earlier post, the “stain” decided not to stain the concrete and kept coming off in chunks and sticking to our little footsies.

Hope you enjoyed my new changes around my old house.
Harold (the horse) seems to be loving his new home, and so am I. I can hardly wait for Biceps to see it.

Read more

DiY Recycled and Cheap Rain Barrel

Taking on the responsibility of gardening this year brought about several financial questions that Biceps and I had to discuss.

One-How can I garden with my cost being minimal while also yielding the best produce?

Two-What kind of cute garden accoutrements can a girl justify buying in order to really enjoy the gardening experience, i.e. pea green garden clogs, flowery leather gloves, etc.?

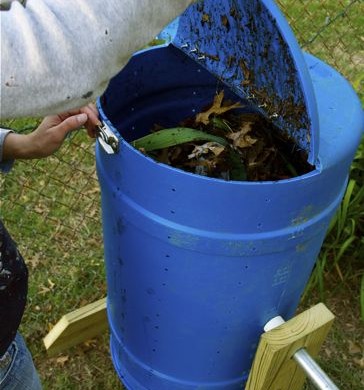
Our first experiment was making our very own and very cheap “DIY Spinning Composter”.

It took a couple of hours and a couple of bucks, and voila-rich, lovely compost. Mmmm….


Our next experiment was making our very own DiY Rain Barrel.
Did you know that with only ONE INCH of rain, a 1,000 sq. ft. roof will produce 600 gallons of water? What the heck! We decided to make two rain barrels for the back of our house. If I had my way, they’d be surrounding the house….
(Of course, there are many stores that sell rain barrels-but that seemed too easy. Plus the price tag of $80-$300+, made most of them outside of our “cheap” budget.)
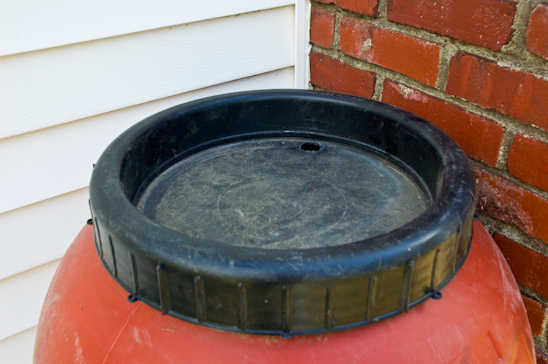
We started off by buying a recycled pepper barrel from Atwoods for $35.


It came complete with a spigot…


…a lid that screwed on and a bonus-it’s very own peppery smell.


And the rest of the necessary items needed we purchased for less than $10.
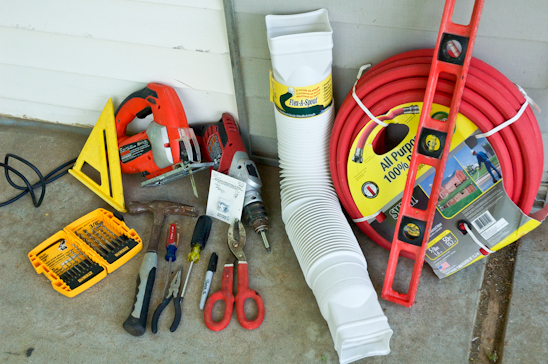
Here’s what you’ll need to make your very own rain barrel:
Drill and drill bits
Hammer
Metal Cutting Shears
Jig Saw with wood blade
Phillips & Flathead Screwdrivers
2′ or 4′ Level
Old window screen
Hose (Buy a new one, recycle an old one)
Flex-A-Spout (Lowe’s, Atwoods, Home Depot)
(4 ish) White sheet metal screws for gutters (Lowe’s, Atwoods, Home Depot)


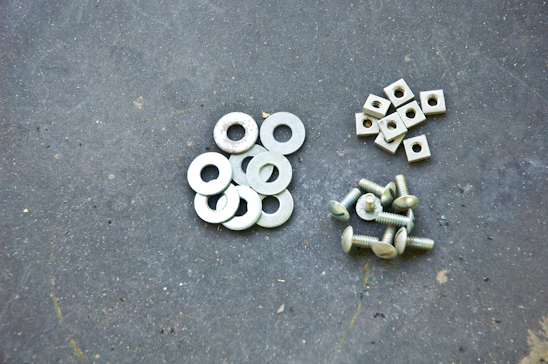
…1″ Bolts with washers and nuts (we have a coffee can full of these, but if you must purchase them, you might spend $1-2)


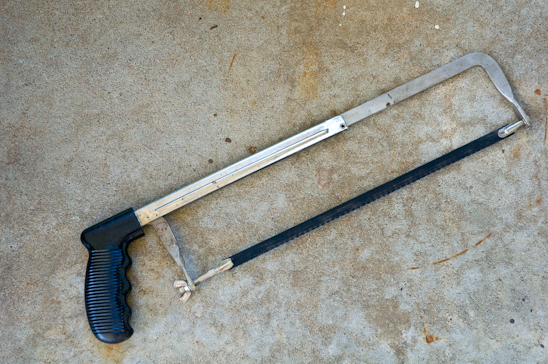
…and a Hand Saw with metal blade


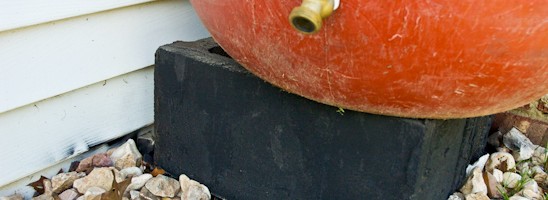
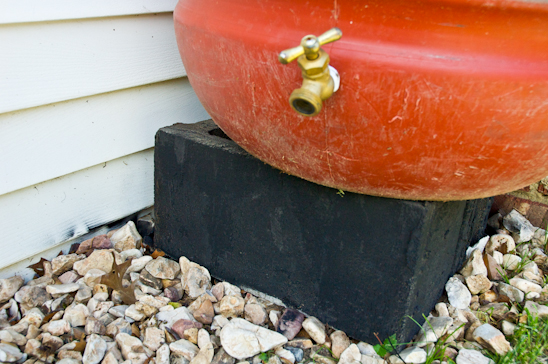
We raised our rain barrel up 6″ in order to have gravity take control of the water flow. If you are placing your rain barrel on a slope and watering below, you can skip this step. I would recommend raising it as high as you can safely-(NOTE:1 gallon of water weighs about 8.35 lbs, so a 55 gallon barrel full of water weighs approximately 460 lbs.).


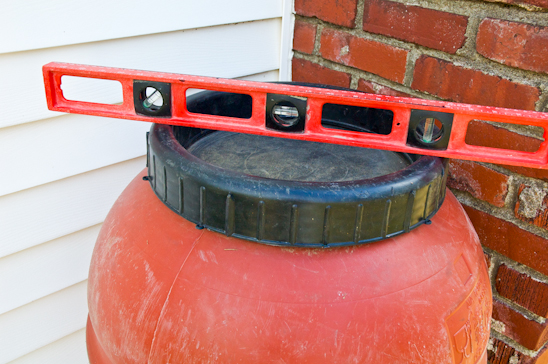
Level the barrel to avoid any topsy-turvy action.


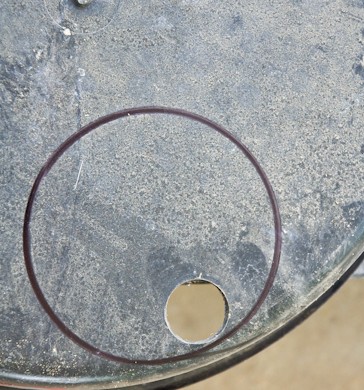
The first step was to trace where I would cut a hole (I used my coffee can) in the lid to allow the water to flow from the downspout and into the barrel.


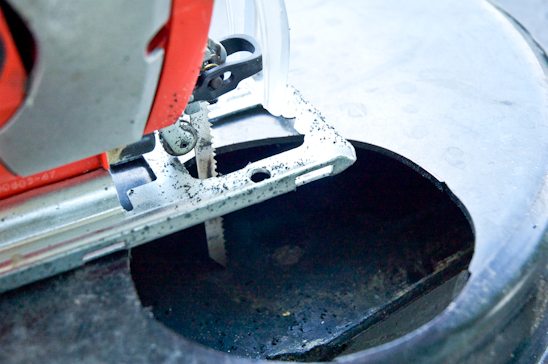
Using my jig saw, I cut out the traced circle.


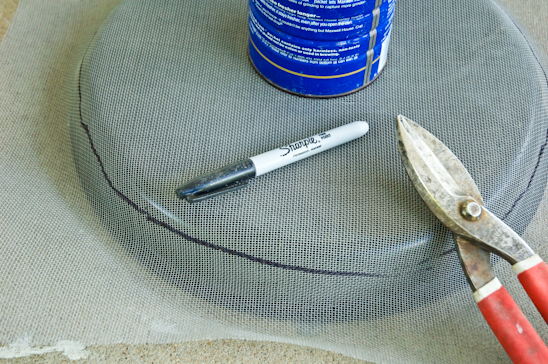
Next, I cut out a circle of screen with my metal cutting sheers to cover the entire top of the lid. The screen will catch tree limbs, nuts, and roof debris before it enters the barrel.


I pre-drilled five holes around the top of the lid. This is where the bolts will go to hold down the screen.


I laid the cut screen on the top of the lid and pierced through the screen with a hammer and a nail, into the pre-drilled holes. This will allow the bolts to go through easily.


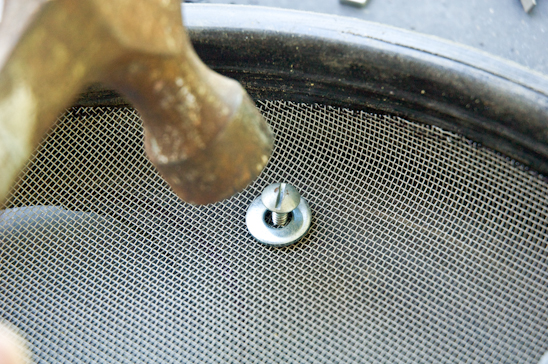
The bolts and washers came next. I pounded the bolts through the pierced and pre-drilled holes in the screen. On the underside of the lid, I tightened the bolts by adding nuts.


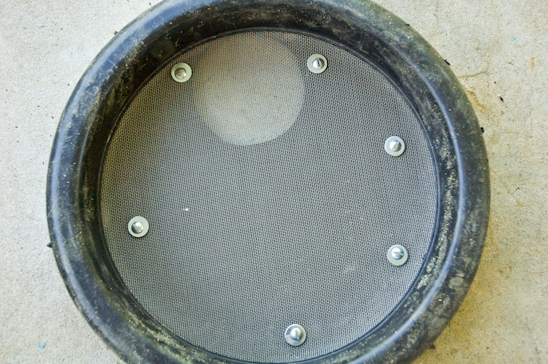
Here’s what my finished lid looked like.


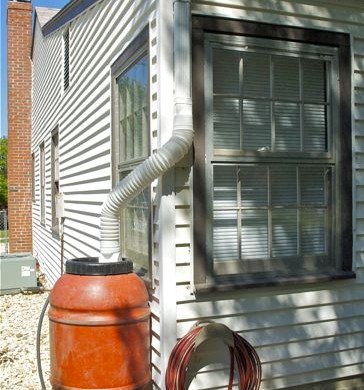
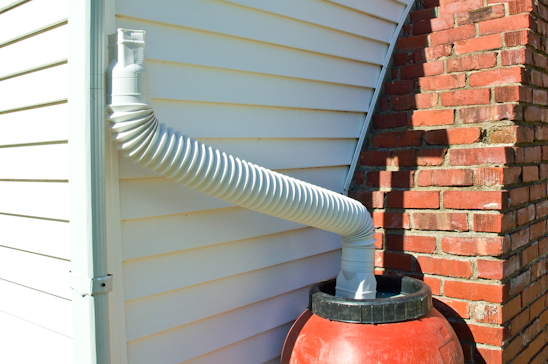
Next, I determined where my Flex-A-Spout would need to attach to my gutters while still reaching my barrel.


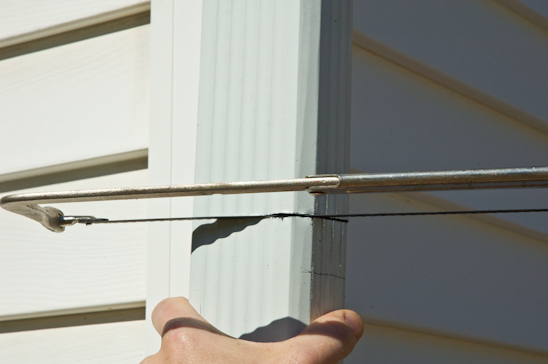
After marking on my existing downspout where the cut would be made, I got to work with the hand saw.
To be honest, Biceps is cutting so that I can take the picture.


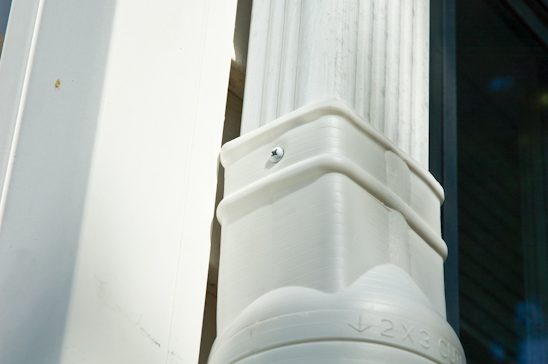
I pre-drilled through my Flex-A-Spout and into the existing downspout before adding the white sheet metal screws on all four sides, cinching the two spouts together in perfect harmony.


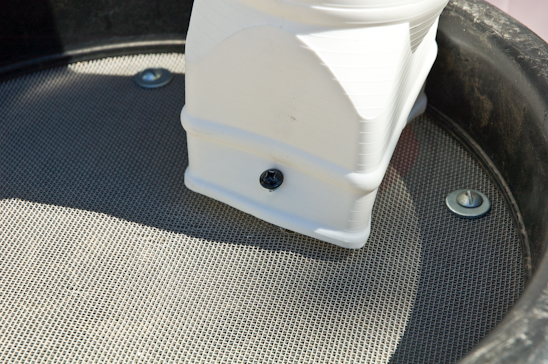
For good measure, I screwed the end of the downspout into the rain barrel lid with a 3″ exterior screw. I didn’t want it to be flopping around during a high wind and embarrassing itself.


I would recommend drilling out a large hole at the top of the barrel for overflow. I even attached a hose to this in order to feed the overflowing water into another barrel or trashcan during an intense rain.
Attach the hose to the spigot, and voila-you are done!

Now you don’t have to freak out each time you want to water your garden or fill up your bird bath. Or maybe you weren’t freaking out, but still would like to have a rain barrel.

Either way, it’s win-win.

Read more