Archive for category: Arts & Crap

Christmas No-No Decor

Dear Readers: Due to the naughtiness of these two,

Christmas is going to be a little weird this year. We just can’t trust them. They are naughty. They will break, bite, and eat anything new or shiny that comes into my home and I need your help. Let me explain:


This is what happens when such naughtiness abounds in my house. Things get broken. Words are said. Spray bottles are utilized.


In order for me to maintain sanity, this will not be seen on my fireplace this year.


Nor will this be gracing my dining room table bringing cheer to my Christmas dinners.


And this will definitely not be in my breakfast nook.


For some reason, Cowboy never bothered any of my Christmas decor.


However, these two are another story. Any suggestions on how to have kitten-proof decor? I need your help.

Read more

Vintage Lace Fall Wreath

With the change in weather comes a change in wreaths for most front doors. My front door needed-nay-demanded a fall wreath. Armed with some lace and an old tablecloth, I hot-glued my way to a Vintage Lace Fall Wreath.

I’ve been hanging onto a vintage lace curtain (given to me by my beautiful sister-in-law) and a vintage embroidered tablecloth full of holes and stains. They were perfect for the demands placed before me by my front door.


Here’s what you’ll need if you’d like to create your very own Vintage Lace Fall Wreath:
Lace Curtain or section of material
Embroidered tablecloth, or something similar
Foam Wreath (mine is silver because it’s recycled from my Whimsical Wreath I made last year)
Hot glue gun and glue sticks
Scissors

It’s that simple-let’s get started!


I cut my lace to be about 12″ wide, leaving it as long as the curtain already was-about 8′. Hot glue an end section of the lace to the backside of the foam wreath.
Now, grab your partner and wrap the lace ’round and ’round the foam wreath.


Here’s the wreath all wrapped up in the lace. On to the embellishments (from the vintage tablecloth/fabric) that make it cute!


Cut out your desired embellishment from your tablecloth or fabric.


Wrap the raw ends of the fabric underneath, hot glueing the embellishments around the wreath however you see fit. Leave enough of a section on the side of the wreath for a bow.


With your remaining lace, cut out a 12″ square of fabric.


Gather the raw ends of the lace together, making a bow. Hot glue the bow to the side of the wreath you earlier left blank.


Add another embellishment in the center of the bow, if you so desire. I did-so I did.


Here’s a little up close and personal of my finished product.


My pretty Vintage Lace Fall Wreath is finished and ready to serve its purpose on my front door!
Read more

Vintage Christmas Gifts & My Etsy Store

Dear Readers:
I hate to self-promote. It seems so trite and ridiculous.
So, if you want to go over to my Etsy site and buy something, by all means, do it. But I don’t want to guilt you into it and beg of you to do it.
That said, I just added a bunch of new stuff today and am excited to share it with you. I thought you might be on the prowl for a great Christmas gift, or an idea of the vintagey finds out there in the world.
If so, here are a couple of sneak peaks at what you might find.

Super cute vintage burnt orange nut bowl ready for your next party-$25.00.

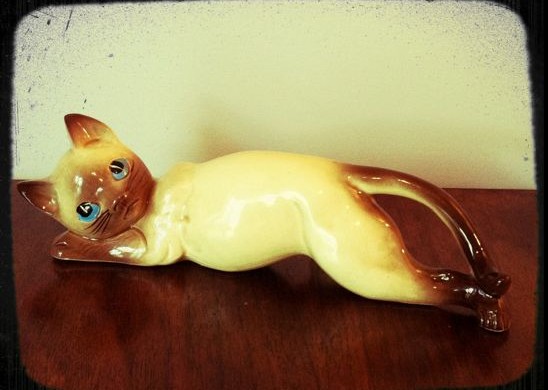
My shop wouldn’t be complete without a vintage cat or two-$15.

Vintage cow bottle opener with tongue and major sass-$22.50.

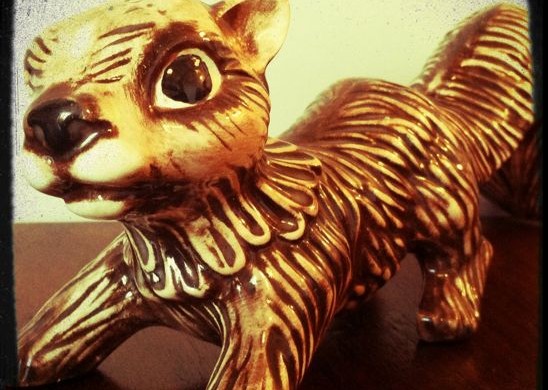
Cute vintage squirrel that won’t bite through your electrical cords like a real squirrel would-$25.

That’s just a couple of items that I have for sale in my Etsy store. It’s quite often a rotating amount of inventory, so if you don’t like what you see now-maybe I’ll hit the mark with you next time.
-Love, Rebekah

Read more

DIY Spinning Composter-Video Only

I wrote a post a few weeks ago outlining how to make a DIY Spinning Composter. I had such a huge response from this particular project, that Biceps and I decided it needed a video to go along with it.

And here’s a little excerpt from that tutorial on my DIY Spinning Composter:

This year was my first year for a full-fledged garden. I consider it full-fledged because it produced enough to not only feed Biceps and I, but it also allowed me to dehydrate, freeze and give-away the excess.To be honest, I was just happy that anything sprouted from the earth.

I give props to the composted kitchen and yard waste that we added to the soil-this garden seemed to outperform many of my neighbors’ gardens.

And just in case you don’t want to go spend your hard earned dollars buying a fancy composter in excess of $100 bucks or more, I thought I would show you how to make your own using some recycled and some store bought materials for about $30 in a matter of hours.

If you’d like to see step by step instructions, along with photographs, here’s the link to my DIY Spinning Composter.


Read more