Archive for category: Arts & Crap

Christmas Clean-Up

It’s time for it to come down. The tree, the holly, the mistletoe, the lights. All of it.
Granted, I have been listening to and enjoying Christmas music since before Thanksgiving. But, it’s time for all of it to be packed up into boxes and stored away in the attic.

 

I have had my fill of keeping the cats away from the tree, closing them off from certain parts of the house, or cringing when I hear an ornament hit the floor.
So, I start off by corralling all of my Christmas miscellany onto the dining room table. There are jars, platters and dishes full of bulbs, balls, and tinsel.



After pouring a glass of wine, I turn on Billie Holiday and assess my opponents.
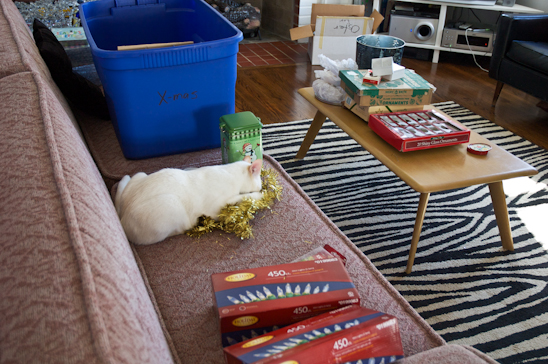
 

I can never remember how I got all of that into there.
Max and Bianca entertain themselves as they jump in and out of the empty boxes and chase the run-away tinsel.

 

Certain guilty parties incriminate themselves over and over…

 

…and over.
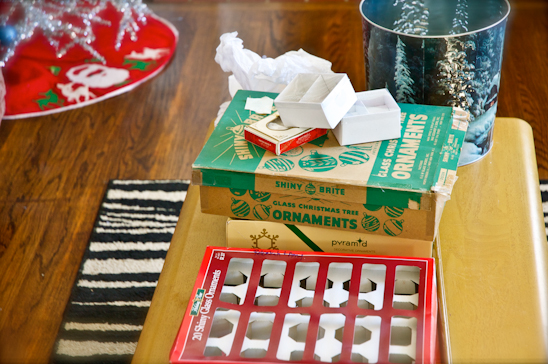
 

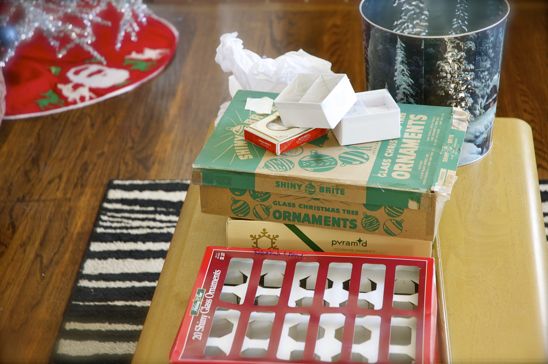
Our Christmas ornaments span the years-beginning with my first out-of-college roommate and I co-investing in maroon and gold ornaments purchased from Wal-mart. We spent $5 between us to decorate our tree. That was high-living for us back then.
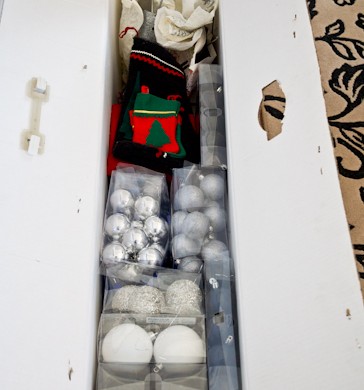
 

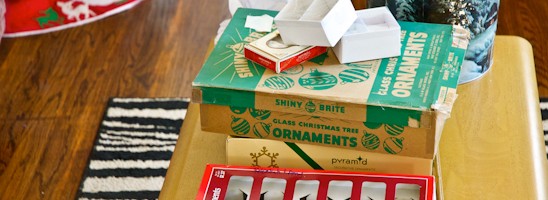
Now, black and white Ikea balls, along with sparkling blue and silver ornaments have been added to the Christmas decor mix. Throw in a dash of Grandma’s vintage ornaments, vintage deer from the flea market and our yearly ornament purchase, and I am running out of uses for all of them.
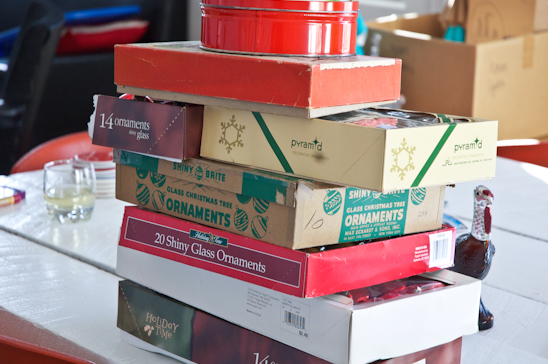
 

Soon, everything is packed away, taped up and ready for next year’s frivolities. It almost feels as if Christmas had never happened.
Except for the tinsel I keep finding squirreled away in nooks and crannies due in part to my weird cats Bianca and Max.
I don’t think they can let Christmas go either. I suppose we are good for each other.

Read more

Easy Lace Cape-Shirt

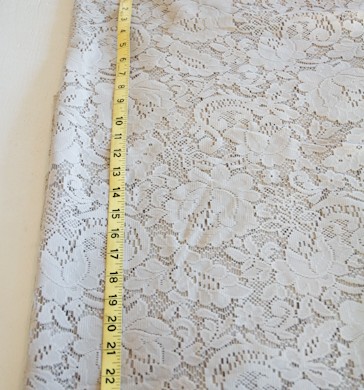
My lovely sis-in-law gave to me a set of lace curtains that she could no longer use. What’s a girl to do but make a shirt from them? (This idea works fine with a lace tablecloth, too.)


Within an hour or so, I had a sweet new shirt that goes with just about anything. This may seem like a lot of steps, but it’s just that I’m a little overboard on details, sometimes.


Here’s what you’ll need to make your very own Lace Cape-Shirt:

Fabric Lace-at least 40″ in width, 25″ in length
Thread to match
Scissors
Tape Measure
Straight Pins
Sewing Machine
Heat ‘n Bond Tape
Iron
Lace Edging


First, fold the material in half from top to bottom.
Then fold the material in half from the left side to the right side.
To make the circle that will be your cape, begin by measuring 20″ from the corner fold across the top fold. Place a straight pin at the 20″ mark.


Measure 24 1/2″ from the corner fold down the side fold. Place a straight pin at the 24 1/2″ mark.


At a 45 degree angle from the corner fold, measure out 23″. Place a straight pin at the 23″ mark.
Alternately on either side of the 45 degree angle, measure 20 1/2″ at a 22 1/2 degree angle, and 24″ at a 67 1/2 degree angle.


Following your pin marks, cut out the quarter circle shape.


At the corner fold, measure down 2″ and across 2″. Cut out the tiny quarter circle shape. This will be the start of the neck hole.


Unfold the quarter circle to the left, leaving the top folded. This should now be the bottom half of a circle.
Measure and pin 6 1/2″ across the top fold of the lace, centered over the 2″ mark already cut for the neck hole. Increase the neck hole by cutting along these guides making the hole now 6 1/2″ wide.


Measure 2″ down from the already snipped portion of the fabric on only ONE side of the shirt. To increase the neck hole on only the FRONT side of the shirt, deepen the plunge the additional 2″.
Leave the back side of the shirt as is.


With the front of the shirt folded to once again create the quarter circle, measure down from center 4″.


Cut the 4″ slit on ONLY the front side of the shirt.


I used a hem stitch to finish off all of the edges of my lace. You can do whatever you want, but this seemed to work the best for me. So there.


Sew all of the edges on the shirt, including the neck hole.


Once all of your edges are sewn, fold the shirt once more with the neck hole in the front, a fold across the top, creating the bottom of a circle.
On each side, measure 10″ in across the top fold and pin (yellow pin in picture). Then measure from that pin 13″ down and pin (white pin). From that pin, measure back towards the edge 7 1/2″ (pink pin).
(This shouldn’t change the location of the 13″ pin, it’s just a double check that you measured correctly).
Sew two 1/4″ “stays” at the 13″ mark with a quick zig-zag stitch through both pieces of material. This will keep the cape in the right place on the body.


I decided to trim out the neck hole with lace edging. I followed the package directions on the Heat ‘n Bond to apply the edging to the shirt.


I liked using a darker color to offset the gray lace. But, the same color of lace would be just as pretty to make a plainer shirt.


Tah-dah! That’s all there is to it. Slip the Lace Cape-Shirt on over a bold colored cami and call it a day. Below is the back of the shirt.


Simple. Cute. Cheap. Fun.
That’s the way I like my crafts (or crap, whatever…).

Read more

All by myself, don’t wanna be….

Since Thanksgiving, our house has been full of company in one way or another. It started off small, with my mother-in-law coming back with us from our trip up north. I got quite used to seeing her each and every day as we ate lunch together or watched movies while Bicep’s was hard at work.

And then, right before Christmas-my mother-in-law was joined by the remainder of the family.

It was glorious, wonderful, family bliss (after I got over the stress of planning everything-let’s be real).


Dinners were loud, desserts were consumed without regard and the dishwasher ran around the clock.


Bicep’s family transitioned to the their respective homes shortly after Christmas-and my family transitioned into our home days later.
We visited a winery, ate more desserts, played the DIY Family Board Game that Bicep’s and I created, and drank lots of coffee.


We sat around for hours with the fireplace roaring, chatting into the wee hours of the night. Maxwell became so used to Dakota-my parent’s pooch-that snuggling became commonplace between the two.
The house was full of life, noise, and people.


And as my parent’s pulled out of the driveway, we waved back and forth until we couldn’t see one another any longer, with tears falling down our cheeks.
While I take down the Christmas ornaments, the tree, the lights, and the decor, I am surrounded-for the first time in a long time-by silence. I box it all up, cart it up to the attic-the whole while-silent.
Thick, lonely silence.
Some of you may dream of such silence. But silence day after day isn’t so fun anymore.

I sweep, mop, scrub toilets, change out the laundry-more silence.
Sure-I can put on music, and I did. But, there’s not a body here to chat with.
And, it’s weird.

I’m not sure what to do other than make light of the situation and sing, “All by myself, don’t wanna be, all by myself…” just like Bridget Jones did.
Which is even weirder when you are belting that tune out into your broom handle and the mailman catches you as he drops off your daily dose of junk mail.
Sorry about that, Mr. Mailman. Just write it off as a weird, lonely housewife.
I’m sure you’ve seen it all before…

Read more

Happy New Year! (Favorite Posts and Stuff.)

Dear Readers-
It’s a brand new year. 2011 is gone. 2012 is here. To celebrate moving forward, I thought I would peer back into my archives and share with maybe the newbies what was most popular here at Potholes and Pantyhose.
Here are a few favorites from 2011-those with the most comments, or the most hits.
 

Remodeling my Master Bathroom was a pleasure and a success.
Biceps was out of town and I got to work recreating our boring bathroom. I loved the end result-as did Biceps. I think he mostly loved not having to do it himself….


Secondly topping the list was my DIY Spinning Composter:
This horrible picture of me has been repinned on Pinterest over 2K times. I wish I would have had the foresight to change out of my work clothes. I suppose it’s good for you to see me grubby and gross from time to time…


My Broken Mirror Art still gets a lot of action.
Biceps and I created this mirror from sections we no longer needed after our remodel. It still sits above our fireplace and still gets the oohs and aahs from newcomers.


My tutorial on Canning Jalapeno Pepper Jelly received more responses than I had anticipated.
The recipe is very simple-and if you don’t burn yourself on the hot steam from the canner-it’s also pretty painless.


I have no idea why, but this silly little post seemed to spark some conversation. My frizzy hair needed help, and I asked you for your input.
You have never failed, me dear readers and gave me tons of insight into the world of hair care.


My Pretty Paper Christmas trees not only got a lot of ooh’s and aah’s around the internet world, they received praise from family members and friends alike.
Turquoise and red have become a favorite of mine. Free and cheap are also favorites.


For fear of boring you, I’m ending with this post. My DIY Recycled and Cheap Rain Barrel.
This is a simple solution to gathering your roof water. The tutorial is rather simple, the process takes a few hours and you can go to bed at night knowing your water bill won’t be astronomical during the dry season.
 
I hope you’ve enjoyed a walk with me down memory lane. I know that I have enjoyed my time with you!
Have a great New Year-be safe, drink lots of water and don’t eat too much cake.
Happy New Year!

Linking up to: http://diyshowoff.com/2012/01/diy-2011-recap-party.html

Read more