Archive for category: Arts & Crap

NEW-“Linky Followers”-Google is going Buh-Bye!

Hellow Google Friends-I don’t want to loose you.

As you’ve probably heard, the popular Google Friend Connect (“GFC”) is going away March 1st for non-Google blog platforms like WordPress, and it will be eventually phased out completely to be replaced by Google+. Google is phasing the “Friends” out and is not providing a service to move followers over.

Bloggers know a good “follower” tool is really needed. Those of us who use Linky Tools and know the owner/creator (Brent Riggs), realized he would be perfect for developing some kind of really easy to use “follower” system.

Introducing LINKY FOLLOWERS (www.linkyfollowers.com)

Brent has created a FREE service and he launched it on 2/4/12. You’re the first to be invited to try it out.

Keep in mind this is a new service–there will no doubt be some bugs that the test group didn’t catch. Just contact Brent (brent@brentriggs.com). He is great about fixing things fast. Don’t let a bug or an “oops” hurt your first impression. You’re being invited to be some of the first users of this great new tool, and your feedback will help him iron out any problems very quickly.

I am asking you to please click the “Linky Follow Tool“. It’s easy, quick and did I mention, free? You’ll love the tool. It’s a cool way to organize and follow the blogs you love. As soon as you have an account, please then “Follow Me”.

Please sign up to be a linky follower and then “Follow Me”! This is found on the right side bar of each of my pages right below Google Friend Connect.

Please, please, I don’t want to loose you as a follower. I need you in my life. Love-Rebekah

Read more

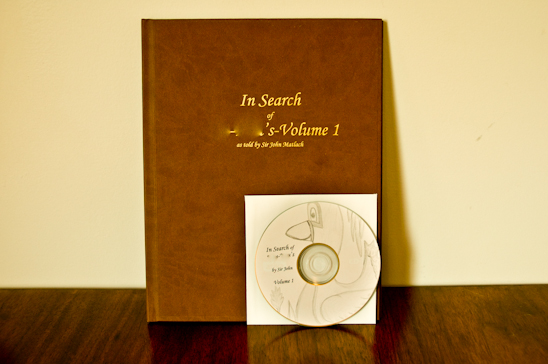
DIY Children’s Book with Audio

I am always on the creative hunt for gift ideas that will be meaningful and most importantly-useful. The idea to make a book based on the stories my father told me as a little girl-came upon me as if in a mystical dream.

Not really, I bounced the idea off of Biceps, who added the notion of creating a CD to be listened to, along with the book. And thus, a great gift idea was birthed.


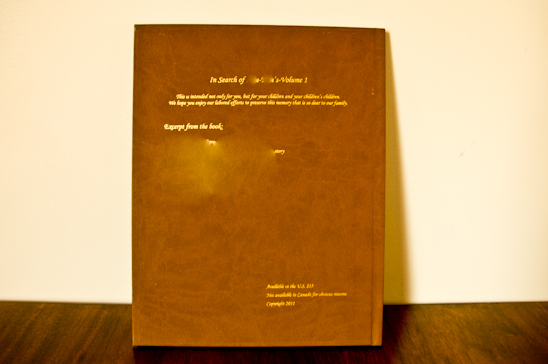
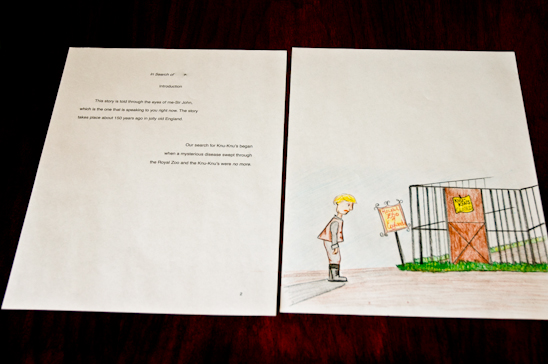
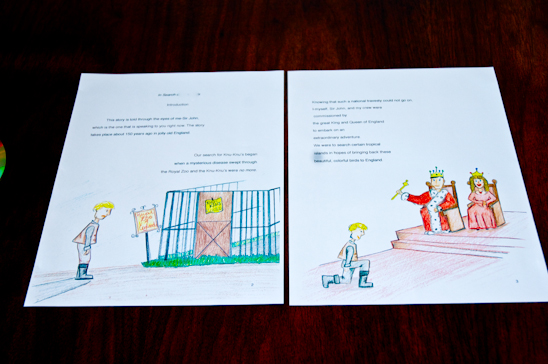
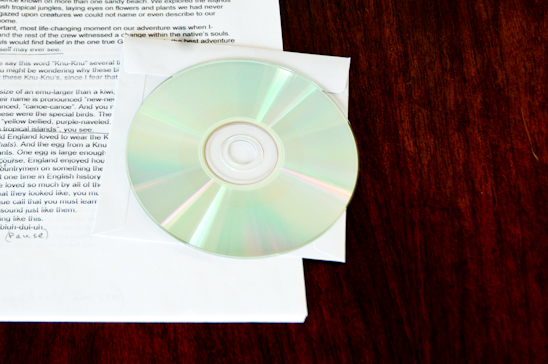
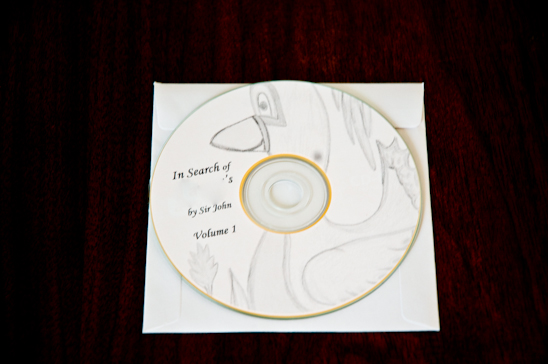
I have blurred the name of the story and much of the text to keep our story private.
It was such a simple idea, I can’t believe we hadn’t thought of it sooner. With the help of my father, we created this book to give to each sibling in my family.

There have even been rumors that a few cousins and several childhood girlfriends privy to my father’s stories wanted a piece of the action.


To make this book for your children is not just a form of entertainment–it preserves valuable memories that can be carried on into the next generation.


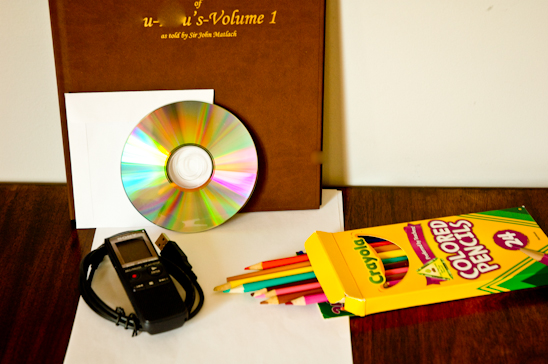
Here’s what you’ll need to make your own DIY Children’s Book with Audio:

A story-that’s where you come in. It doesn’t have to be fancy, just something from you
Colored Pencils
Paper
Blank CD’s, CD Envelopes & CD Lables (if desired)
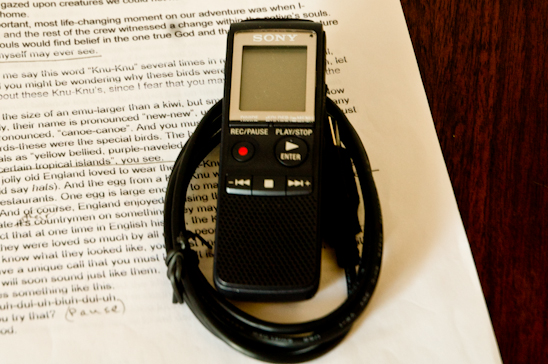
A recording device-you can even use your Iphone!
A Book Bindery (I found mine locally that bound the books for $15 each)


Start off by recording the story. Don’t worry about rambling, backtracking or not telling it correctly. Just talk as if you are talking to your kids.

After you have told the story, type out what you’ve said, making necessary edits and additions. Once you are satisfied with your finished story, print it off and read it aloud, ensuring everything flows smoothly.

With your finalized story, choose within the text where you would like your pages to end and mark them on your typed paper.


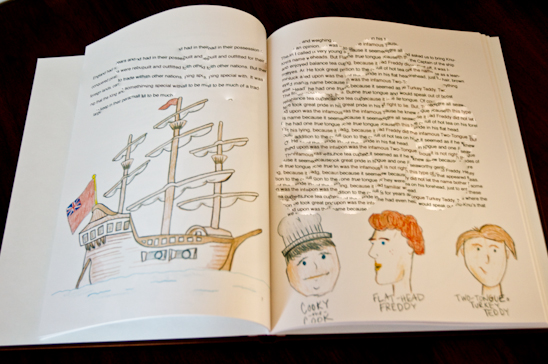
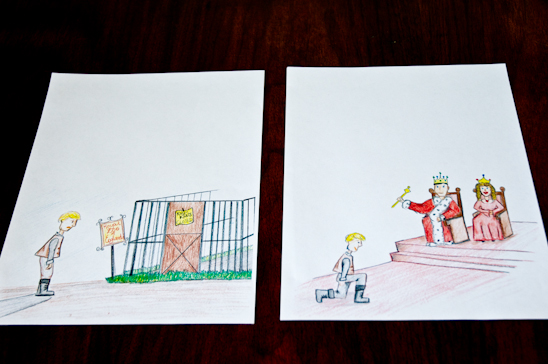
If you are the artist, start drawing the art for each page-or every other page-or the beginning of a chapter-whatever you have the time for.
I love to draw, so each page of the book got a little something.


Now that your story is perfected, begin typing out your book-page by page. Remember, this is a children’s story, so it doesn’t have to be a lot of words per page.

Ensure that your text aligns with what you’ve drawn and make necessary adjustments.


Make colored copies of all the artwork on thick, glossy paper at a copy store. Make enough colored copies of each page for the books you will be making, plus a few additional copies in case there’s a mess up.

(Keep your originals and don’t print on them).

Print off the text of the story that has been formatted onto your colored copies.


Once the final product of the text and the artwork are combined, re-read the story exactly as it appears in the book on your recording device. I recommend using a quiet closet or basement for this. My father re-recorded the story in our van while it was parked in their garage. It was pretty cute.

Next, burn a CD of your recording. (We also added sound affects, page turn noises, and an intro/outro song because Bicep’s is just that awesome).


Print off a label for your CD if desired.


Have the book bound at a professional book bindery (mine cost $15 per book), or you can bind your own if you feel sporty. To do this, go here.
I considered binding my own, but I made so many and it was crazy Christmas season, I had to go with a pro.


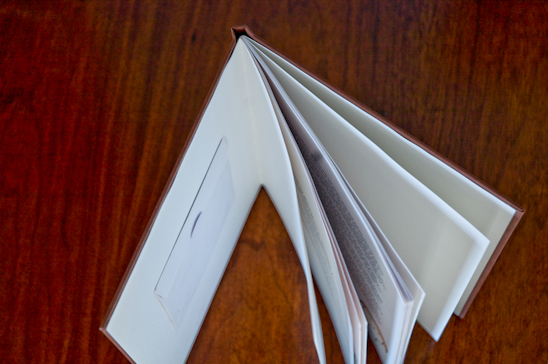
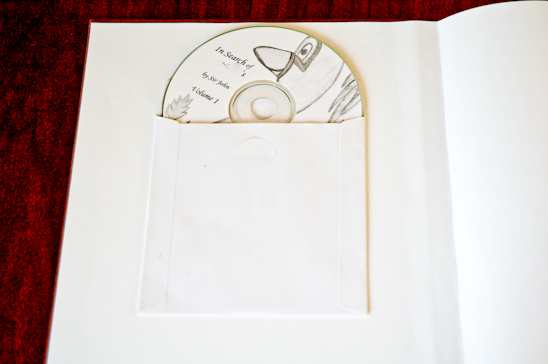
After the book is bound, attach a CD sleeve (or any form of enclosure you have on hand) using double sided tape to the inside cover of the book.


You now have your very own story, read by you, drawn by you and given by you. I can’t think of a more meaningful gift to give to your kids or your grandkids.

Our family was elated to receive the books and if you will notice, I titled it “Volume 1”. Meaning, I have every intention of continuing to add to the story every couple of years or so. It was such a fun project for me to work on with my father and husband, I am looking forward to doing it again.

Do you have a story that’s been told to you or that you tell your children? I encourage you to preserve that memory and make one of these suckers. You won’t be disappointed.

Read more

Signs, Signs, everywhere are Signs-Palm Springs, CA

When you buy a new car, do you start to notice all the ones that look like yours? Of if you happen to break up with someone, do you suddenly start noticing everyone else that’s holding hands, smooching and in love (and want to punch them)?
When I’m on tour, I get on these kicks of photographing a cool signs which makes me then see more and more signs. But, I’m glad I do-they inspire me. The colors chosen are typically eye-catching. After all, the signs are advertising something and are trying to grab your attention. The color combos, fonts and text placement influence my creative decisions, whether I like it or not.
 

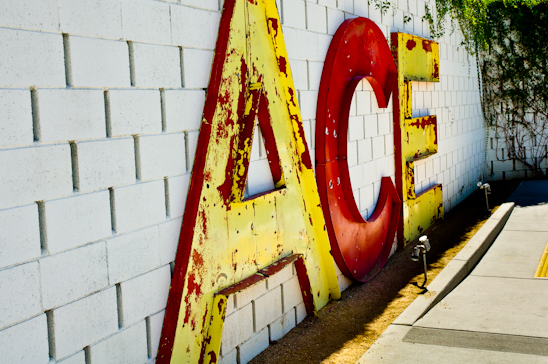
The signage at the Ace Hotel and Swim Club in Palm Springs was weathered but bright. The paint was chipping off the five foot letters in a haphazard-but-we-meant-to sort of way.

These colors together inspired me to have Harold in my bathroom. Yes, yellow and bits of red can coexist without looking campy.


Our room number. The wood against the adobe made the sign feel warm, aged and homey. This sign inspired me to make a Cedar Christmas Garland from cross sections of a tree.


The color combo on this hotel inspired me to do make Pretty Paper Christmas Trees in a bold red and robin’s egg blue combo for Christmas. Granted this sign is more tangerine and aqua-but it was the beginning of a mind shift for this gal.


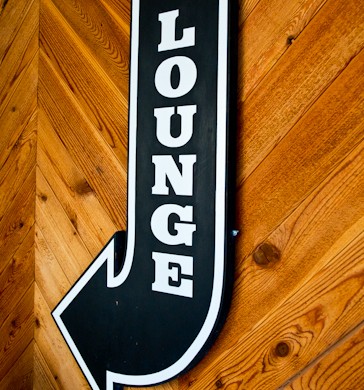
I loved the sleek black on the rough wood. It reminded me of our leather headboard behind our master bed with barn wood floors.


The vintage feeling of this sign always inspires me to use cutesy stars and fonts whenever I can. Cutesy is my middle name, you know:
Rebekah Cutesy Greiman.

I am inspired by signs, what inspires you?

Read more

Pickled Jalapeno Peppers

After making enough Jalapeno Pepper Jelly to feed a small army, I still had more jalapenos than I could handle. I then dehydrated a large freezer bag full and then blanched another freezer bag full.
But, I still had at least six more pounds of jalapeno’s to deal with. Since you can pickle cucumbers, okra and just about anything else, I decided I would try it on my jalapenos. So stinkin’ glad that I did.

(This tutorial may look like a lot of steps, but I am also showing the canning process that is applicable to any type of water bath canning-just in case you aren’t familiar.)
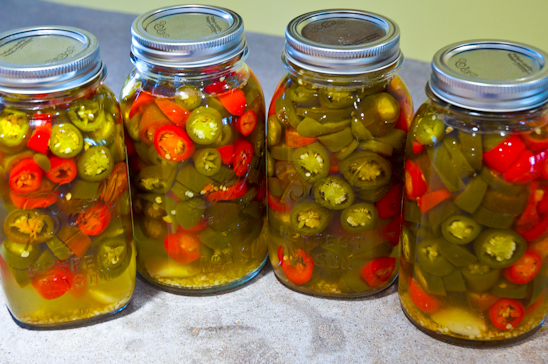
 

Pickled Jalapeno Peppers are tasty, a little hot and still crunchy. Throw a few in your chili, on top of nachos, hot dogs or even a pizza to add a little pizzaz. (If you don’t want them to be hot, simply remove the seeds and membranes).
The best part? They look fancy inside a mason jar and make inexpensive gifts!


Here’s what you’ll need to make your very own Pickled Jalapeno Peppers (this recipe makes the 4 quarts shown):

3 C Water
9 C Distilled White Vinegar
2 TBS Kosher Salt
1 1/2 tsp ground cumin
8 cloves of Garlic, peeled and left whole
6 Lbs Jalapeno Peppers-green & red (that’s about 180 small peppers or 60 large)

4 Quart Jars with lids and rings
Canner & canning utensils
Gloves


First things first, wash your jars, rings and lids in soapy water.


I am super particular about bacteria, so after I wash my jars, rings and lids-I put them in a large pot of boiling water, turn down the heat and let them simmer while I am making the jars’ contents.
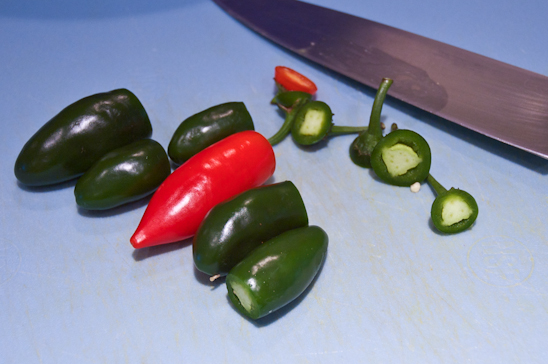
 

Slap on your rubber gloves and de-stem the jalapenos. At this point, if you want less hot jalapeno’s, cut out the membrane and the seeds.


Slice the jalapeno’s to be about 1/4-1/2″ thick.
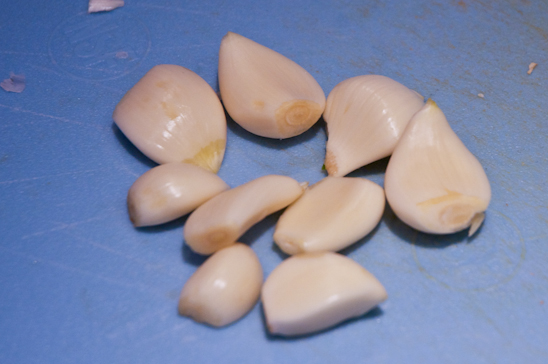
 

Peel the garlic gloves and apply slight pressure to each clove with your thumb. Don’t smash them to smithereenes-this is just to release a bit of flavor.


Now for the brine: Pour the 3 cups of water into a large stainless steel pot. Place the pot on a large burner on the stove.
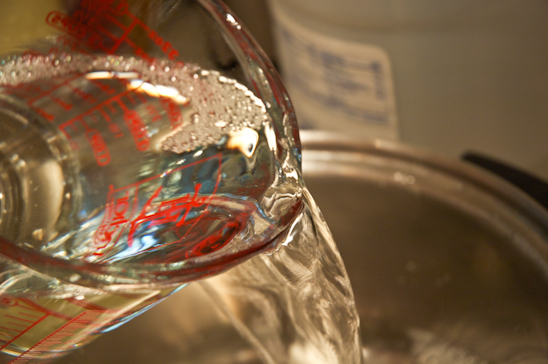
 

Add the 9 cups of vinegar to the pot.
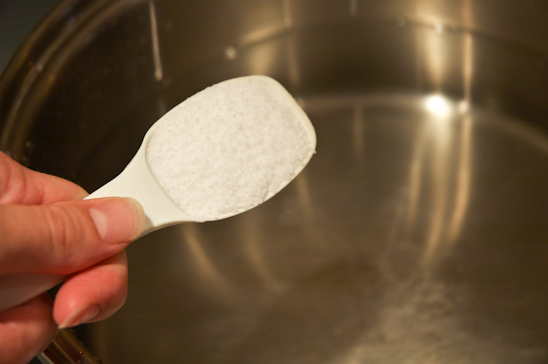
 

Add the 2 TBS of Kosher salt.
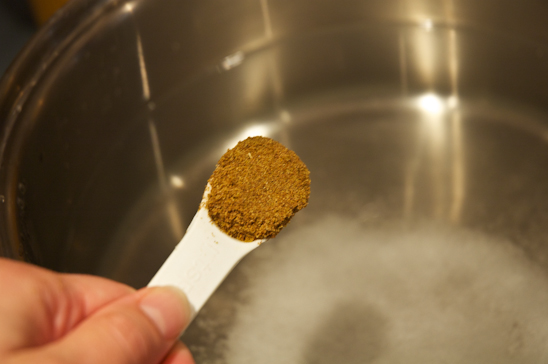
 

Finally, add the 1 1/2 tsp of ground Cumin.

Whisk all of these ingredients together and bring to a boil. Stir until the Kosher salt dissolves completely.
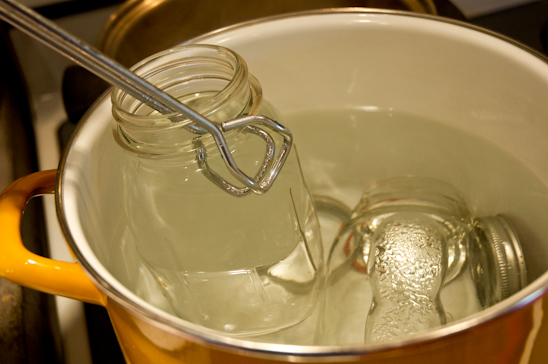
 

While you are waiting on the brine to boil, remove the hot jars, lids and rings with tongs.
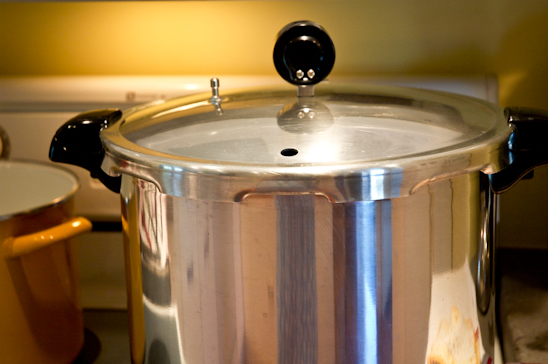
 

Also, while you are waiting on the brine to boil, fill the canner up with water, about 3/4 of the way up. Turn the burner on high, set the canner lid loosely on top-don’t screw the lid on as pictured here!.


Put a clove of garlic (or two if the clove is small) in the bottom of the sterilized jars.
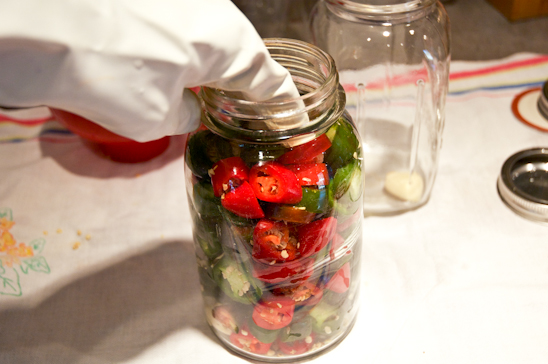
 

While wearing gloves, pack each jar completely full of jalapeno pepper slices.
 

Place the canning funnel over each jar. Fill the jar full of the hot brine, leaving a 1/4″ at the top of the jar.
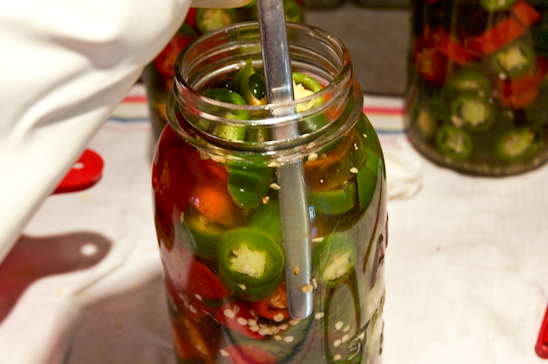
 

Use a knife to remove any air bubbles.


Remove any excess liquid from the mouth of the jar with a clean cloth.


Place the lids on the jars and hand tighten the rings.
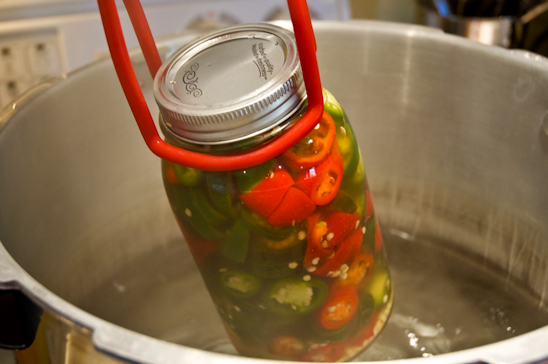
 

Using tongs, place the jars inside of your water bath canner.


Place the canner lid and process the jars for 10 to 15 minutes.


Remove the jars with the tongs, and set on clean dish towels on the counter. As the jars cool, you can hear a ‘ping’ which tells you the jars were processed correctly.


Store for 3+ weeks in a dark area. This allows all the flavors to get to know each other, mingle around, have some alone time and in turn-makes your jalapenos super yummy.

Keep opened jars for 6 months in the fridge-use only clean utensils to remove peppers. No fingers, please.
Keep unopened jars for a year.

This means you can make Pickled Jalapeno Peppers this summer after the jalapeno harvest and give to that special someone as Christmas gifts months later.

Easy, peasy, cheap and pleasy.

Read more