Archive for category: House Decor

DIY Nursery Mobile-Cloudy with a Chance of Rain

The baby belly is growing, the pants are shrinking, and the DIY in me has come out with full force. I wanted a colorful and whimsical mobile for above the crib for Baby G. However, I didn’t want to pay the price from some fancy store that also sells $54 burp rags.


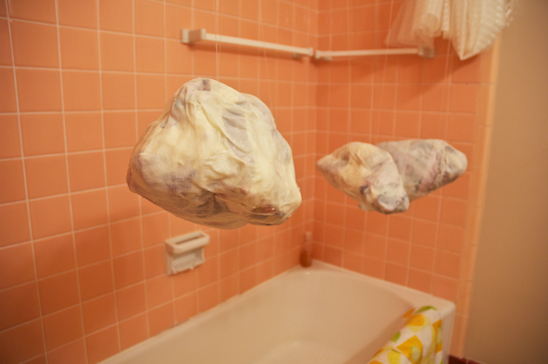
Cloud Mobile-Far Away
So, after gathering my trusty hot glue gun, a roll of paper towels, fishing string and colorful felt…I got to work. I spent about $4 to make this mobile. Granted, I had a few of these things on hand. If you have to start from scratch-I estimate about $10-15 to complete this project. Not bad for a pregnant woman. Not bad at all.


Cloud Mobile-Ingredients
Here’s all that you’ll need to make your very own Cloudy with a Chance of Rain Mobile:
Newspaper
Masking Tape
Roll of Paper Towels
Flour
Thick Fishing Line and quilting needle (or a very tough needle)
Pillow Stuffing
Hot glue gun and glue sticks
Colorful felt and thread
Ric Rac, Ribbon, or something similar
White swag hooks (from Lowe’s or Home Depot, etc)
 

Cloud Mobile-Newspaper Balls
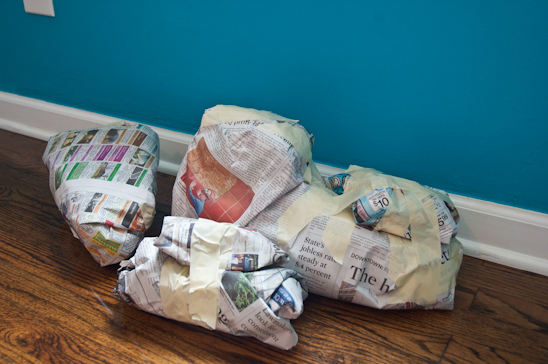
First, make “clouds” from balled up newspaper. Make them the appropriate size for the space. I chose to make a large, medium and small cloud. Use masking tape to secure the newspaper together.


Cloud Mobile-Paper Mache

Next, use a one part flour to 5 parts water mixture. Heat the water up on the stove and slowly whisk in the flour until it’s the consistency of a thick soup. Let cool.

Dip paper towels that have been cut in half into the soupy mixture and apply to the newspaper clouds, one at a time. Cover the entire cloud with a thin layer of paper towels.


Cloud Mobile-Fishing line

While the newspaper and paper towels are still wet, use the quilting needle to pass a long piece (about 4′ total) of fishing line through the top of your cloud, about 3-4″ down from the top. Allow an equal amount of fishing line on either side (about 2′). If the cloud is larger, I recommend having two places that you pass fishing line through. This will be what the mobile hangs from.


Cloud Mobile-Drying

Tie the (2) 2′ pieces of fishing line together and use a coat hanger to suspend the clouds. Let dry overnight.


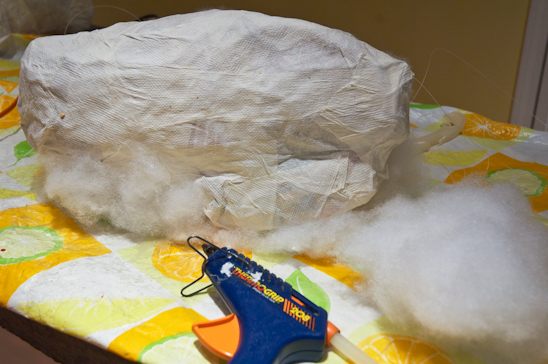
Cloud Mobile-Hot Glue Stuffing

Once the cloud is dry, cover the entirety of it with the pillow stuffing by using a hot glue gun. Be careful not to burn your fingers as I did, over and over and over….


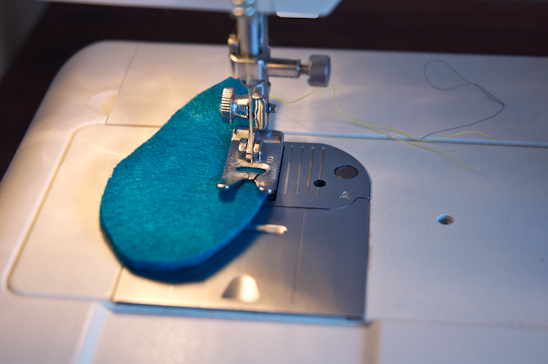
Cloud Mobile-Sewing Raindrop

Next, cut out of the felt: raindrops, umbrellas, lightening bolts, cats and dogs or whatever else your little creative mind comes up with to hang from the bottom of the cloud. I cut out two pieces per item to give it a little more strength and dimension.


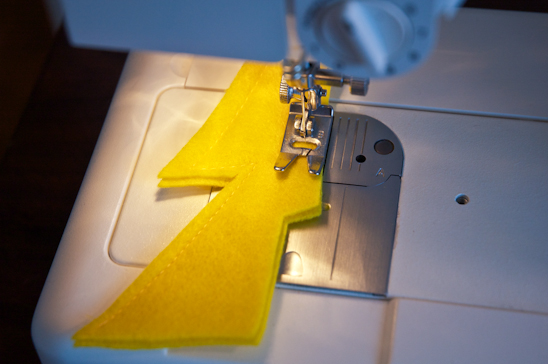
Cloud Mobile-Sewing Lightening Bolt

Sew the two pieces together around the outside of the object.


Cloud Mobile-Sewn Pieces
After you have sewn all the pieces, arrange them in the order you’d like to see them “drop” from the cloud.


Cloud Mobile-Ric Rac
Attach the pieces to one another using a hot glue gun. I chose ric rac, but you can use ribbon or anything else that you fancy.


Cloud Mobile-Completed Bottom Side
Part the stuffing at the bottom of the cloud so that you can attach the ric rac with a hot glue gun. I used a wooden skewer to push the ric rac into the bead of hot glue to avoid burning my fingers-again.


Cloud Mobile-Close Up
Hang each cloud from the ceiling on a swag hook, using the fishing line you sewed through the top to secure it to the hook.


Cloud Mobile-Far Away

Stand back and enjoy your handiwork. I know that Baby G. is going to love it!

**See what else I’ve made for the nursery: DIY Plaster Animal Heads


Linking up to these Parties:

My Repurposed Life

The Shabby Nest

Just Wingin’ It 

French Country Cottage

My Romantic Home

Bacon Time


Read more

DIY Plaster Animal Heads

I am in the throes of decorating our nursery. I know that our baby won’t care what the room looks like. Heck-as a baby-I removed the paint my father laboriously put on my nursery walls with a wet wipe.

However, since I will be spending an inordinate amount of time in this room, I wanted some pretties to look at. And, of course, I didn’t want to spend very much doing so-thus my DIY Plaster Animal Heads. If you have the patience of a cucumber and a few hours each day, you too can have very inexpensive animal heads custom made to your liking!


Plaster Heads Begin
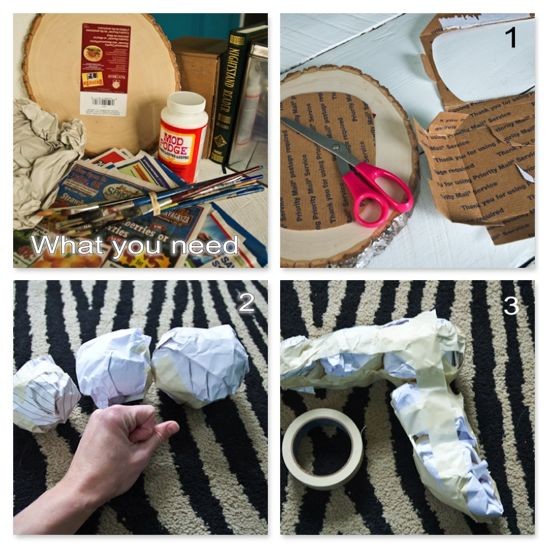
Here’s all that you’ll need to make your DIY Plaster Animal Heads:
Newspaper, Packing Paper
Paper Towels
Masking Tape
Cardboard
Mod Podge
Tissue Paper, Book Pages
Paintbrushes, Paint
Glitter, other accessories to decorate if desired
Plaque (I bought mine from a hobby store)
Brad Nails, Hammer
Flour, Water

Step 1:
Cut out a piece of cardboard that will be the backer to the animal head. Make sure it’s smaller than the plaque that’s been chosen.
Step 2:
Make balls out of newspaper or packing paper that will be the animal head and neck. Tape the balls together individually.
Step 3:
Tape the entire head and neck together.


Plaster Step 2
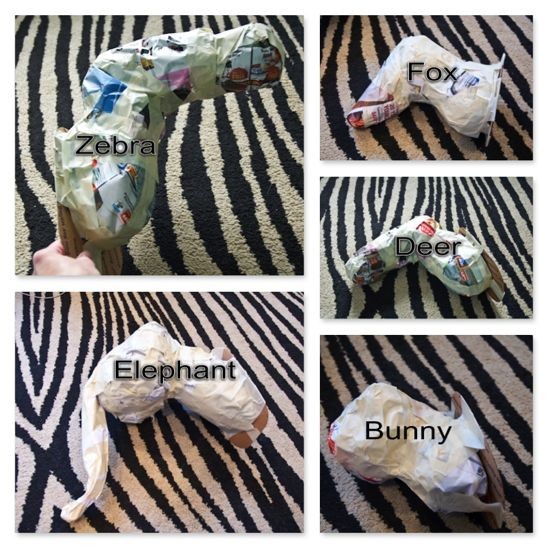
Step 4:
Add a final layer of newspaper to smooth out any valleys and build up any areas that are needed for the contour of the head. Use masking tape to attach the newspaper and the cardboard backer to each head.


Plaster Step 3
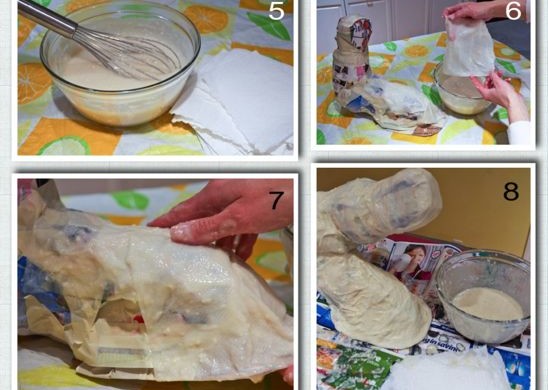
Step 5:
Use 4 parts water to 1 part flour to make the “plaster”. Heat up on stove and slowly whisk in flour until the consistency is a thick and soupy. Let cool.
Step 6:
Cut paper towels into 3″ x 4″ rectangles, or somewhere close to that size. I cut my select-a-size in half. Dip into the soupy plaster and squeeze off the excess.
Step 7:
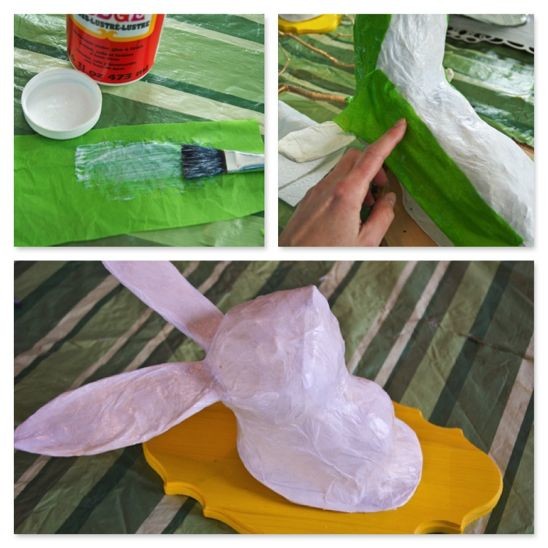
Using one paper towel at a time, add a single layer of the paper towels to the head and cardboard backer.
Step 8:
Cover the entire head and cardboard backer with the plaster paper towels.


Plaster Step 4
Step 9:
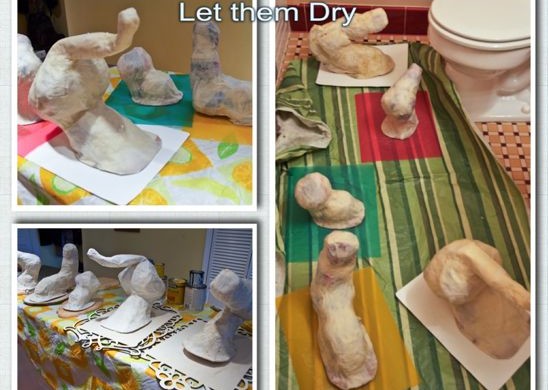
Let the head(s) dry completely overnight or for several hours. It was very cold out, so I placed my heads in a small bathroom and used a space heater (safely) to speed up the process. Rotate the heads and make sure the cardboard backer is completely dry as well.


Plaster Step 5
Step 10:
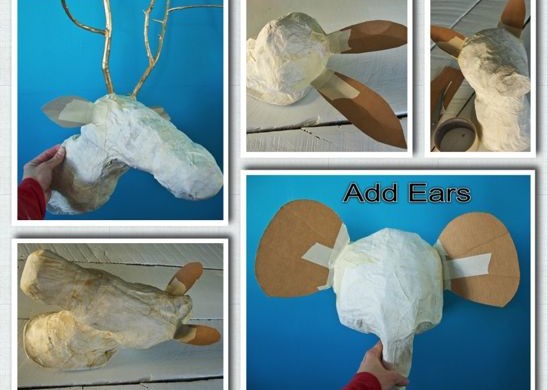
Cut out ears for each head and use masking tape to attach to the heads.


Plaster Step 6
Step 11:
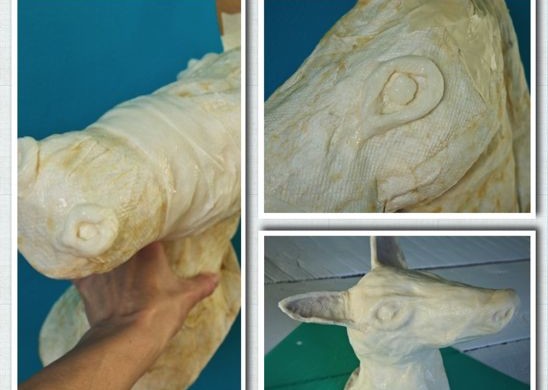
Use another round of plaster and paper towels to build up eye and nose formations. Cover the entire head once more, along with the cardboard backer and the ears with another layer of paper towels.
Let the head(s) dry completely overnight.

While you’re waiting on them to dry, paint your plaques!


Potholes and Pantyhose
Step 12:
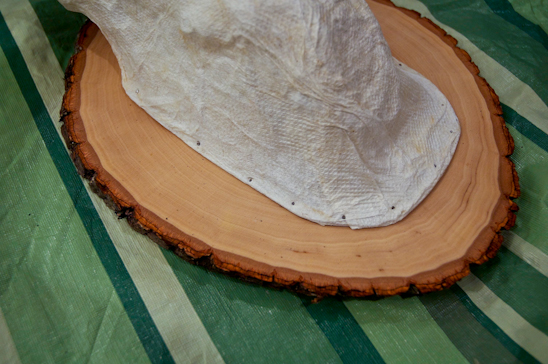
Once the head(s) are completely dry, attach to the painted plaque by gently using brad nails and a hammer. (I went the extra mile and added a little hot glue to the cardboard backer before attaching it to the plaque. I don’t think this step was necessary, but it made me feel better.)


Plaster Step 8
Step 13 Alternate (1):
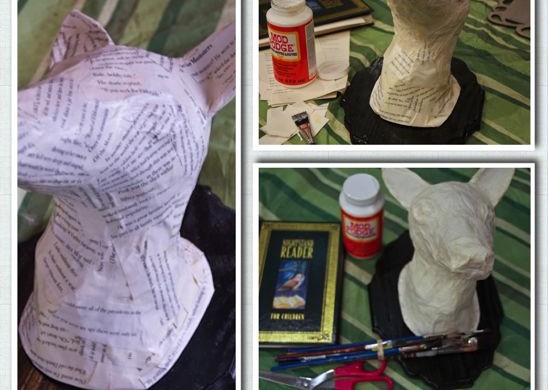
Here comes the fun part-decorating the heads! There are many ways to do this. Here you can see that I used mod podge and the pages of a book to cover the entire head. After cutting out a stack of small pieces from a book, I brushed a thin layer of mod podge on the back side. I placed the piece on the head and brushed another thin layer over the top. I repeated this process until the whole head was covered.

I had five heads, so I covered two with book pages.


Plaster Step 9
Step 13 Alternate (2):
Here, I used the same mod podge process, but utilized fun tissue paper instead. I covered the three remaining heads with tissue paper.


Plaster Step 10
Step 14:
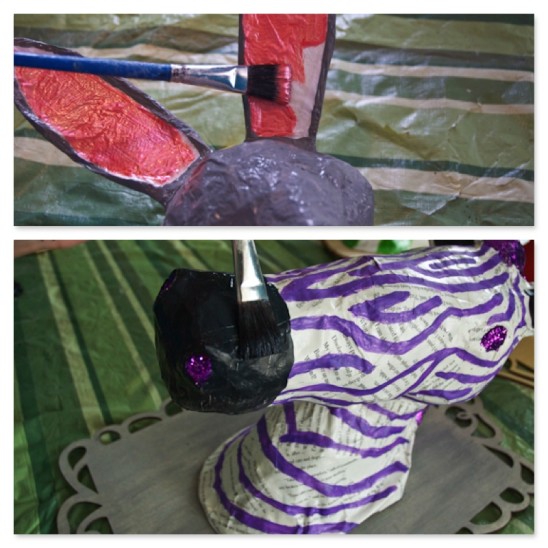
Now, it’s time to paint! Get creative and crazy. Add glitter, rhinestones, mirror pieces, wires for whiskers, feathers, or whatever you have on hand. (Let dry completely between coats of paint).


Potholes and Pantyhose
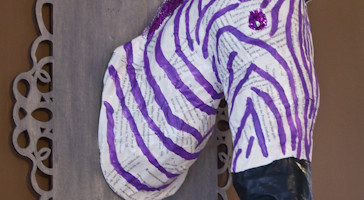
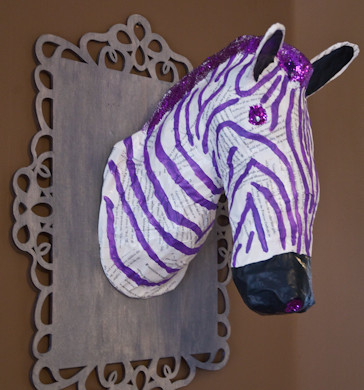
Here are my finished heads. This one I call Frank the Zebra.


Potholes and Pantyhose
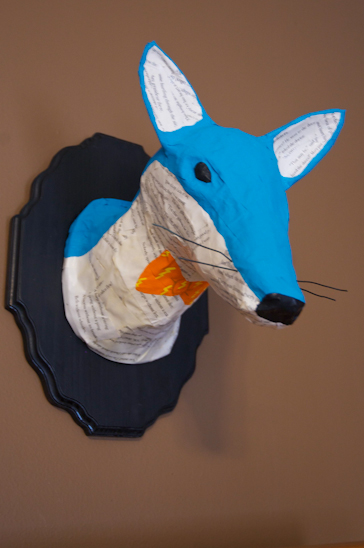
This is Lightening McQueenFox.


Potholes and Pantyhose
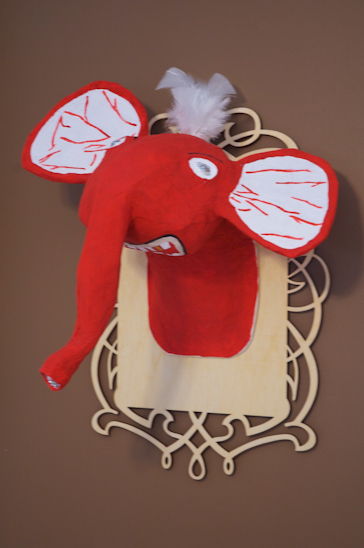
This is Goldy the Elephant.


Potholes and Pantyhose
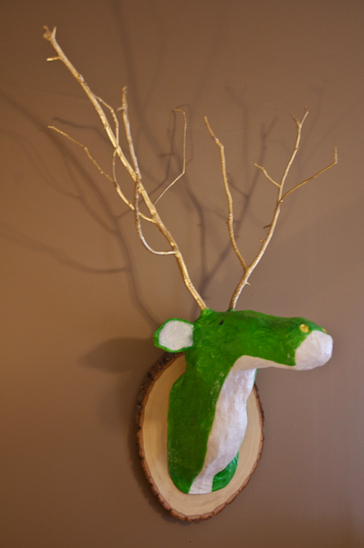
This is George. Just George.


Potholes and Pantyhose
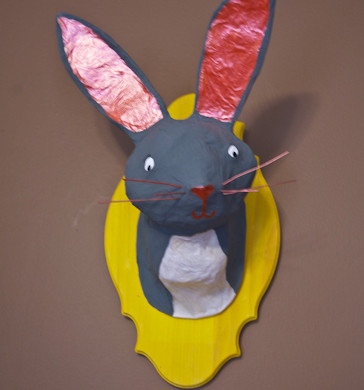
And this is Twinkles the Bunny.

I figured that I saved about $700 making these myself. Not bad for a few days’ work. If you made an animal head, what would it be?

Read more

The Beginning of Change-Budget Living & Dining Room

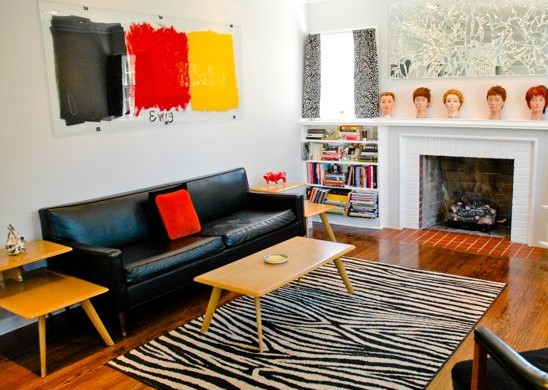
For years, I have been toiling over what to do with our living and dining room. I’ve gone to you all, my dear readers, in months gone by with my initial thoughts and asked for your opinions. I’ve badgered friends and cats with this subject over and over.


Living Room
Because frankly, this room was boring. Clean? Yes. Minimalistic? Yes. But, B-O-R-I-N-G? Double yes.

And although I felt ready to pull the trigger, there were many objections for change:
1. Financially I can’t in good conscience spend money redoing something we just did 5 years ago.
2. If Biceps had his way, this room would have had center seating (black), gray walls and little else. He wanted to go for the art museum feeling.
3. I hate taping and caulking.
4. I hate cutting in trim.
5. I hate cleaning out brushes and roller.
6. I’m pregnant and flat out didn’t want to.


Living Room
I decided to finally quit talking about changing the living room and the dining room and just get this thing done. Using many of these items above as inspiration, the trigger was pulled–while Biceps was at the station and couldn’t stop me. Heh heh.


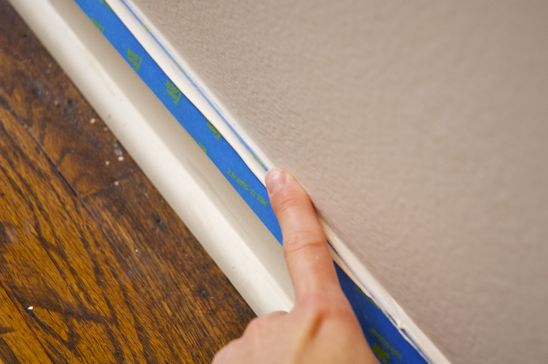
Taping:Caulking
I started by assessing the initial costs:
1. Paint $60
2. Blue Painters Tape, Painters Caulk, tray liners $25
3. Trim for picture frame molding $36

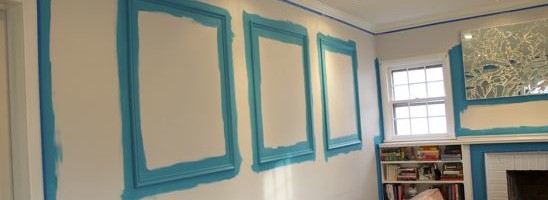
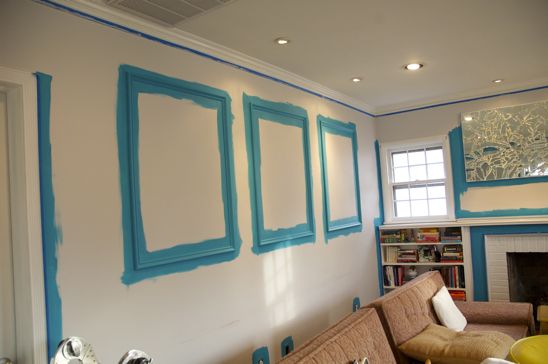
After buying my necessities, I rolled up my sleeves and got to work. First, I pulled everything into the center of the room and started taping and caulking like a son of a gun. (I will share the reason behind this process in detail this week).


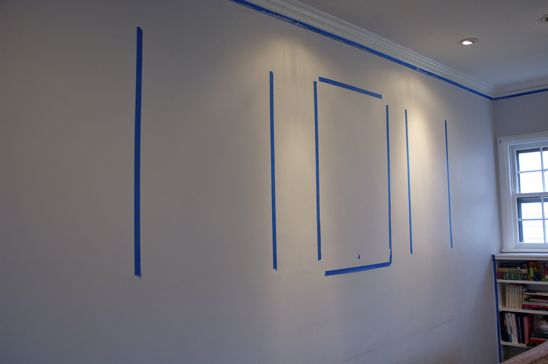
PicFrameTaped
I waited for Biceps to determine the size of  the picture frame moldings. It was a long process, which enriched our marriage. (I will also show you in detail how to install your own picture frame molding this week).


TrimCut in
While Biceps was back at the station, I opened my can of paint and panicked a little. Was it really that blue? After a short stint of talking myself off the ledge, I grabbed my favorite Purdy brush and got to work cutting in the trim.

And didn’t stop for 2 days. The living and dining room is now a lovely shade of “exotic sea” blue, which Biceps and I both love (thankfully).

Don’t worry, I will show you the finished product after hanging all my lovely art work. That is another process that is enriching our marriage.

But–I’m dying to know–what do you think so far?


Read more

Ten (Plus) Easy Ways to save Money

I am frugal by nature-just ask my parents. I used to hide girl scout cookies under my bed, only allowing myself one delicious thin mint a night. That is-until the ants also found my stash and my parents put an end to my cookie hoarding ways.

That said, I love to save money. Here are ten (plus) easy ways that you can, too!


Chapstick
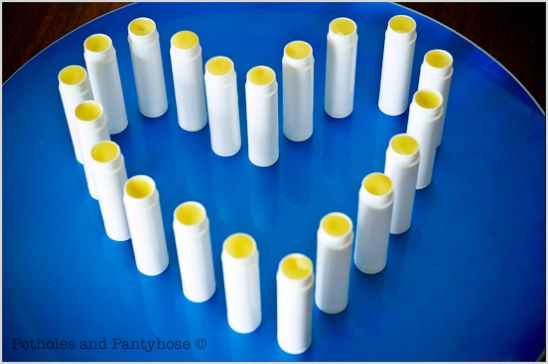
1) Biceps uses lip balm like nobody’s business. And to be fair-so do I. But, is it a crime to want supple, luscious lips void of cracks and flakiness. I contest that it is not!
However, the $3 a tube for Burt’s Bees was a crime. And I needed to solve it. With a few ingredients and within a few minutes time, I had made 40 tubes of Lip Balm that cost less than $.25 each.


Cleanser
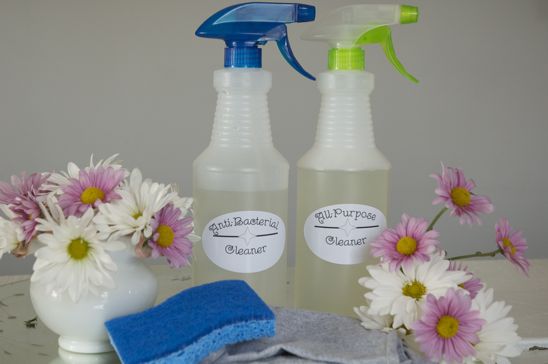
2) I make all of the cleansers that I need to keep my home sparkling. They are cheap, easy to make and non-toxic. Everything from: all purpose & anti-bacterial cleaners, to furniture polish, toilet bowel cleaner, brass and stainless steel polisher, and cooking spray.


Potholes and Pantyhose
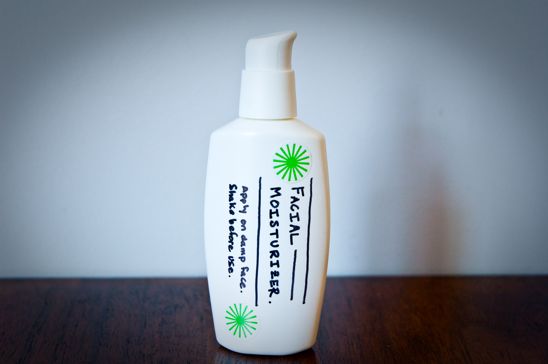
3) I also make most of my beauty products saving me hundreds of dollars a year. Check out this easy to make facial moisturizer, eye make-up remover, toothpaste and mouthwash.


Face Wash
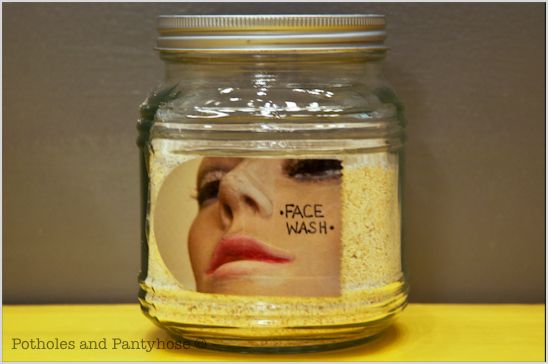
4) Simply make your own face wash using ground oatmeal. I know what you might be thinking-how does oatmeal on my face actually work? The ground oats add moisture back into the skin (thus the reason you are supposed to bathe in it when you have a rash, poison ivy, etc) while the gentle oats exfoliate the skin and cleanse. Cheap. Simple. Love it and the smell of breakfast as you’re washing my face.


Laundry Soap
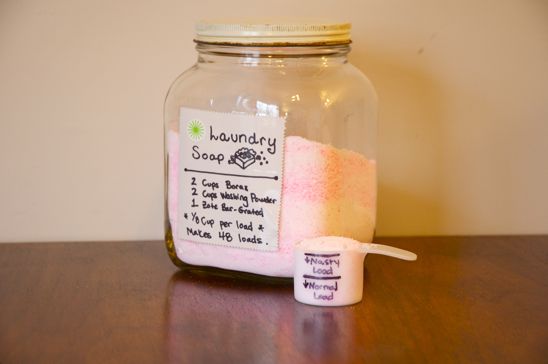
5) I make my own laundry soap once a month which lasts me for 48 stinky, big-boy loads. I save big-boy money doing this. The clothes smell great and it’s fun to grind up soap in my blender. Everybody wins.

I also make my own laundry softener and stain stick. Super easy, does the job and smells fantastic!


Mirror Art
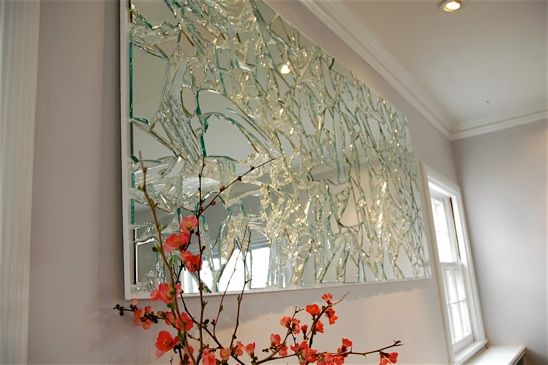
6) Make your own art with whatever you have on hand. Get creative and dare to cut your knuckles making this Mirror Art. I’ve used scrap plywood, drywall, oops paint, repainted canvases, and many other odd things to decorate my walls. And-the best part is-if you screw up, you can just throw it away!


Potholes and Pantyhose
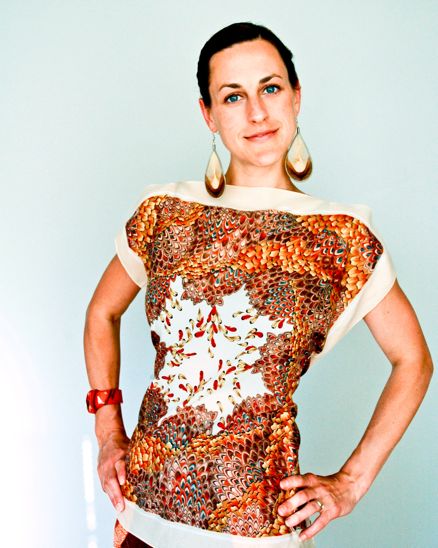
7) Learn how to do some basic sewing and start getting thrifty. I made this silky scarf shirt with a couple of scarves and two pieces of ribbon. The cost-$1. I’ve also made shirts and dresses from pillow cases, and cape shirts from lace tablecloths.


Thank You
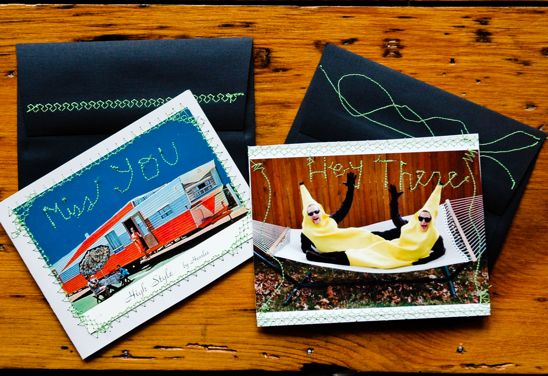
8) Create your own cheap thank you notes by recycling old photos, postcards, pictures from magazines. Sew them onto card stock and offer your friends a one-of-a-kind letter in the mail.


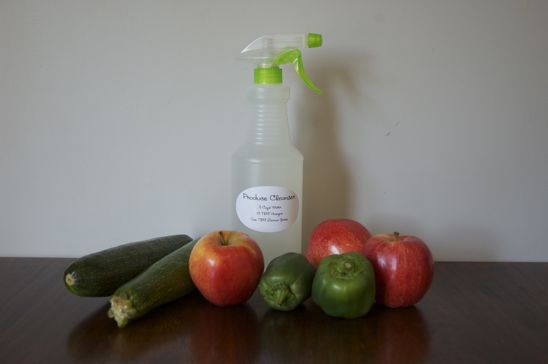
Veggie Wash
9) The produce cleanser I was buying from the store cost about $3 a bottle. Forget that! I now make my very own produce cleanser at home for about $.10 a bottle. Those are savings you can keep!


Garden-Tomatoes
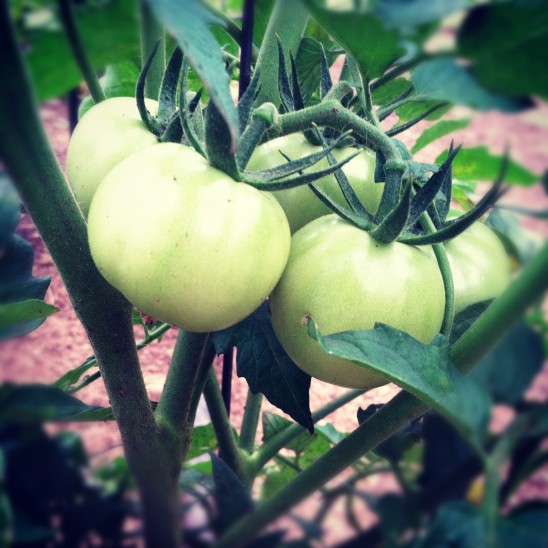
10) Keep your garden humming all year long with an inexpensive DIY spinning composter, rain barrels, critter deterrent and pest spray.

These are just a few ways that I’ve found to save money and replace store-bought items. What are some of your favorite ways to be frugal and keep your cold-hard cash where it belongs (in your wallet)?

Read more