Archive for category: Christmas Gift Ideas

Winner-Sawdust & Diamonds Giveaway!

We have a winner! A sweet reader-Krista M.-has been randomly chosen to receive her most favorite, most loved, most oohed and aahed upon piece of jewelry.

I will be contacting you, Krista, to put you in touch with the artisan of all that is Sawdust and Diamonds Jewelry.

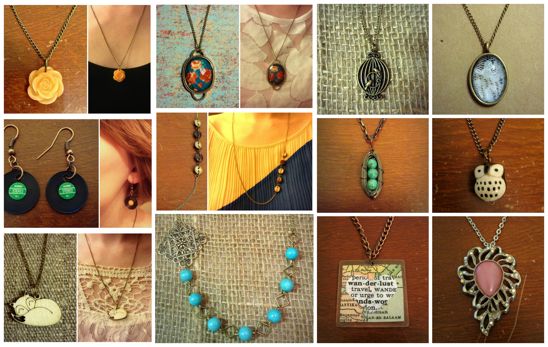
And for those of you that weren’t able to enter, or haven’t had a chance to drool over this adorable website-please go there now! Check out a few of her lovely pieces below.


Rachel's Website
Get to know the artist, Rachel Watson:

I’m a California girl living in Oklahoma with my sweet husband, Dan. I love reading, writing, painting, people-watching, singing, eating, and creating things. Creating is how I unwind. I teach high school kids all day and grade papers all evening. Getting out my beads, wire and tools is my reward at the end of the day. A couple years ago I started making my own jewelry for myself and my friends. When enough people approached me about buying it (one day I sold the necklace off my neck!), I decided to start a little online store. It has been such a blessing to create things that people enjoy and to be able to afford my crafting habit. It’s also been a way for me to raise support for my friends who are adopting or are doing missions work overseas. I use whatever I can find to make jewelry: retro pins, dictionaries, magazines, lace, buttons, charms, etc. Every sale I make is exciting to me, and allows me to keep on creating! The most important thing about me, and the reason I have joy and hope no matter what happens, can be summed up in the words of this well-known hymn:
“I once was lost, but now I’m found, was blind, but now I see.” (Rom. 5:8). Crafting is my hobby, but Jesus in my everything. 
Read more

Sawdust and Diamonds Jewelry Giveaway!

Have you started your Christmas shopping yet? How about I give you a little jumpstart with a free jewelry giveaway from Sawdust and Diamonds?


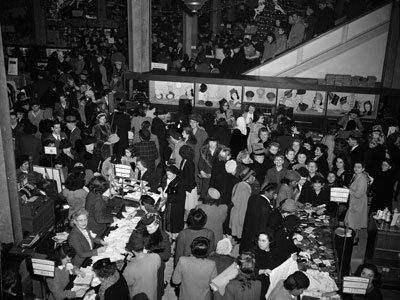
Crowded Shpping
I’m not a fan of shopping in crowded stores, black Fridays or enduring yet another terrible rendition of “Baby it’s cold outside”. I opt for picking up items here and there throughout the year, making presents myself, or relying on local artists for their one-of-a-kind gifts.


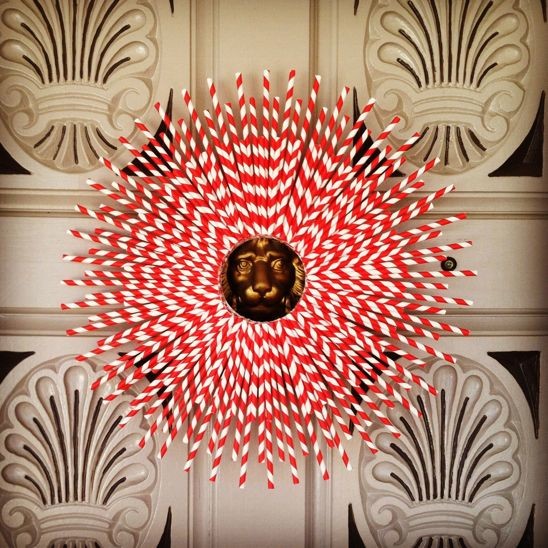
Xmas Wreath
Just recently, I was invited to teach a home economics class at a private school. While showing the girls how to make this homemade Christmas wreath, I chatted with the teacher-Rachel.

With her own two sweet hands, Rachel creates one-of-kind jewelry pieces and sells them on her website, “Sawdust and Diamonds“.


Rachel's Website
Her jewelry is seriously cute stuff. She had me at the owl necklace alone. I knew I must order several of these pieces for the ladies in my life. And nothing on her site was over $18. You can’t beat that with a candy cane.

I started to think, if I like her creations so much-wouldn’t my readers also?


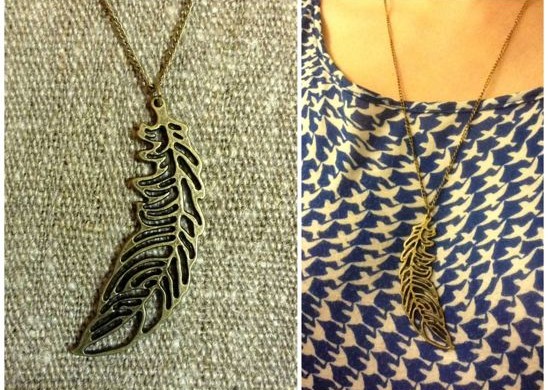
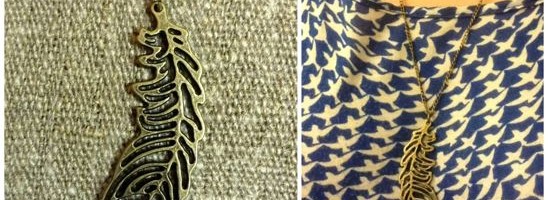
Feather Necklace
So, throughout this crazy shopping weekend, I am hosting a giveaway. One lucky reader will win their choice of any jewelry piece on her site, “Sawdust and Diamonds“. How awesome is that?

I mean, is there anything better than supporting a local artist, winning a free piece of jewelry and checking one more person off that Christmas list? I would say there is not. GOOD LUCK!

Here’s how to enter:
a Rafflecopter giveaway

Get to know the artist, Rachel Watson:

I’m a California girl living in Oklahoma with my sweet husband, Dan. I love reading, writing, painting, people-watching, singing, eating, and creating things. Creating is how I unwind. I teach high school kids all day and grade papers all evening. Getting out my beads, wire and tools is my reward at the end of the day. A couple years ago I started making my own jewelry for myself and my friends. When enough people approached me about buying it (one day I sold the necklace off my neck!), I decided to start a little online store. It has been such a blessing to create things that people enjoy and to be able to afford my crafting habit. It’s also been a way for me to raise support for my friends who are adopting or are doing missions work overseas. I use whatever I can find to make jewelry: retro pins, dictionaries, magazines, lace, buttons, charms, etc. Every sale I make is exciting to me, and allows me to keep on creating! The most important thing about me, and the reason I have joy and hope no matter what happens, can be summed up in the words of this well-known hymn:
“I once was lost, but now I’m found, was blind, but now I see.” (Rom. 5:8). Crafting is my hobby, but Jesus in my everything. 
Read more

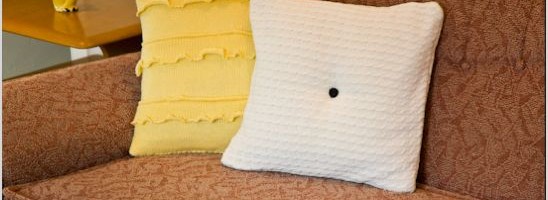
Cozy Sweater Pillows

As you know, I like to re-invent things around my home, offering a fresh look to a room with little to no cost. Sometimes I tackle huge projects-like building a table, destroying a mirror, or making my own spinning composter.

However, some days I like to make a nice hot cup of Cinnamon Apple tea and stay indoors. This is one of those days.
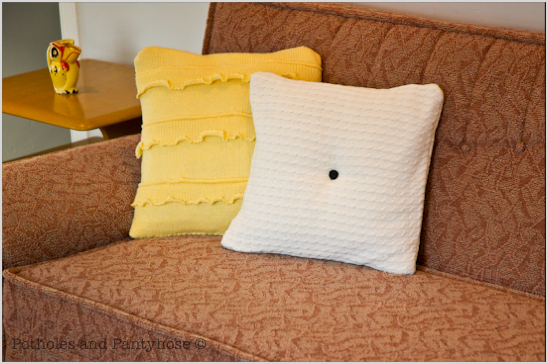

I love pillows on my sofas, but hate paying $20 for something that cats will eventually destroy-or I’ll spill coffee on. What’s a girl to do?

Combine thrift store pillows with my ill-fitting and ugly sweaters. That’s what!
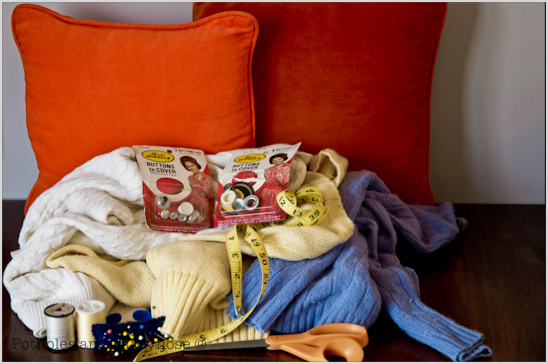


Here’s what you’ll need to make your own Cutesy Sweater Pillows:

Old Pillows or stuffing
Old Sweaters
Backing material-I used an old canvas laundry bag
Tape Measure
Scissors
Straight Pins
Thread and Bobbin to Match
Button covers (if desired)
Invisible Thread (not pictured here, due to its invisibility)
Sewing Machine
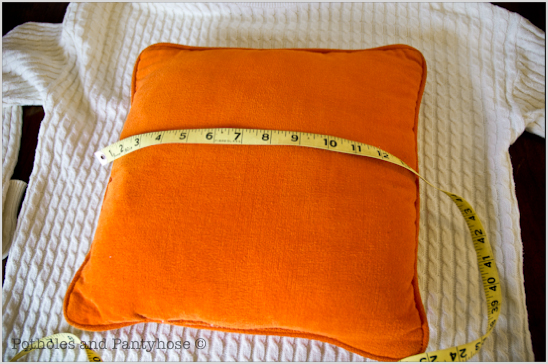


Start by measuring the width & height of the pillow. If you are using stuffing, determine how big you want the pillow.
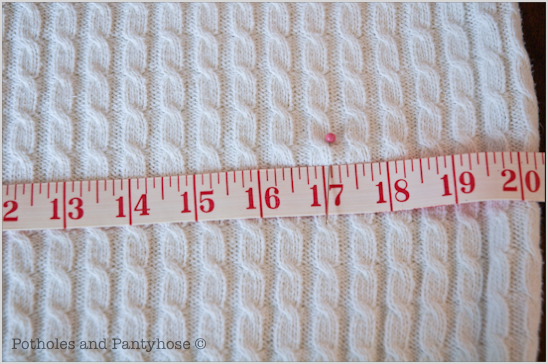


Measure on the sweater the width & height of the pillow and add 3 inches for seam allowance.
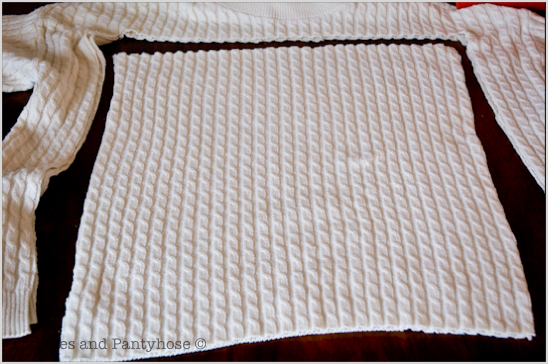


For example, my pillow was 14″ x 14″. I cut out two 17″ squares of sweater material.
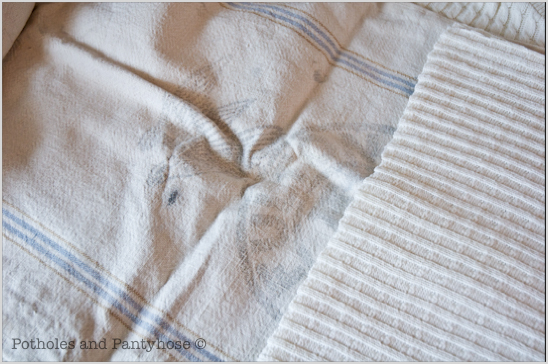


Fold the backing material in half, measure and cut out the same sized square as the sweater.
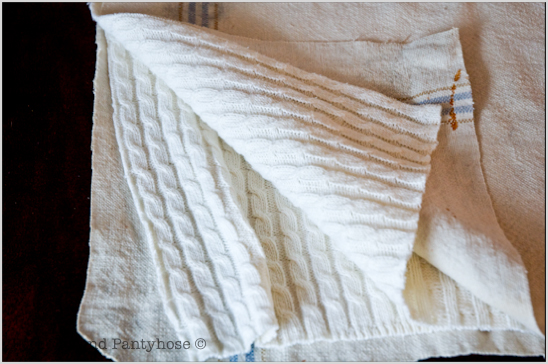
Sandwich the sweater material (right sides facing in) with the backing material. Pin all four layers of material together.
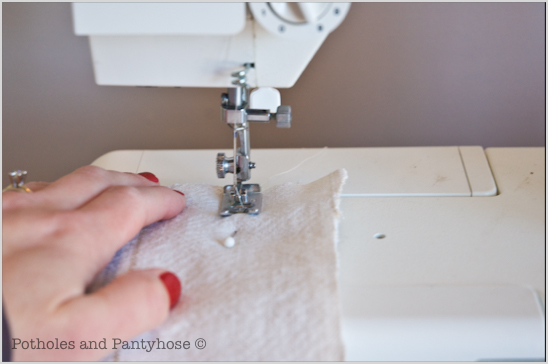


With a 1 1/2 seam, sew the four pieces of material together on 3 sides only-leaving one side open for the pillow (or stuffing).

Cut off the excess seam, snip the four corners and turn the material right side out.
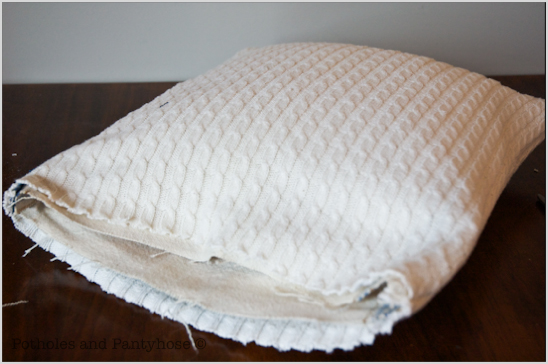


Stuff the pillow inside of its new home-or add stuffing.
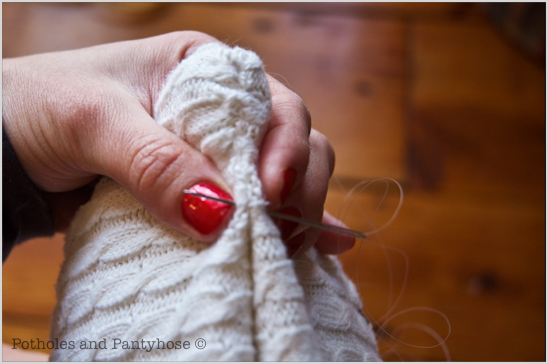


Using invisible thread and a stout needle, sew the opening closed.
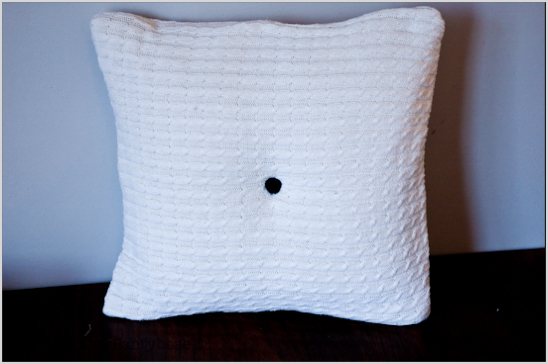


If desired, make a button for the center of the pillow, following the instructions on the button maker box. Sew the button(s) on with more invisible thread, going all the way through the pillow and pulling the thread tight. This will make the button dimple into the pillow.
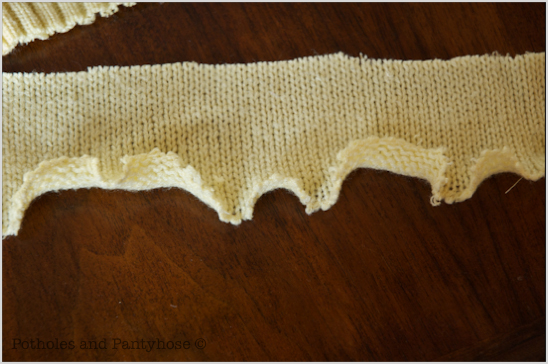


For ruffles on the pillow, cut 3-4″ wide strips from the sweater, making them 2″ longer than the squares of sweater material and backing.

Follow all of the above instructions, except instead of sewing all 4 pieces of material together at once:
Sew one side of the backing to the wrong side of the sweater material-leaving two separate pieces total.
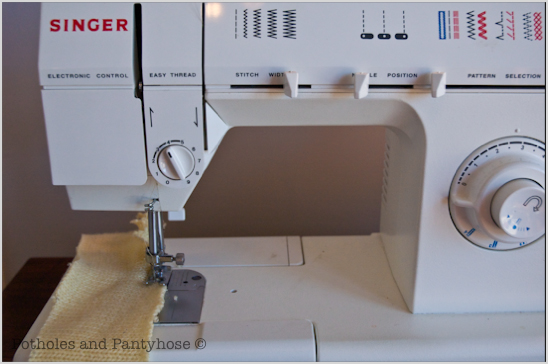


Sew the edges of one side of the potential ruffle using a zig zag stitch.
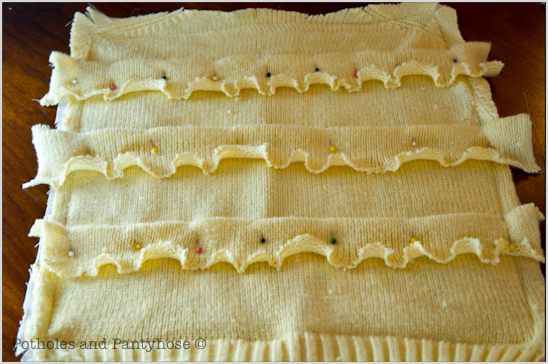


Fold over 1/4″ of the unsewn side of the ruffle, pinning and evenly spacing each ruffle on the right side of the sweater material.
Sew the tops of the ruffles in place.
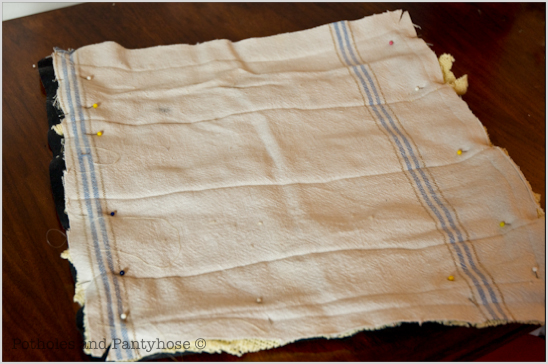


With right sides of the sweater facing in (backing material on the outside), sew the two separate pieces together on all 3 sides with the same 1 1/2 seam, leaving an opening for the pillow or stuffing.

Cut the excess seam off, snip the corners and turn the material right side out.
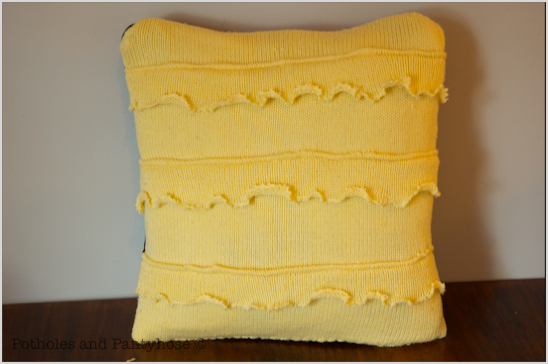


Slide the pillow inside of the material or use the stuffing to fill the pillow out. Use invisible thread once again to sew up the opening.
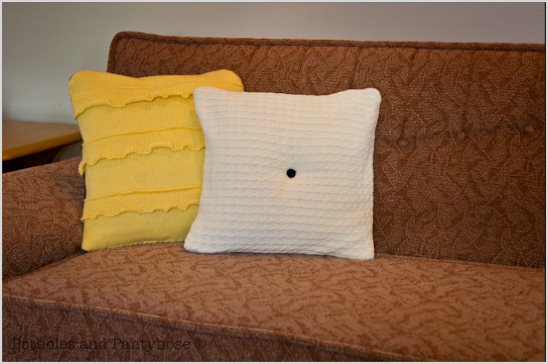
Throw them on your fancy pink couch, brew some more tea and take a nice nap.
 

Read more

Ten (Plus) Easy Ways to save Money

I am frugal by nature-just ask my parents. I used to hide girl scout cookies under my bed, only allowing myself one delicious thin mint a night. That is-until the ants also found my stash and my parents put an end to my cookie hoarding ways.

That said, I love to save money. Here are ten (plus) easy ways that you can, too!


Chapstick
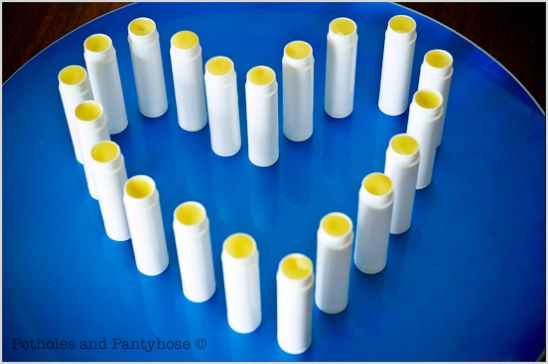
1) Biceps uses lip balm like nobody’s business. And to be fair-so do I. But, is it a crime to want supple, luscious lips void of cracks and flakiness. I contest that it is not!
However, the $3 a tube for Burt’s Bees was a crime. And I needed to solve it. With a few ingredients and within a few minutes time, I had made 40 tubes of Lip Balm that cost less than $.25 each.


Cleanser
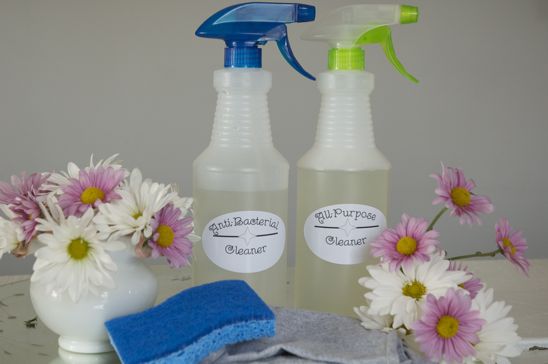
2) I make all of the cleansers that I need to keep my home sparkling. They are cheap, easy to make and non-toxic. Everything from: all purpose & anti-bacterial cleaners, to furniture polish, toilet bowel cleaner, brass and stainless steel polisher, and cooking spray.


Potholes and Pantyhose
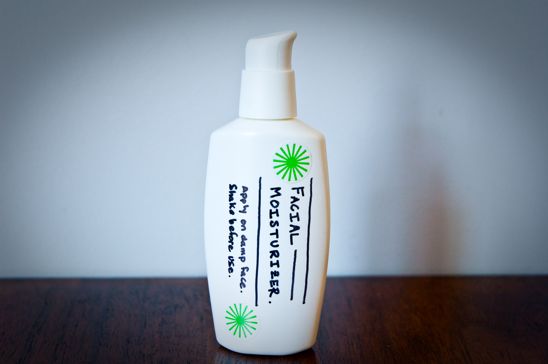
3) I also make most of my beauty products saving me hundreds of dollars a year. Check out this easy to make facial moisturizer, eye make-up remover, toothpaste and mouthwash.


Face Wash
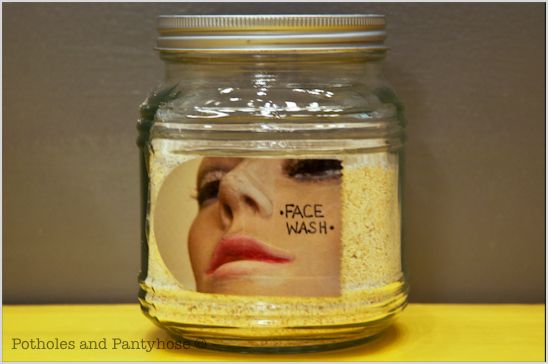
4) Simply make your own face wash using ground oatmeal. I know what you might be thinking-how does oatmeal on my face actually work? The ground oats add moisture back into the skin (thus the reason you are supposed to bathe in it when you have a rash, poison ivy, etc) while the gentle oats exfoliate the skin and cleanse. Cheap. Simple. Love it and the smell of breakfast as you’re washing my face.


Laundry Soap
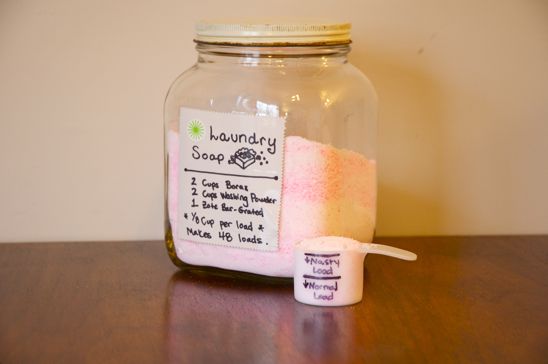
5) I make my own laundry soap once a month which lasts me for 48 stinky, big-boy loads. I save big-boy money doing this. The clothes smell great and it’s fun to grind up soap in my blender. Everybody wins.

I also make my own laundry softener and stain stick. Super easy, does the job and smells fantastic!


Mirror Art
6) Make your own art with whatever you have on hand. Get creative and dare to cut your knuckles making this Mirror Art. I’ve used scrap plywood, drywall, oops paint, repainted canvases, and many other odd things to decorate my walls. And-the best part is-if you screw up, you can just throw it away!


Potholes and Pantyhose
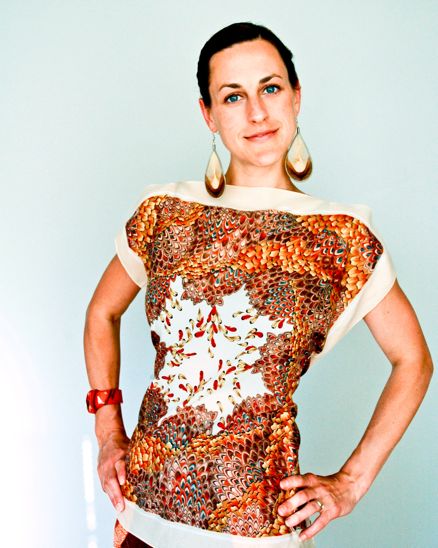
7) Learn how to do some basic sewing and start getting thrifty. I made this silky scarf shirt with a couple of scarves and two pieces of ribbon. The cost-$1. I’ve also made shirts and dresses from pillow cases, and cape shirts from lace tablecloths.


Thank You
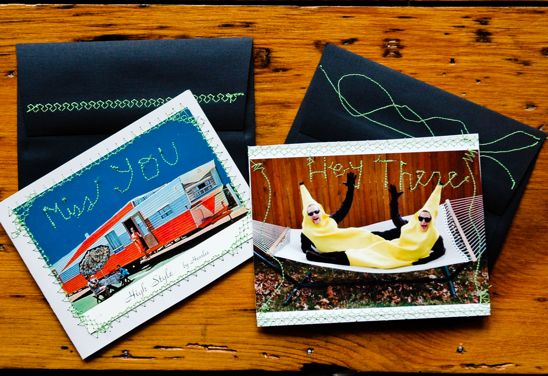
8) Create your own cheap thank you notes by recycling old photos, postcards, pictures from magazines. Sew them onto card stock and offer your friends a one-of-a-kind letter in the mail.


Veggie Wash
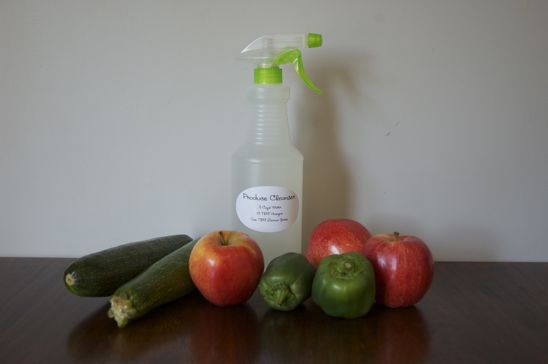
9) The produce cleanser I was buying from the store cost about $3 a bottle. Forget that! I now make my very own produce cleanser at home for about $.10 a bottle. Those are savings you can keep!


Garden-Tomatoes
10) Keep your garden humming all year long with an inexpensive DIY spinning composter, rain barrels, critter deterrent and pest spray.

These are just a few ways that I’ve found to save money and replace store-bought items. What are some of your favorite ways to be frugal and keep your cold-hard cash where it belongs (in your wallet)?

Read more