Taking on the responsibility of gardening this year brought about several financial questions that Biceps and I had to discuss.
One-How can I garden with my cost being minimal while also yielding the best produce?
Two-What kind of cute garden accoutrements can a girl justify buying in order to really enjoy the gardening experience, i.e. pea green garden clogs, flowery leather gloves, etc.?
Our first experiment was making our very own and very cheap “DIY Spinning Composter”.
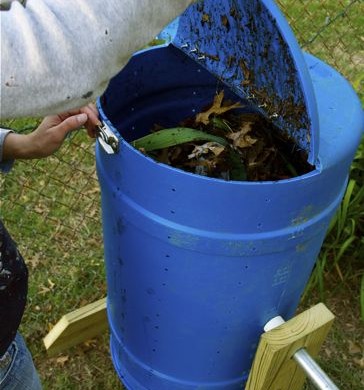
It took a couple of hours and a couple of bucks, and voila-rich, lovely compost. Mmmm….
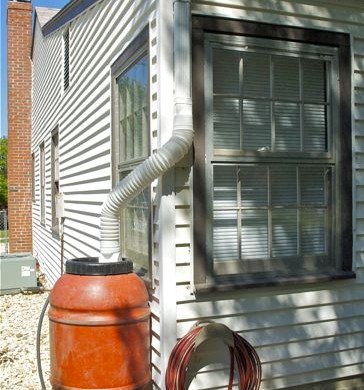
Our next experiment was making our very own DiY Rain Barrel.
Did you know that with only ONE INCH of rain, a 1,000 sq. ft. roof will produce 600 gallons of water? What the heck! We decided to make two rain barrels for the back of our house. If I had my way, they’d be surrounding the house….
(Of course, there are many stores that sell rain barrels-but that seemed too easy. Plus the price tag of $80-$300+, made most of them outside of our “cheap” budget.)
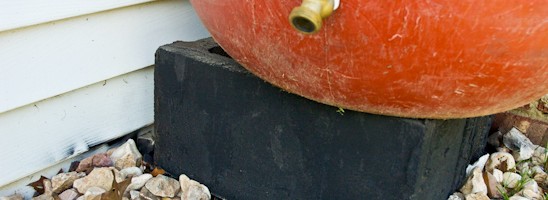
We started off by buying a recycled pepper barrel from Atwoods for $35.
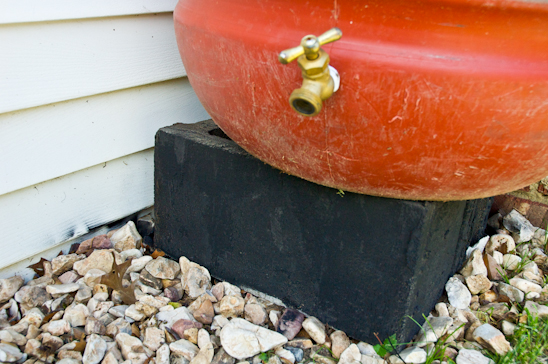
It came complete with a spigot…
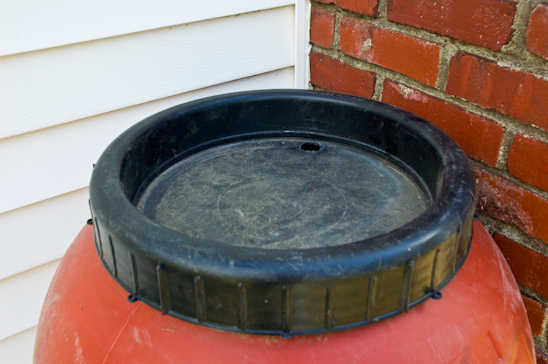
…a lid that screwed on and a bonus-it’s very own peppery smell.
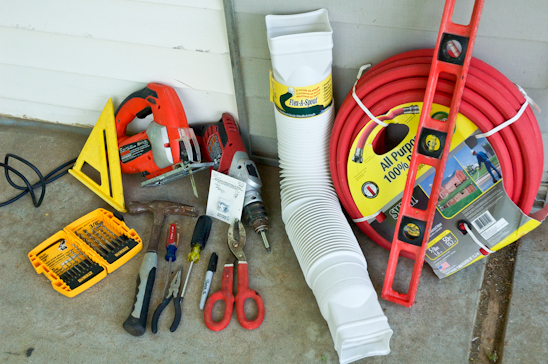
And the rest of the necessary items needed we purchased for less than $10.
Here’s what you’ll need to make your very own rain barrel:
Drill and drill bits
Hammer
Metal Cutting Shears
Jig Saw with wood blade
Phillips & Flathead Screwdrivers
2′ or 4′ Level
Old window screen
Hose (Buy a new one, recycle an old one)
Flex-A-Spout (Lowe’s, Atwoods, Home Depot)
(4 ish) White sheet metal screws for gutters (Lowe’s, Atwoods, Home Depot)
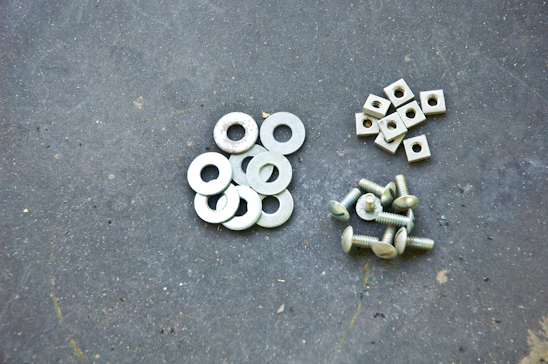
…1″ Bolts with washers and nuts (we have a coffee can full of these, but if you must purchase them, you might spend $1-2)
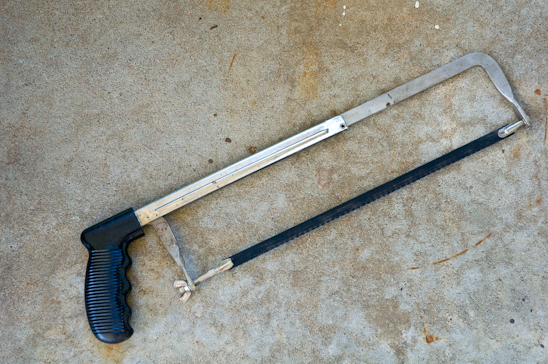
…and a Hand Saw with metal blade

We raised our rain barrel up 6″ in order to have gravity take control of the water flow. If you are placing your rain barrel on a slope and watering below, you can skip this step. I would recommend raising it as high as you can safely-(NOTE:1 gallon of water weighs about 8.35 lbs, so a 55 gallon barrel full of water weighs approximately 460 lbs.).
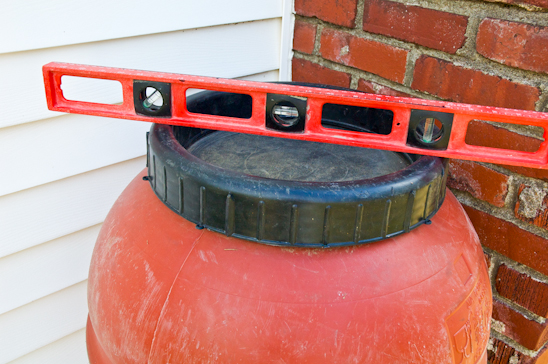
Level the barrel to avoid any topsy-turvy action.
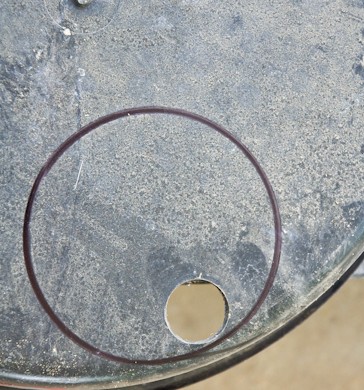
The first step was to trace where I would cut a hole (I used my coffee can) in the lid to allow the water to flow from the downspout and into the barrel.
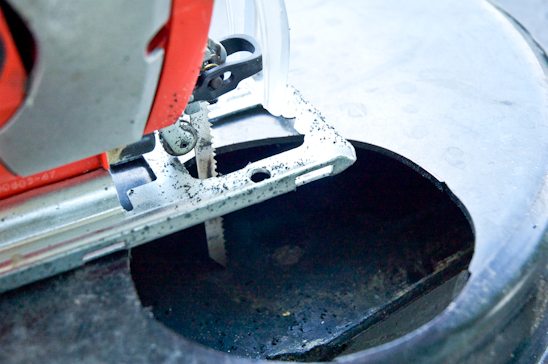
Using my jig saw, I cut out the traced circle.
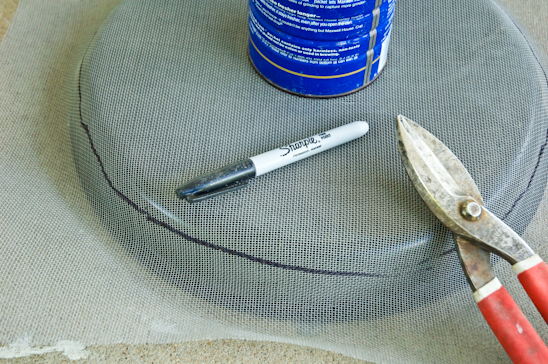
Next, I cut out a circle of screen with my metal cutting sheers to cover the entire top of the lid. The screen will catch tree limbs, nuts, and roof debris before it enters the barrel.

I pre-drilled five holes around the top of the lid. This is where the bolts will go to hold down the screen.

I laid the cut screen on the top of the lid and pierced through the screen with a hammer and a nail, into the pre-drilled holes. This will allow the bolts to go through easily.
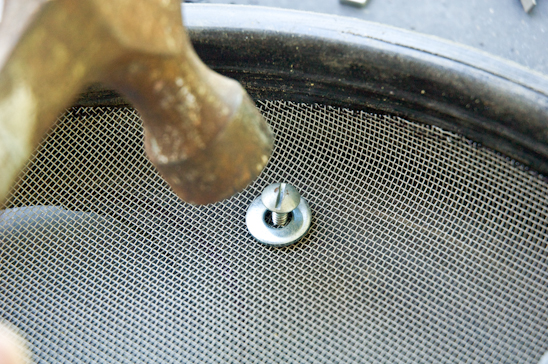
The bolts and washers came next. I pounded the bolts through the pierced and pre-drilled holes in the screen. On the underside of the lid, I tightened the bolts by adding nuts.
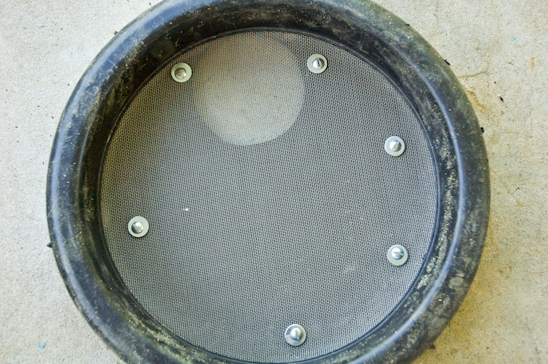
Here’s what my finished lid looked like.
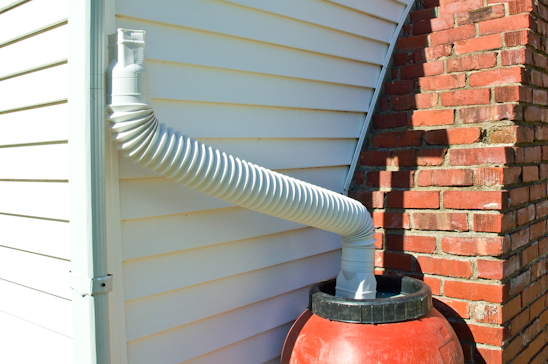
Next, I determined where my Flex-A-Spout would need to attach to my gutters while still reaching my barrel.
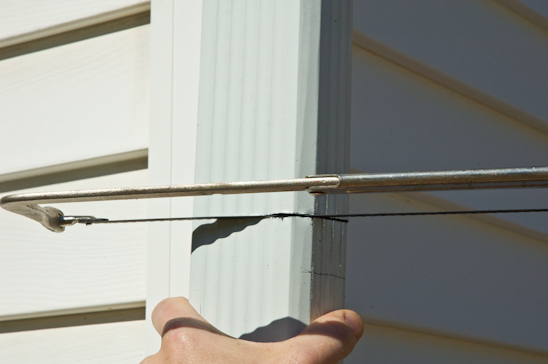
After marking on my existing downspout where the cut would be made, I got to work with the hand saw.
To be honest, Biceps is cutting so that I can take the picture.
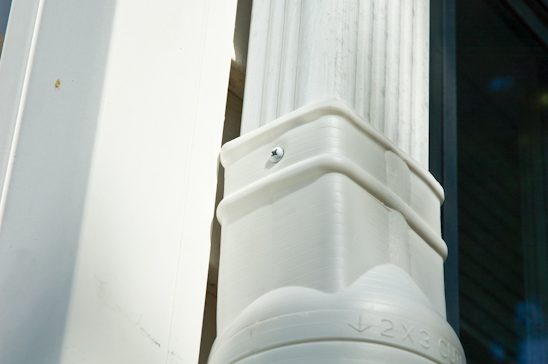
I pre-drilled through my Flex-A-Spout and into the existing downspout before adding the white sheet metal screws on all four sides, cinching the two spouts together in perfect harmony.
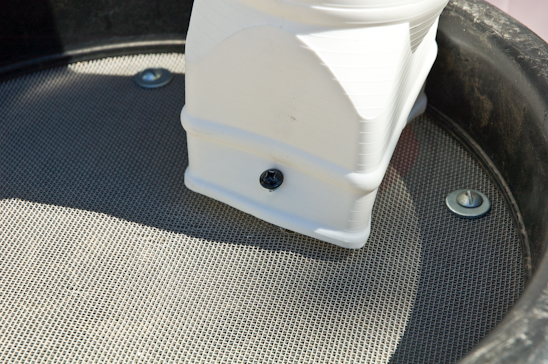
For good measure, I screwed the end of the downspout into the rain barrel lid with a 3″ exterior screw. I didn’t want it to be flopping around during a high wind and embarrassing itself.

I would recommend drilling out a large hole at the top of the barrel for overflow. I even attached a hose to this in order to feed the overflowing water into another barrel or trashcan during an intense rain.
Attach the hose to the spigot, and voila-you are done!
Now you don’t have to freak out each time you want to water your garden or fill up your bird bath. Or maybe you weren’t freaking out, but still would like to have a rain barrel.
Either way, it’s win-win.
