Installing Picture Frame Molding
I was inspired by this professionally designed living room and wanted to make changes similar in both my living and dining room.

Photo Source Woodson and Rummerfield’s House of Design
Molding can inexpensively transform a bland wall (which I definitely had) into a showpiece (ka-pow!).
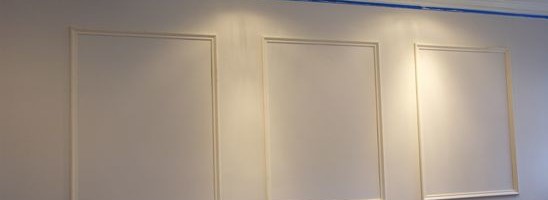
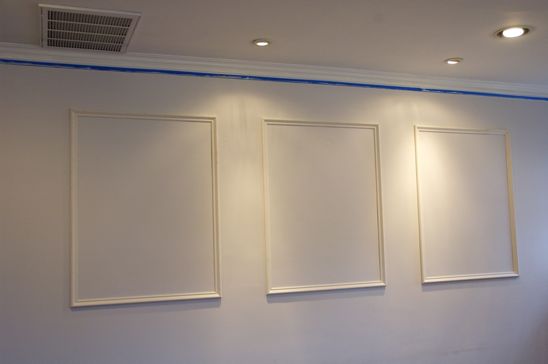
This is the simple picture frame molding that I installed in my living room. And once I slather some fancy blue paint on it-the “ka-pow” will be happening.
It’s so simple to do, you won’t believe it. Let me show you how!

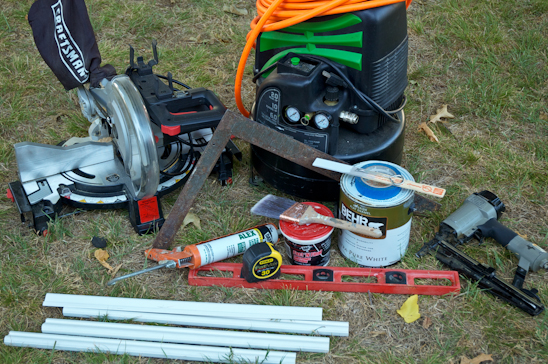
Here is all that’s needed to install Picture Frame Molding properly:
Skill Level: Easy
Time to Finish Project: Varying depending on size, approx. 30-45 minutes per frame
Chop Saw (or hand saw and a manual miter box able to cut a 45 degree angle)
Brad Nailer, 1 1/2″ Brad Nails, Air Compressor & Hose (or brad nails, hammer and nail set)
Level
Tape Measure
Stud Finder
Molding
Paint
Spackling
Bright White Painter’s Caulk (no silicone) and Caulk Gun
Paintbrush
Blue Painter’s Tape (only if painting the molding a different color from the wall)

1. After determining the size of the picture frame, cut the molding to length. I had (4) pieces, cut 2′ long to make my frame. Set the chop saw to cut a 45 degree angles from Right to Left.
2. Cut a 45 degree angle Right to Left on one end of each piece of trim.
3. Switch the 45 degree angle on the chop saw to cut Left to Right. On the uncut end of the trim, cut a 45 degree angle left to right.
4. Make sure the trim fits together in each of the four corners.

5. Using a stud finder, determine and mark where the studs in the wall are in relationship to where you will be placing the frame.
6. Begin with the top piece of the frame and level.
7. Position the nail gun over the stud and shoot through the molding and into the stud. (If there are no studs where you desire to place the trim, shoot the nails through the molding at an angle, coming first from the right, then the left and so on until the molding is secure.)
8. Now, repeat these steps with each of the vertical side pieces of molding and finish with the bottom horizontal piece.

9. Once all of the molding is installed, fill the nail holes with spackling.
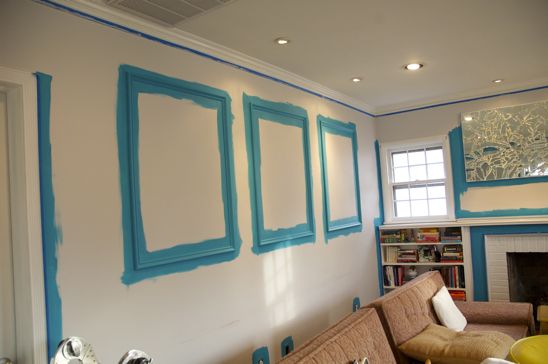
10. If you are painting the molding a different color than the wall, use the blue painter’s tape and first tape off the wall surrounding the picture frame, leaving an 1/8″ gap between the molding and the wall. Caulk the corner seams of the molding with Bright White Painter’s Caulk.
11. Caulk the inside and outside seams of the molding. If you are painting the molding a different color, the caulk will seal the seams and create a barrier between the wall and the paint color.
12. Remove excess caulk using an index finger, sealing the seams.

Next up-paint! I wanted my trim to be wall color. If you would like your trim a different color than your wall, all you will need to do is tape and caulk the surrounding trim and cut in the trim with a brush.
Easy peasy!


Leave a Reply
Want to join the discussion?Feel free to contribute!