The Master Bathroom Remodel-Part Uno
While Bicep’s was away on tour, I got a wild hair to remodel our Master Bedroom and Bathroom. We’ve never lived in one of our houses long enough to want to “remodel our remodel”. After only 3 years of living in our “Current Remodel“, it seemed a little ridiculous to remodel, but the green we chose for both the Master Bed and the Master Bath had to go.
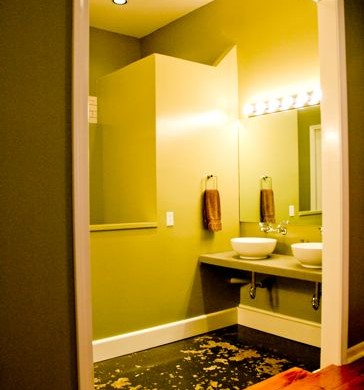
In the beginning, we loved the green. Then I began to loathe it.
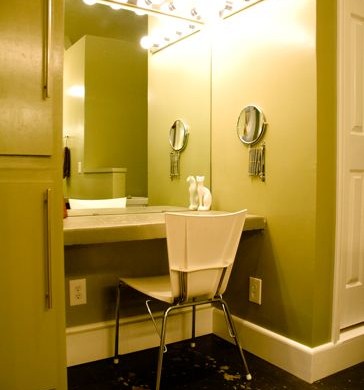
Nothing matched it. Nothing. Notice how bare this room is of any accessories? This is after 3 years of living in this house. No rugs, no paintings on the wall, no warmth.
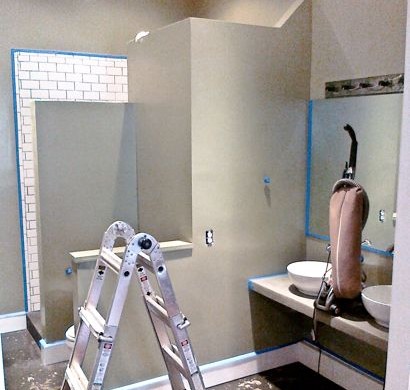
(Sorry for the quality of the photo-this picture was taken with my phone and I forget to up the anty and pull out the fancy camera).
I taped off all the areas I knew I would slop paint on, vacuumed all cobwebs, rolled up my shirt sleeves and got to work. I chose a deep gray paint that would compliment the purple I had just painted in the adjoining Master Bedroom.
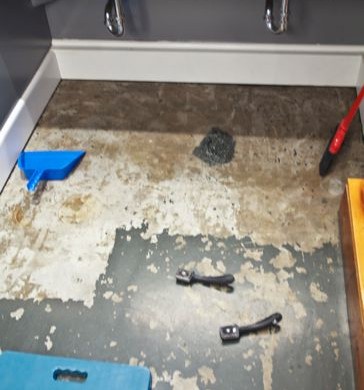
We had spent an arm and a leg “staining” our concrete. The staining process didn’t work and we aren’t sure why. The stain did take in another bathroom in our house. Just not this one. And the “stain” would stick to our feet, our shoes and our kitty cat paws anytime we would walk through the bathroom.
The stain was a pain.
It, much like the green paint color, needed to go.
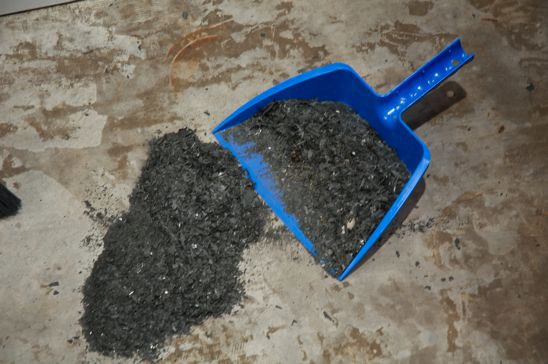
Using a wall scraper, elbow grease and a few choice words, the concrete “stain” was removed.

The stain on the sink vanity and my makeup area was removed with a very technical procedure of placing packing tape on the surface of the vanity and removing the tape-along with most of the stain. I had to scrape the stubborn areas with the wall scraper, too.
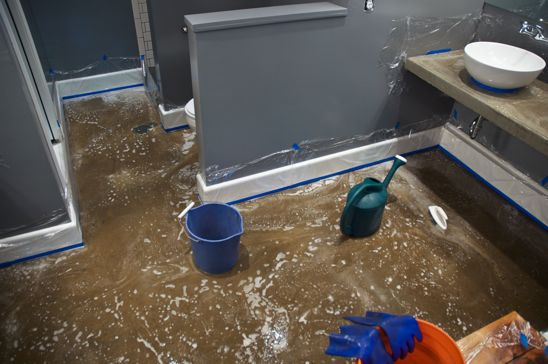
Next came El Diablo-Muriatic Acid-to clean the newly scraped concrete. Diluting the acid with water, I scrubbed the floor armed with chemical safe rubber gloves and eye protection. I don’t mess about. I taped off and saran wrapped anything the acid might touch-including, don’t laugh, my shoes. Probably overkill, but again…I don’t mess about.

With the concrete clean and dry, the next phase of the remodel was to paint the vanities. And it was about to get kuh-razy.

I chose a canary yellow concrete paint-made for garage floors, porches and patios-to brighten the lives of my two vanities.

I used a foamy brush and applied four coats of the concrete paint, allowing it to dry according to what the can told me to do.
I was a little shocked at first with how bright the yellow was. However, I had a plan. I will be adding accessories to compliment the gray and yellow motif going on here. It’s all part of my master plan. I will soon post Master Bathroom Remodel-Part Deux-don’t you worry.
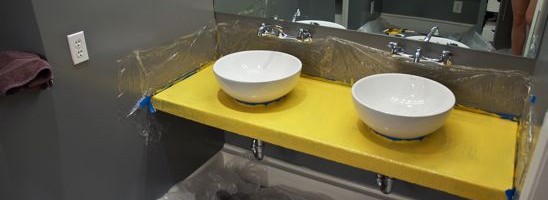


It’s looking good!
I love the Yellow vanity! Can’t wait to see it all done.
Lexi
http://cupcakedaydreamer.blogspot.com/
Looking great! New follower from Follow Me Friday!
Kim
http://www.thesasselife.com
Wow, SO much work but so worth the effort! Good job, looks great. I LOVE the gray and yellow together!
Wow! That’s a lot of work! I love the new colors you used!
I love your blog! The bathroom looks fantastic. I am your newest follower.
Love the new color combo–
You’ve been featured. Check it out.
Cheri from Its So Very Cheri
[…] want to check out the Master Bathroom-Part Uno before jumping into this. You need to be prepared. And if you really want to be prepared, check out […]
wow! i’m totally impressed with your knowledge….and determination! i think you might be a little crazy to tackle this — but i like crazy!!!
amy
[…] see what I’ve done to the bathroom, go here and […]
[…] the full Master Bathroom Remodel-Part Uno and Part Deux for your ocular […]