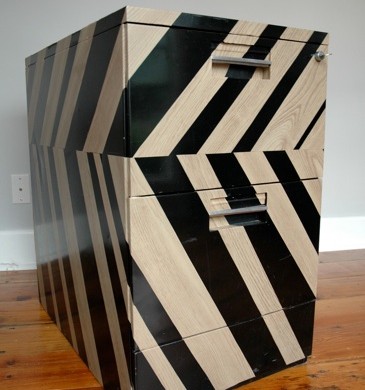
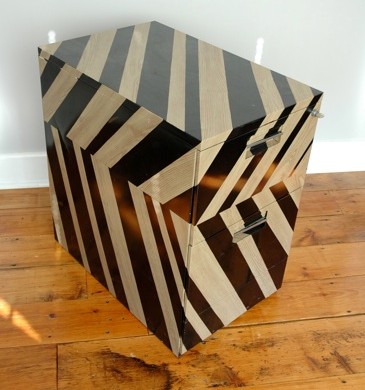
Mod Filing Cabinet
I was tired of the clunky metal object mocking me from the rest of my very ‘cool’ office.

I was inspired by something similar in a Ready Made magazine (now defunct) and just had to try it on my own, of course putting my own little spin on it.

What you will need:
Filing Cabinet-I picked mine up from craigslist for $15
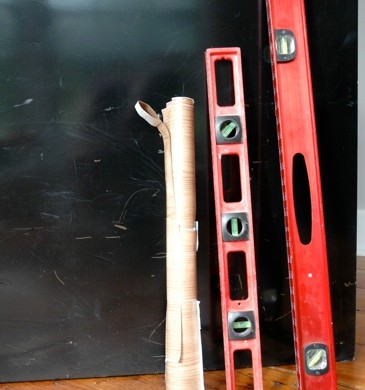
Contact Paper-I chose a wood grain birch (found at Lowe’s)
2’ or 4’ level
Exacto Knife/Scissors
Pencil

Using your level, draw a straight line across the middle of your filing cabinet. This will be the end point for your contact paper. I chose to put the line about a third of the way down of the filing cabinet, instead of a predictable half-way mark, just to make things interesting. I don’t like to be predictable…

Using your level, draw lines at 3”, 2” and 1” of thickness onto the contact paper to make the stripes. The angle you choose to have your contact paper at on the filing cabinet and the depth of your cabinet will dictate how long your strips need to be. Cut your differing width of stripes from the contact paper, overcompensating for the length.

I temporarily taped all of my stripes to the side of the filing cabinet, and adjusted them until I liked the look of them, before permanently adhering them to the cabinet. I have learned to do this the hard way. Let’s just say it is very difficult to remove contact paper from anything. Next, I drew little ‘tick’ marks onto the filing cabinet, notating where each stripe went, so I would remember in what order to adhere them to the cabinet.

Using a level, draw a line across the bottom of your taped contact paper stripes that coincides with the line you had originally drawn on the actual filing cabinet. This will make the bottom angle on your stripes. Remove your stripes and cut the tips off with your exacto knife or a pair of scissors.

Peel off the backing from your strips and began to place the stripes onto the filing cabinet, following your earlier notations. Smooth out the bubbles as you go.

Use your exacto knife to cut the top of your stripe off, leaving about an 1/8” to wrap around to the other side.

Repeat this process around the entire filing cabinet. If you have recessed pulls like I did, cut your stripes extra long in order to tuck the contact paper up and around your pulls. When placing the stripes on the drawers, cut them extra long in order to wrap around the edges of each drawer.

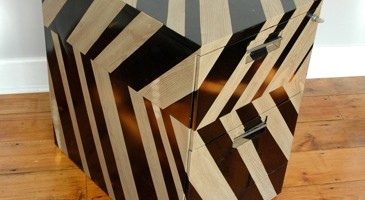
Now you have a ‘very cool’ filing cabinet! No more mocking us, Mr. Clunky Filing Cabinet!


Found you via House of Hepworth’s today! I love what you did with this filing cabinet! Ours needs a makeover too!
Thanks, Ashley! I may need to upgrade to a larger one before too long. I just spent several hours cleaning this one out and we are quickly running out of room….I suppose, this means another project! I love a new project!